Overview
This article defines Confirmations and Notifications, compares use cases, and shows where to configure them.
Confirmations
Confirmations define the response shown immediately after a successful form submission. Use them to show an on-page message, send the submitter to a WordPress page, or redirect to any URL (for thank you pages, tracking, or passing query strings).
Confirmations support merge tags for personalization and can use conditional logic so different users see different outcomes based on submitted values. Typical uses include showing a tailored success message, routing sales leads to product specific pages, or prepopulating a follow-up form via query strings.
Default Confirmation
Every new form includes one default confirmation named Default Confirmation. After a successful submission, it shows a simple on-page success message. It always runs if no other confirmation conditions match and cannot be deleted or disabled. Conditional logic is not available by default.
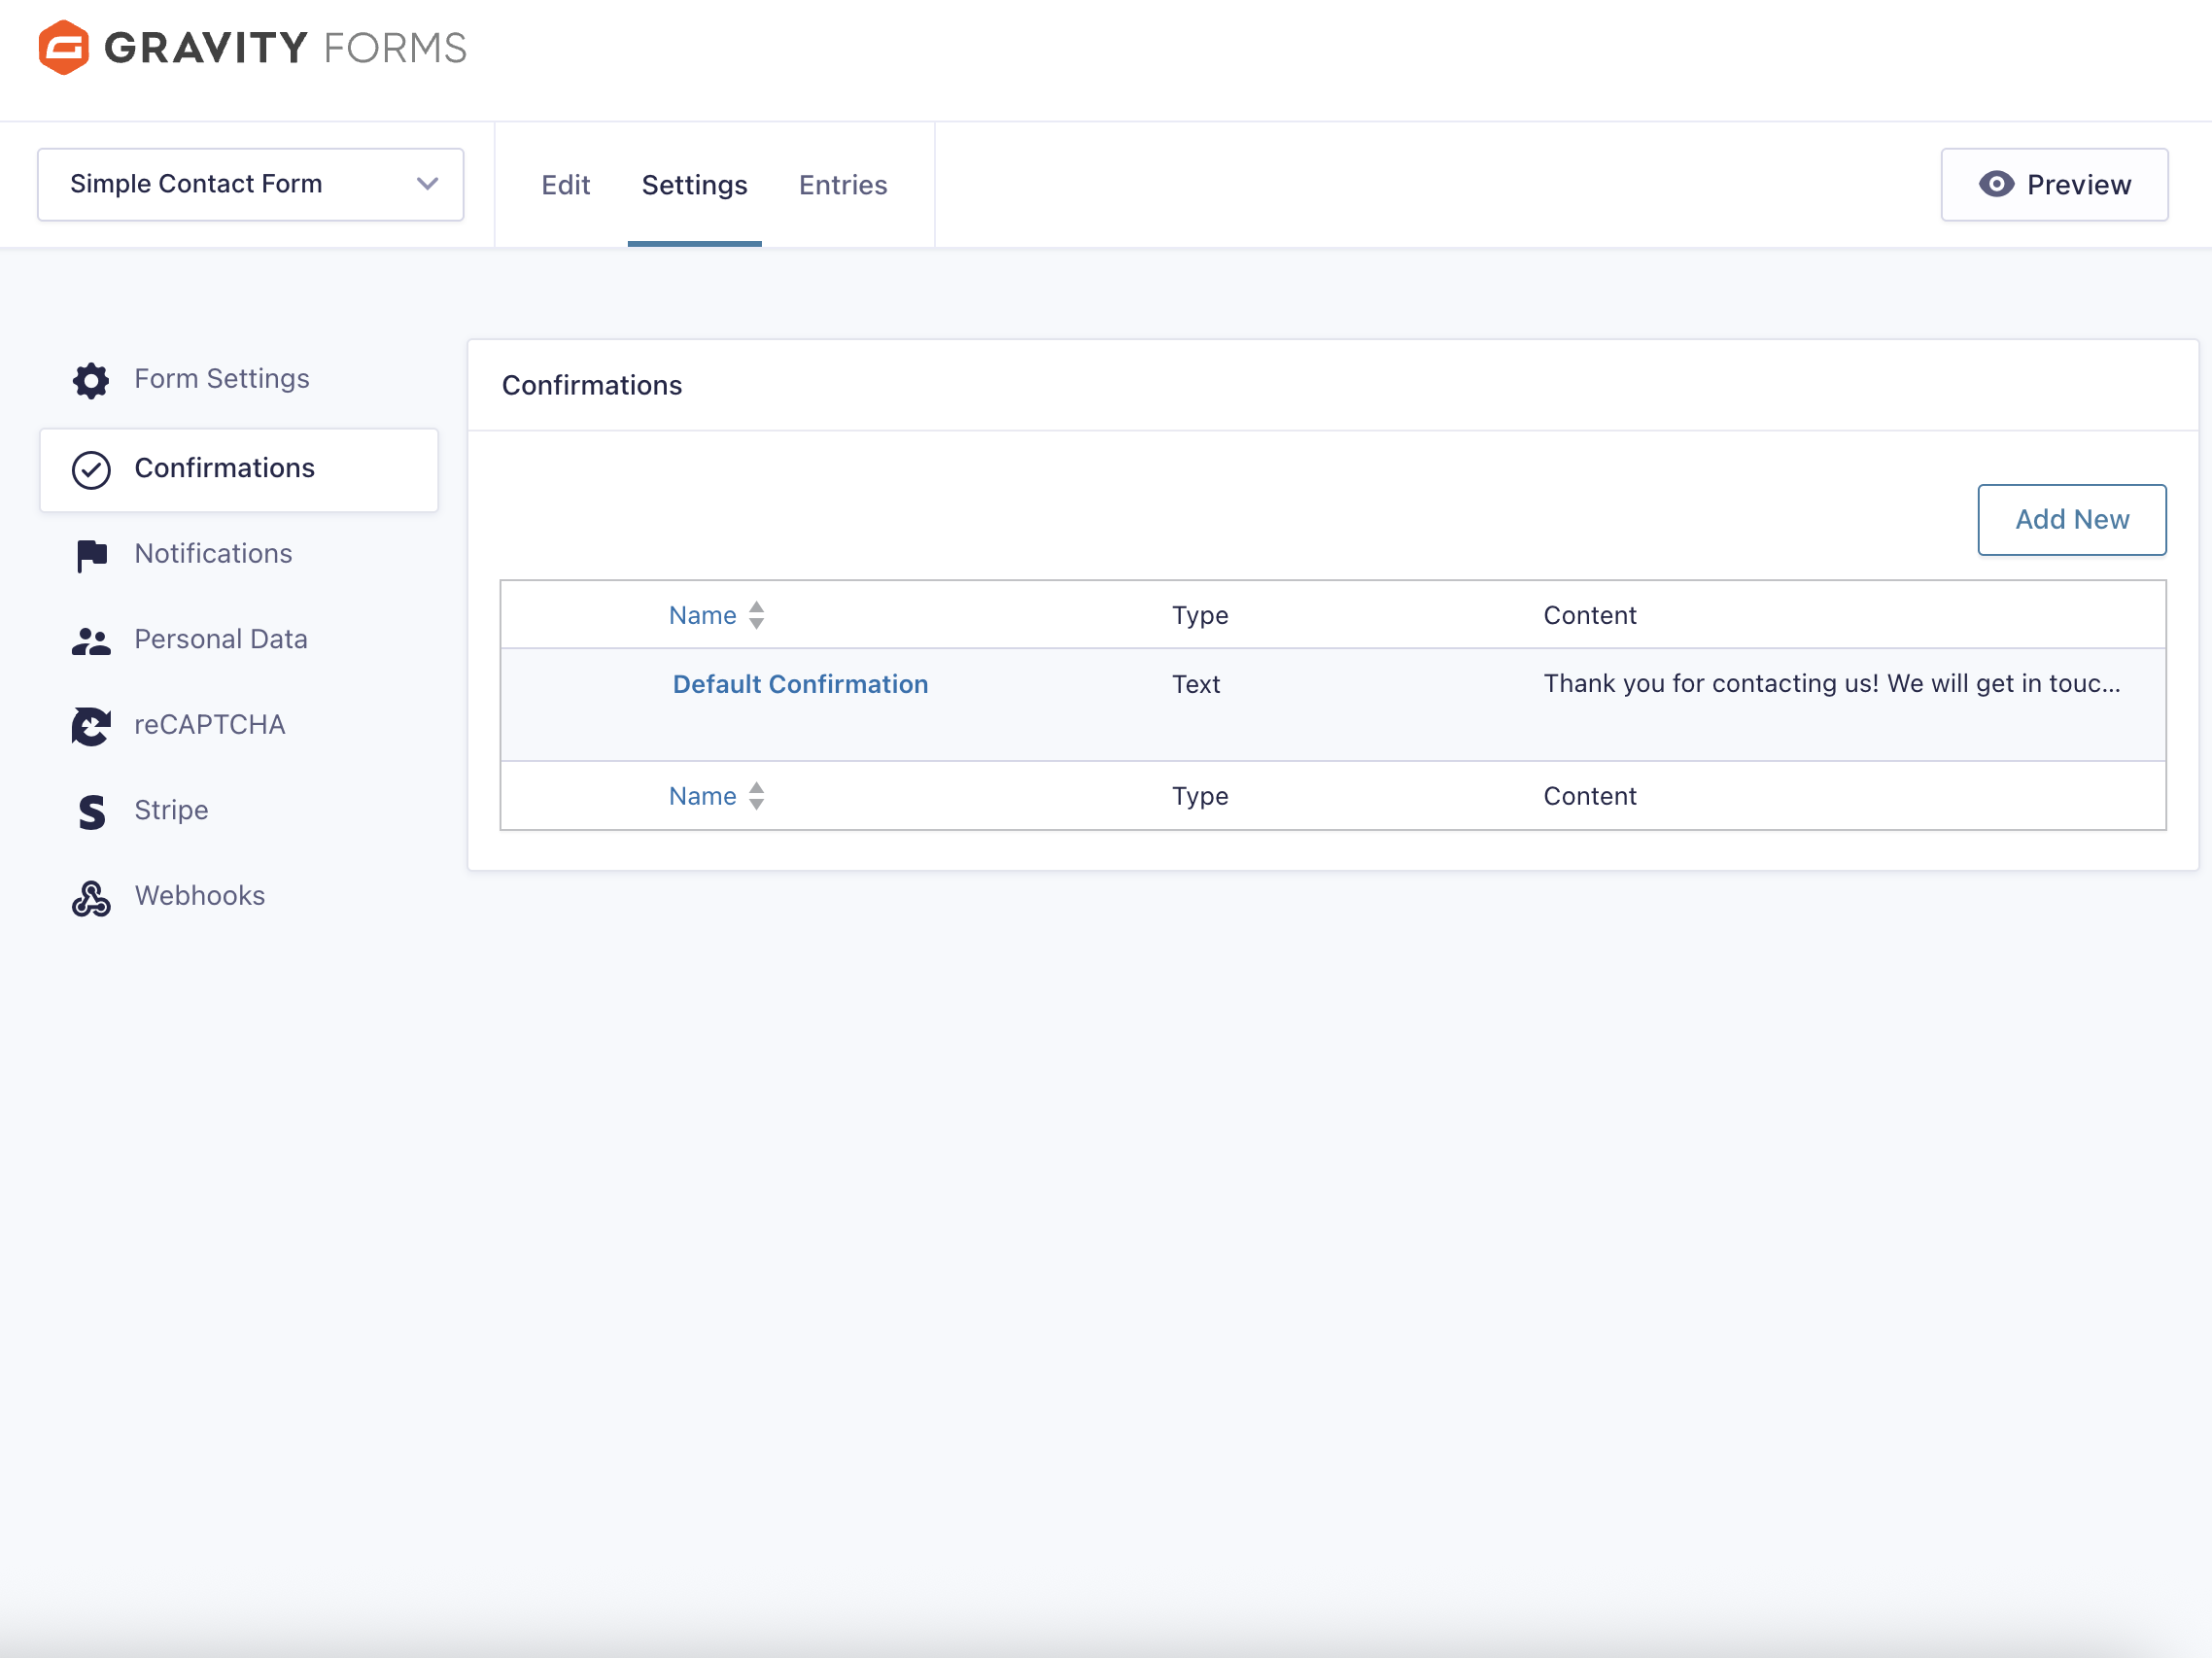
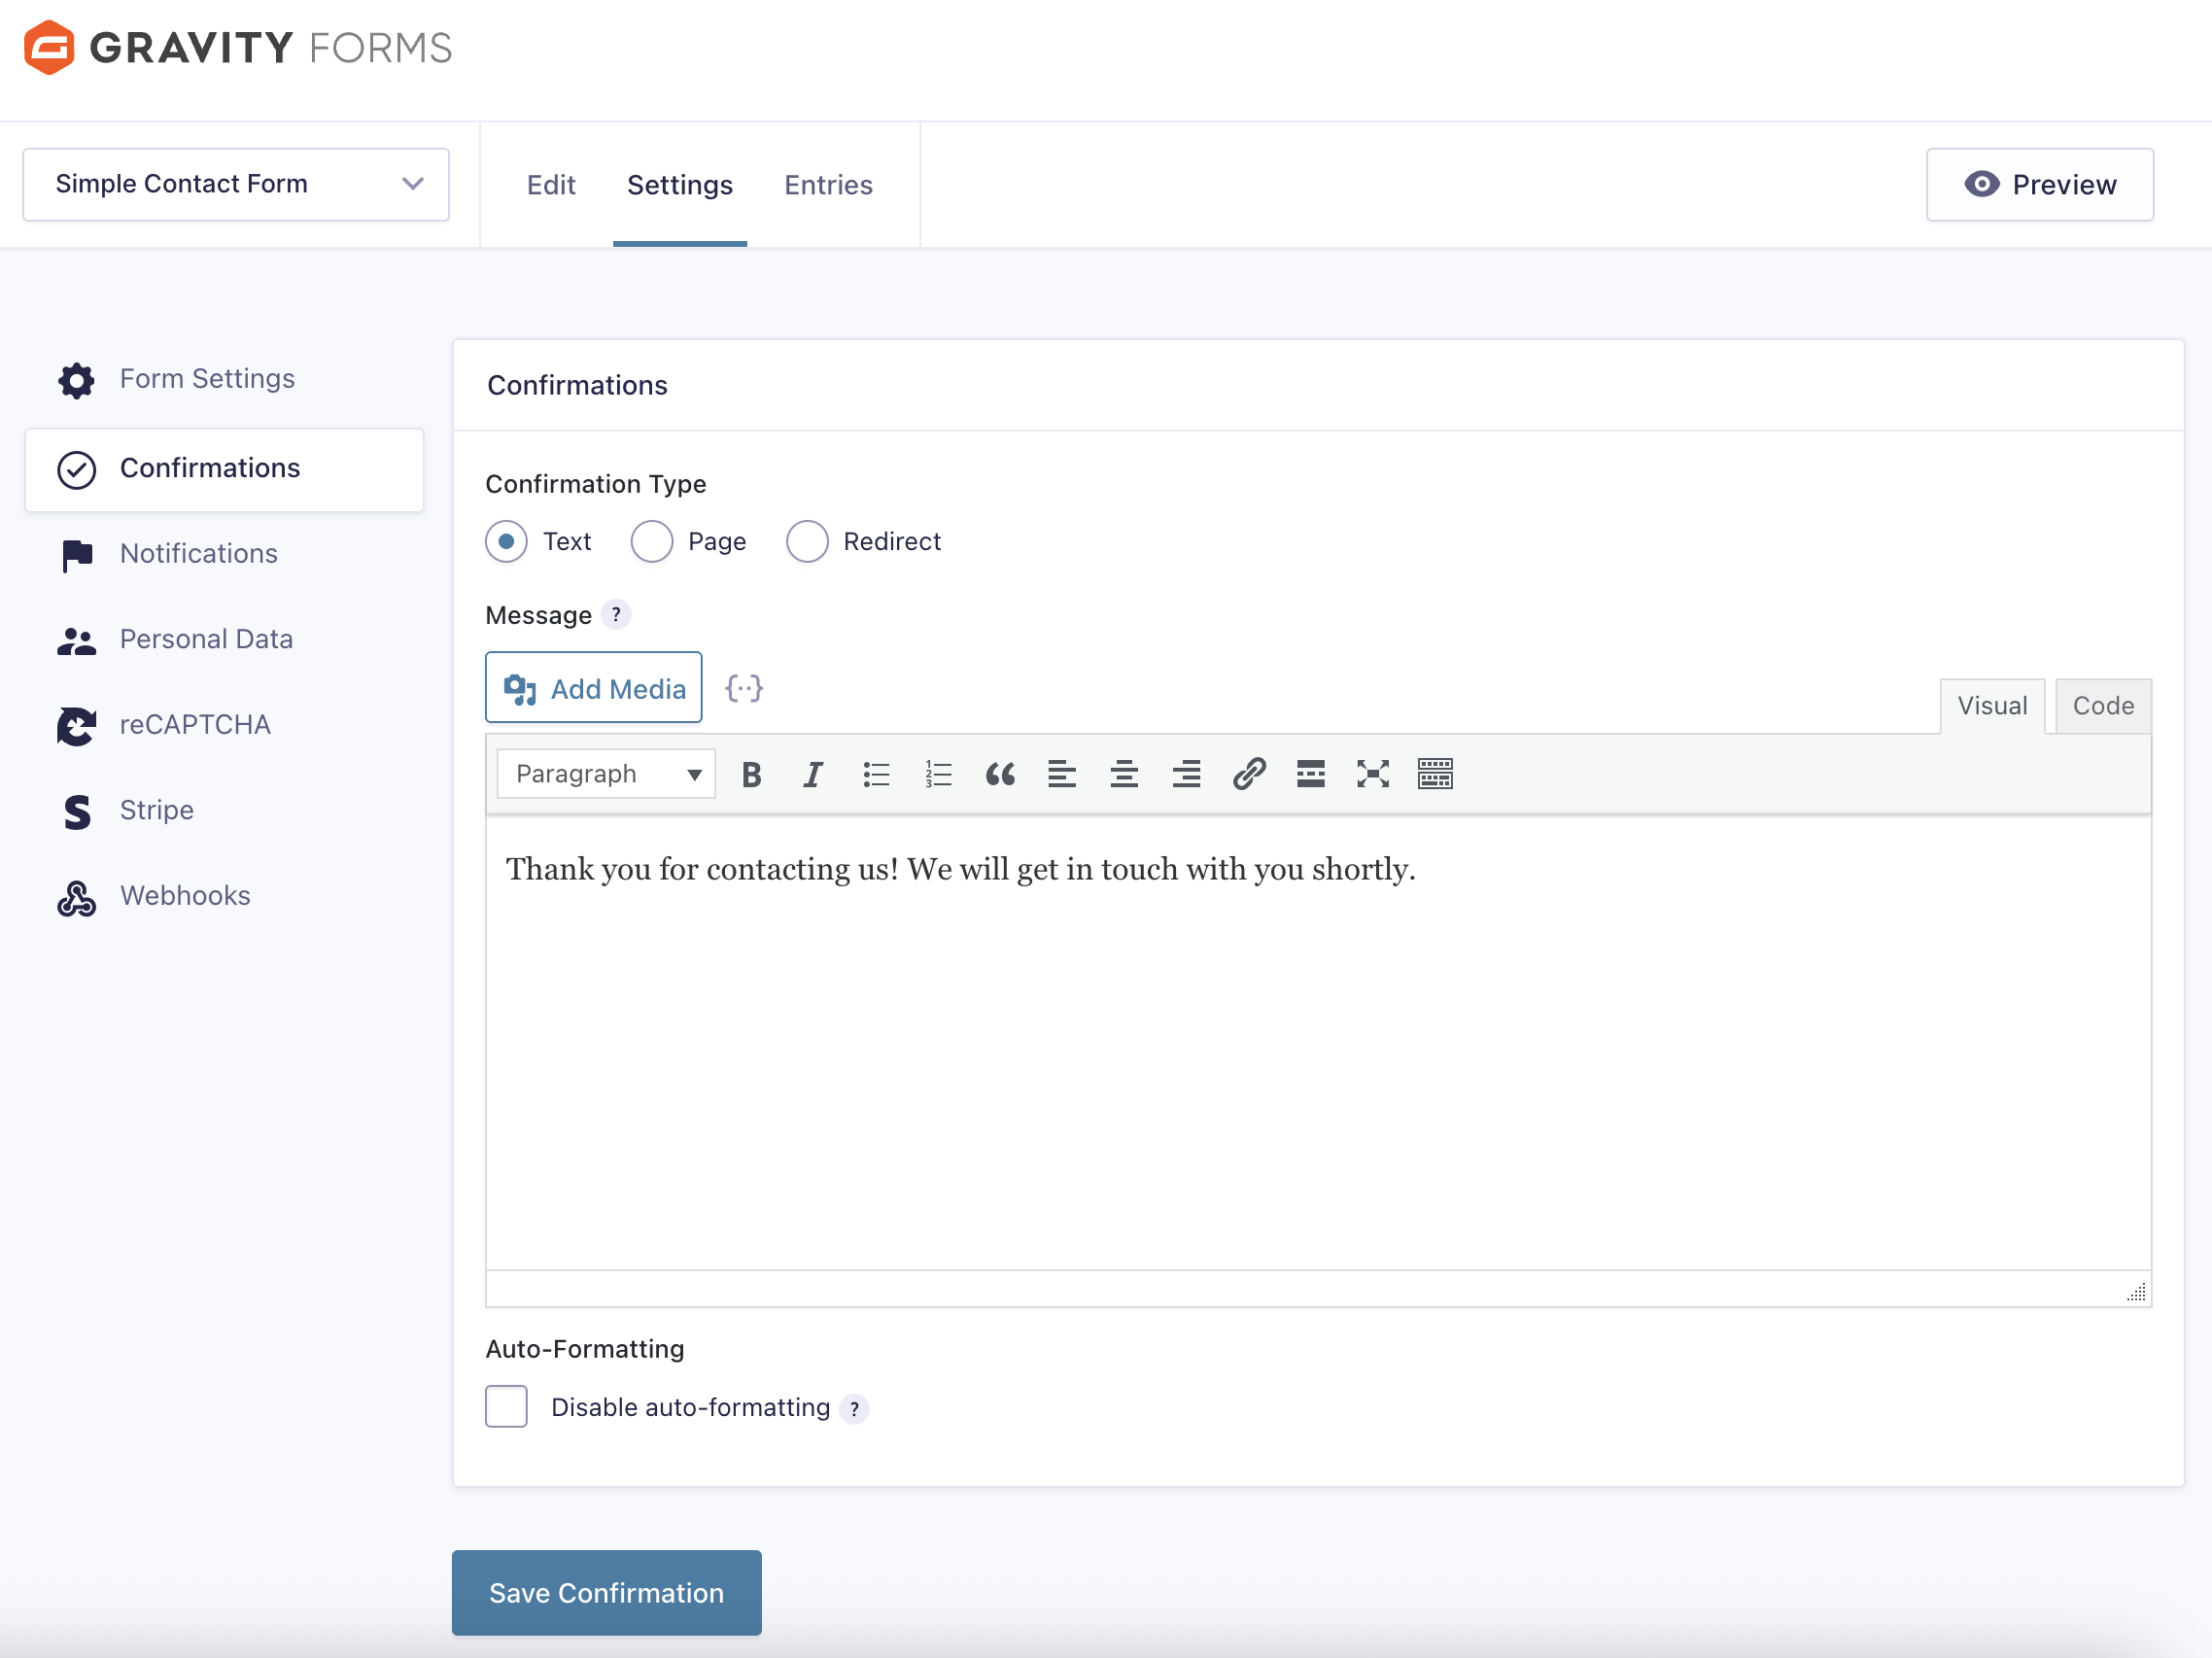
In your WordPress Admin go to Forms → [Your Form] → Form Settings → Confirmations. The Default Confirmation will be in the list. Click its title to edit the message or switch to a Page/Redirect type.
Default Confirmation in the Confirmations List.
Edit Default Confirmation screen.
See the Confirmations guides and references for setup fundamentals, advanced options, and conditional routing.
Notifications
Notifications send information after a form submission, most commonly via email to admins, submitters, or routed recipients. Configure message content with merge tags, attach uploaded files, and add query strings or UTM parameters for analytics.
Conditional logic lets you send different notifications (or none) based on submission data; email routing targets recipients by field values. Typical uses include admin alerts, user receipts, and payment lifecycle notices.
Default Notification
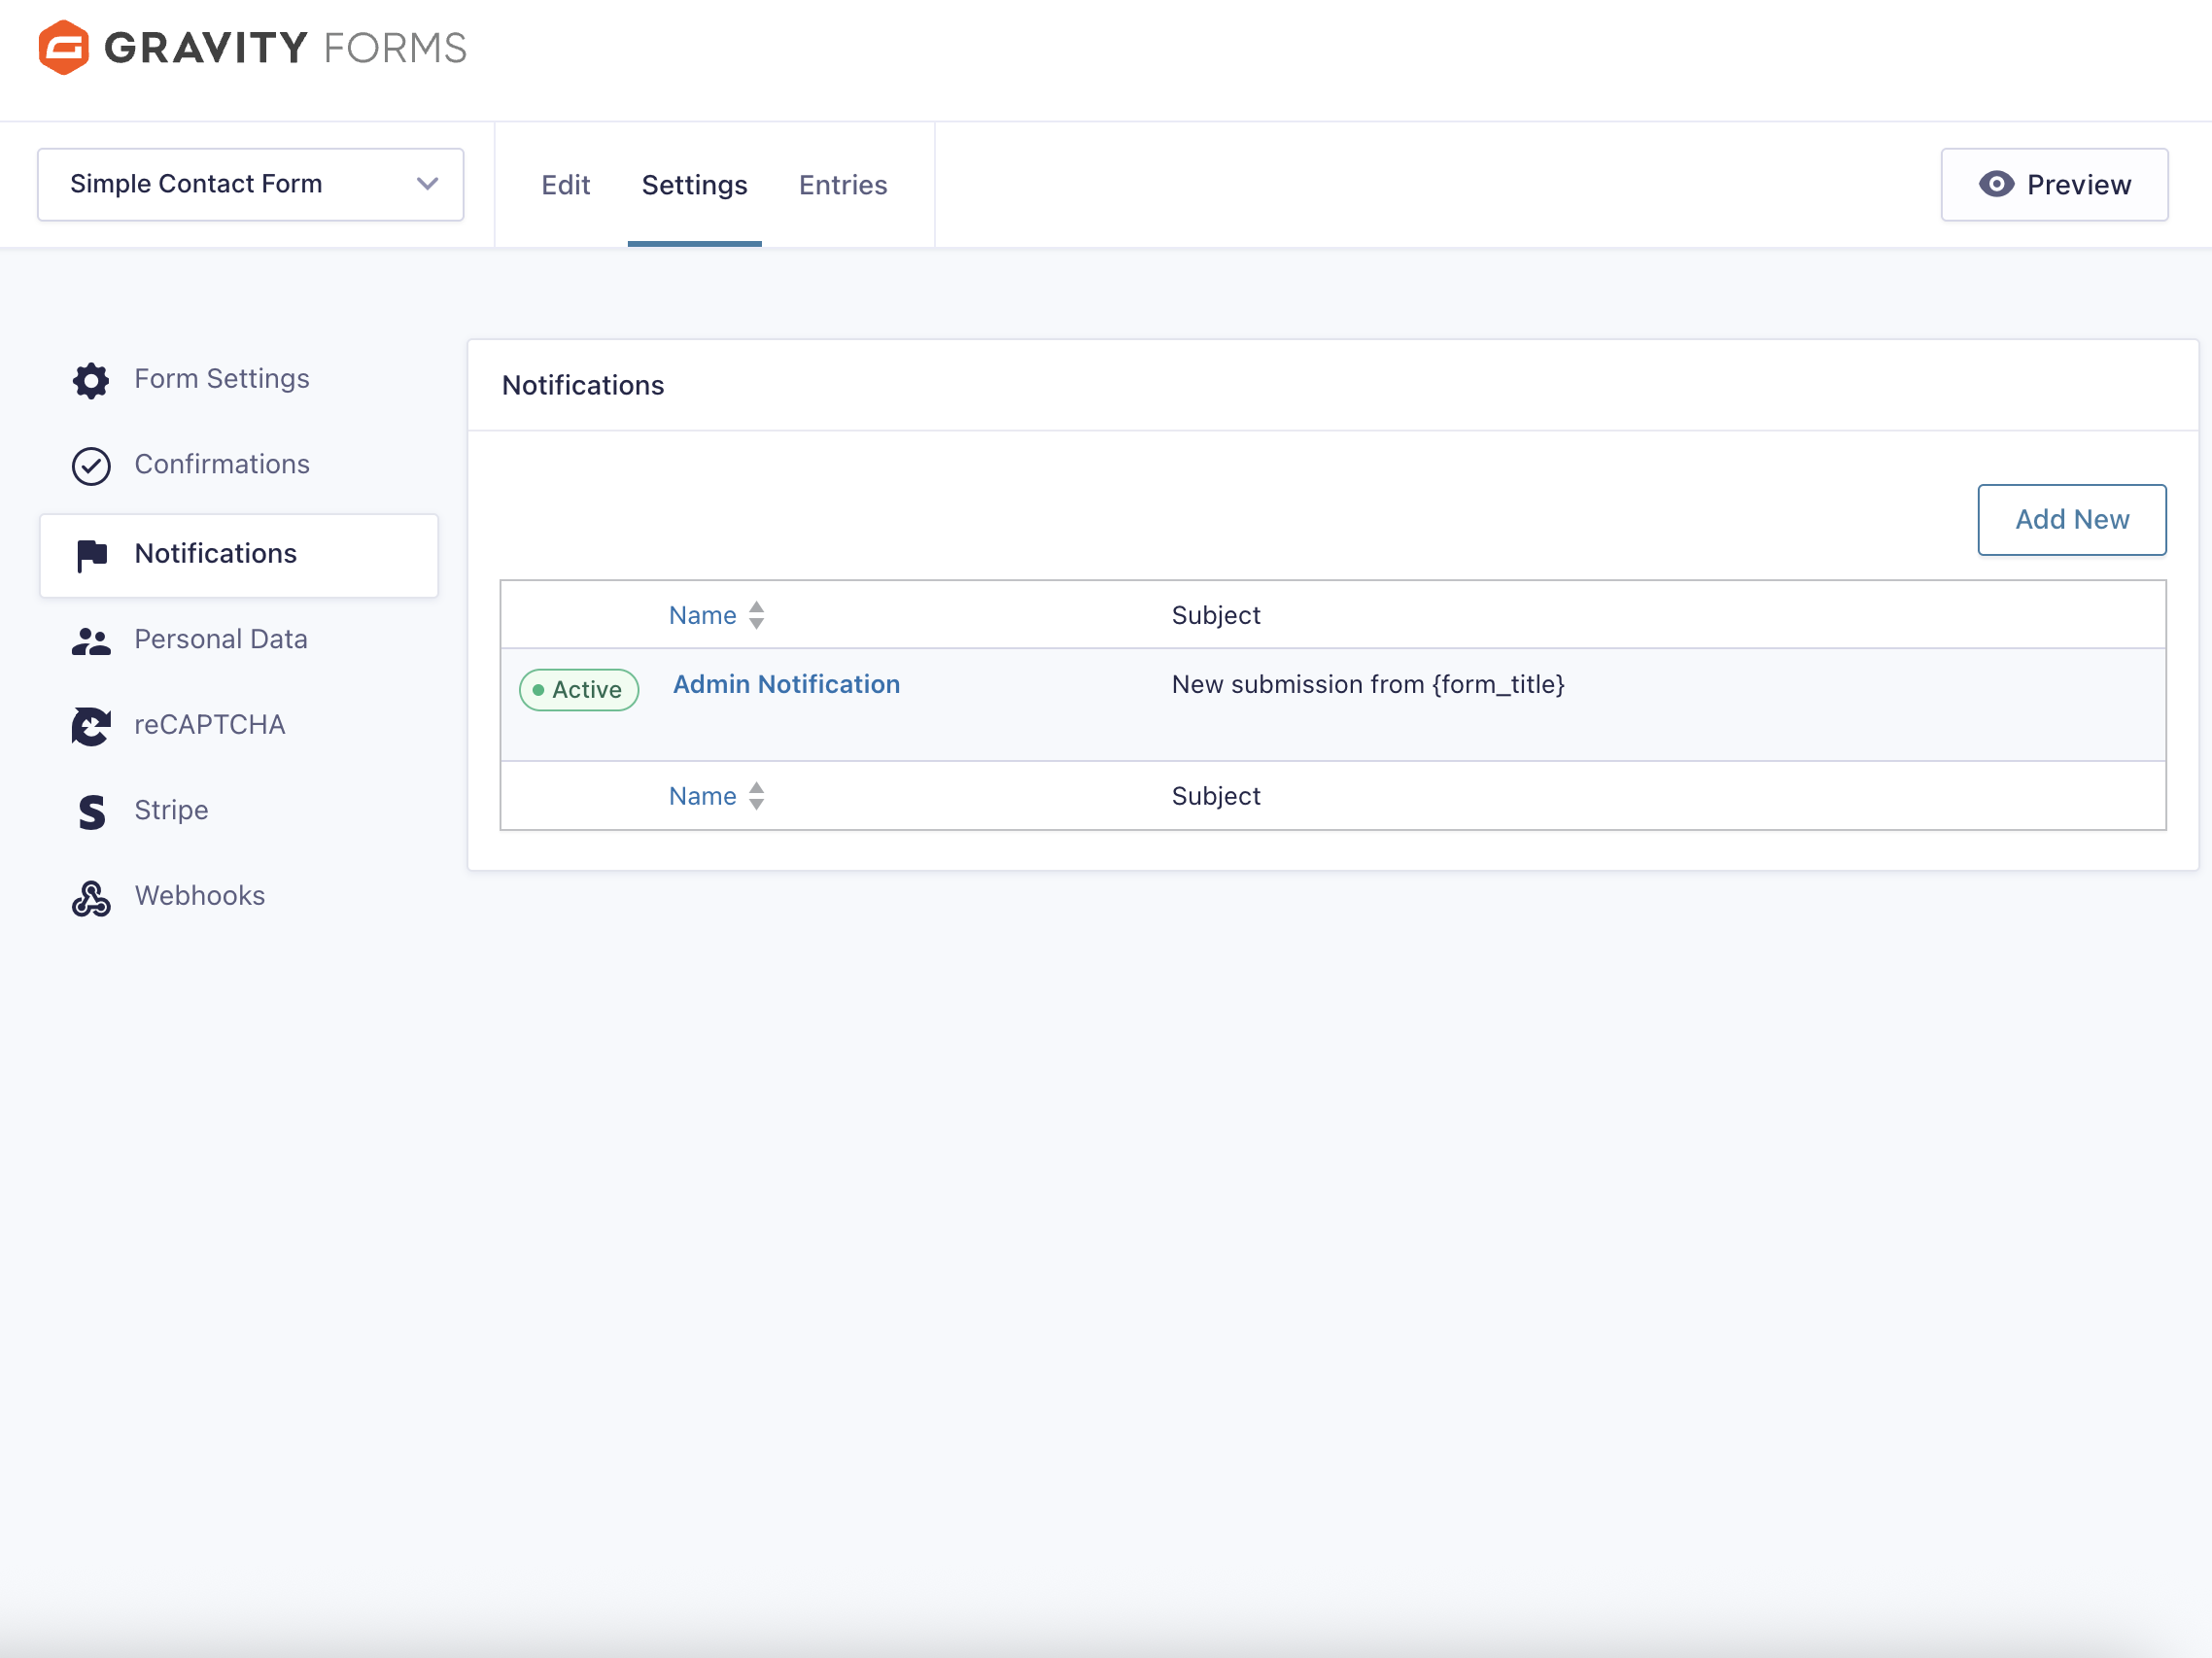
New forms include a single Admin Notification that emails the WordPress admin address when submitting an entry. Its default is a subject: “New submission from {form_title}” and a body containing the submitted fields via {all_fields}. You can edit or replace it, or even disable it.
In your WordPress Admin go to Forms → [Your Form] → Form Settings → Notifications. You will see the Admin Notification in the list. Click its name to change recipients, subject, message, or to add additional notifications.
For step by step configuration, settings reference, and conditional logic examples, see the Notifications documentation.