Introduction
Gravity Forms version 2.8 introduces a new Compact View for the form editor. This layout will “shrink” your form fields into a smaller format for a bird’s eye view of your form and easier navigation of very large forms. Compact View can be enabled or disabled on a per-form and per-user basis.
Enabling Compact View
Compact View can be used when editing any form. Look for the settings cog in the upper right corner of the form editor screen next to the Save button and above the Field library.
Click the cog icon to open the Editor Preferences modal window and then click the toggle and close the modal to show (or hide) the Compact View.
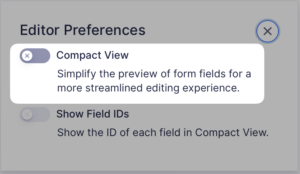
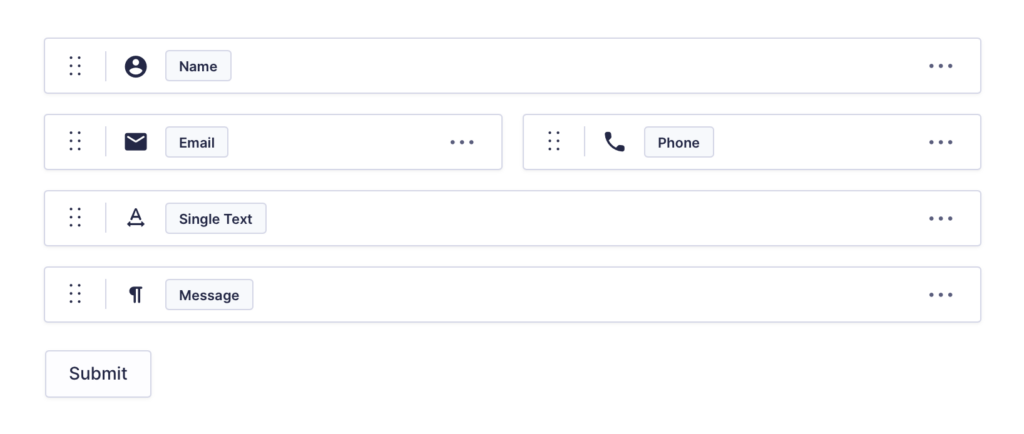
When activated, each field will display a bounding box and just the important identifying information for the field, such as a field type icon, the field label, and the field ID. What displays will depend upon screen width and layout space, so you may see less on mobile devices and column-heavy layouts. Hovering over the field will reveal additional actions that can be made on the field.
Show Field IDs
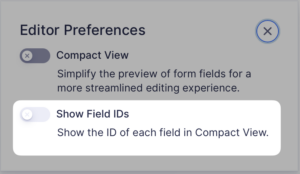
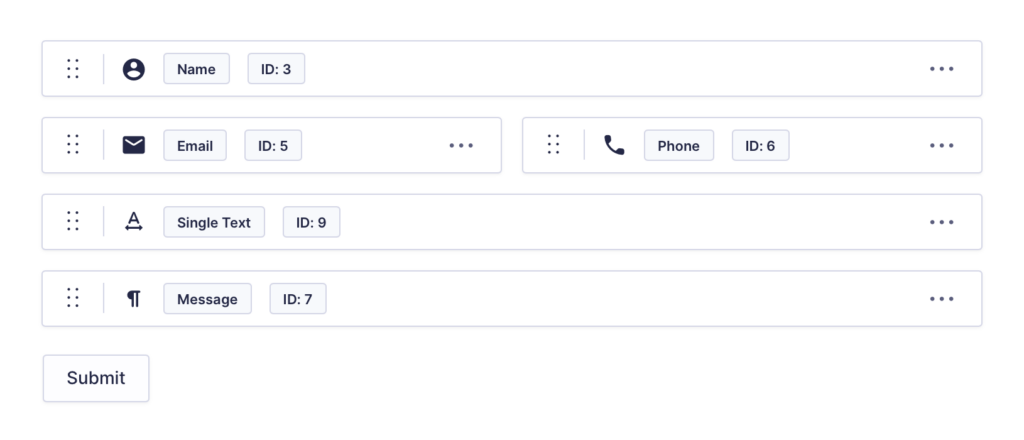
The Show Field IDs toggle in the editor preferences allows you to display the IDs of your form fields (or hide them) for ease of editing. By default, this option is toggled off.
Here is an example of the default view with Show Field IDs toggled off:
Here is the same form with Show Field IDs toggled on:
Editing Actions in Compact View
Compact view still lets you perform a number of form editing actions, mostly the same as you would in the normal “non-compact” editor view. The sections below show these primary actions.
Adding a New Field
To add a new field in Compact View, simply use the same select and drag process as available in the regular form editor view.
Accessing Field Settings
Clicking on any field in Compact View will open its settings panel on the right side as it does in the regular editor view. If you make changes to a Field Label, they will be reflected within the compact view as you type.

Rearranging Form Fields
As in the regular editor view, Compact View allows you to order the fields on your form, including the placement and ordering of columns. Use the drag-and-drop action as you normally would by gripping the drag dots to the far left of the field.
Duplicating and Deleting Fields
Hovering over a field in Compact View will display icons on the right side of the field that offer additional actions. Click the Duplicate icon to make a copy of the field or the Trash icon to remove the field from your form.
Disabling Compact View
To disable Compact View, edit your form, click the cog icon in the upper right corner, and toggle the switch to the off/disabled position. Once you close the modal, the form editor will be displayed in the regular expanded view.