What Is A Notification?
Notifications send information after a form submission, most commonly via email to admins, submitters, or routed recipients. Configure message content with merge tags, attach uploaded files, and add query strings or UTM parameters for analytics. See Getting Started: Confirmations and Notifications.
Create a New Notification
You will need to have a form created already. If you need to learn how to do so, you may review our article on creating forms.
- In your WordPress Admin go to Forms → [Your Form] → Form Settings → Notifications.
- A list of all notifications that exist for that form is displayed.
You will see the Admin Notification in the list. Click its name to change recipients, subject, message, or to add additional notifications. - To add a new notification, click the Add New button.
- Pick a unique name for yourself to identify the notification. It is not displayed to the user, but for admin purposes.
Animation showing how to access the Nonfirmations settings page for a form.
Enter the Email Settings
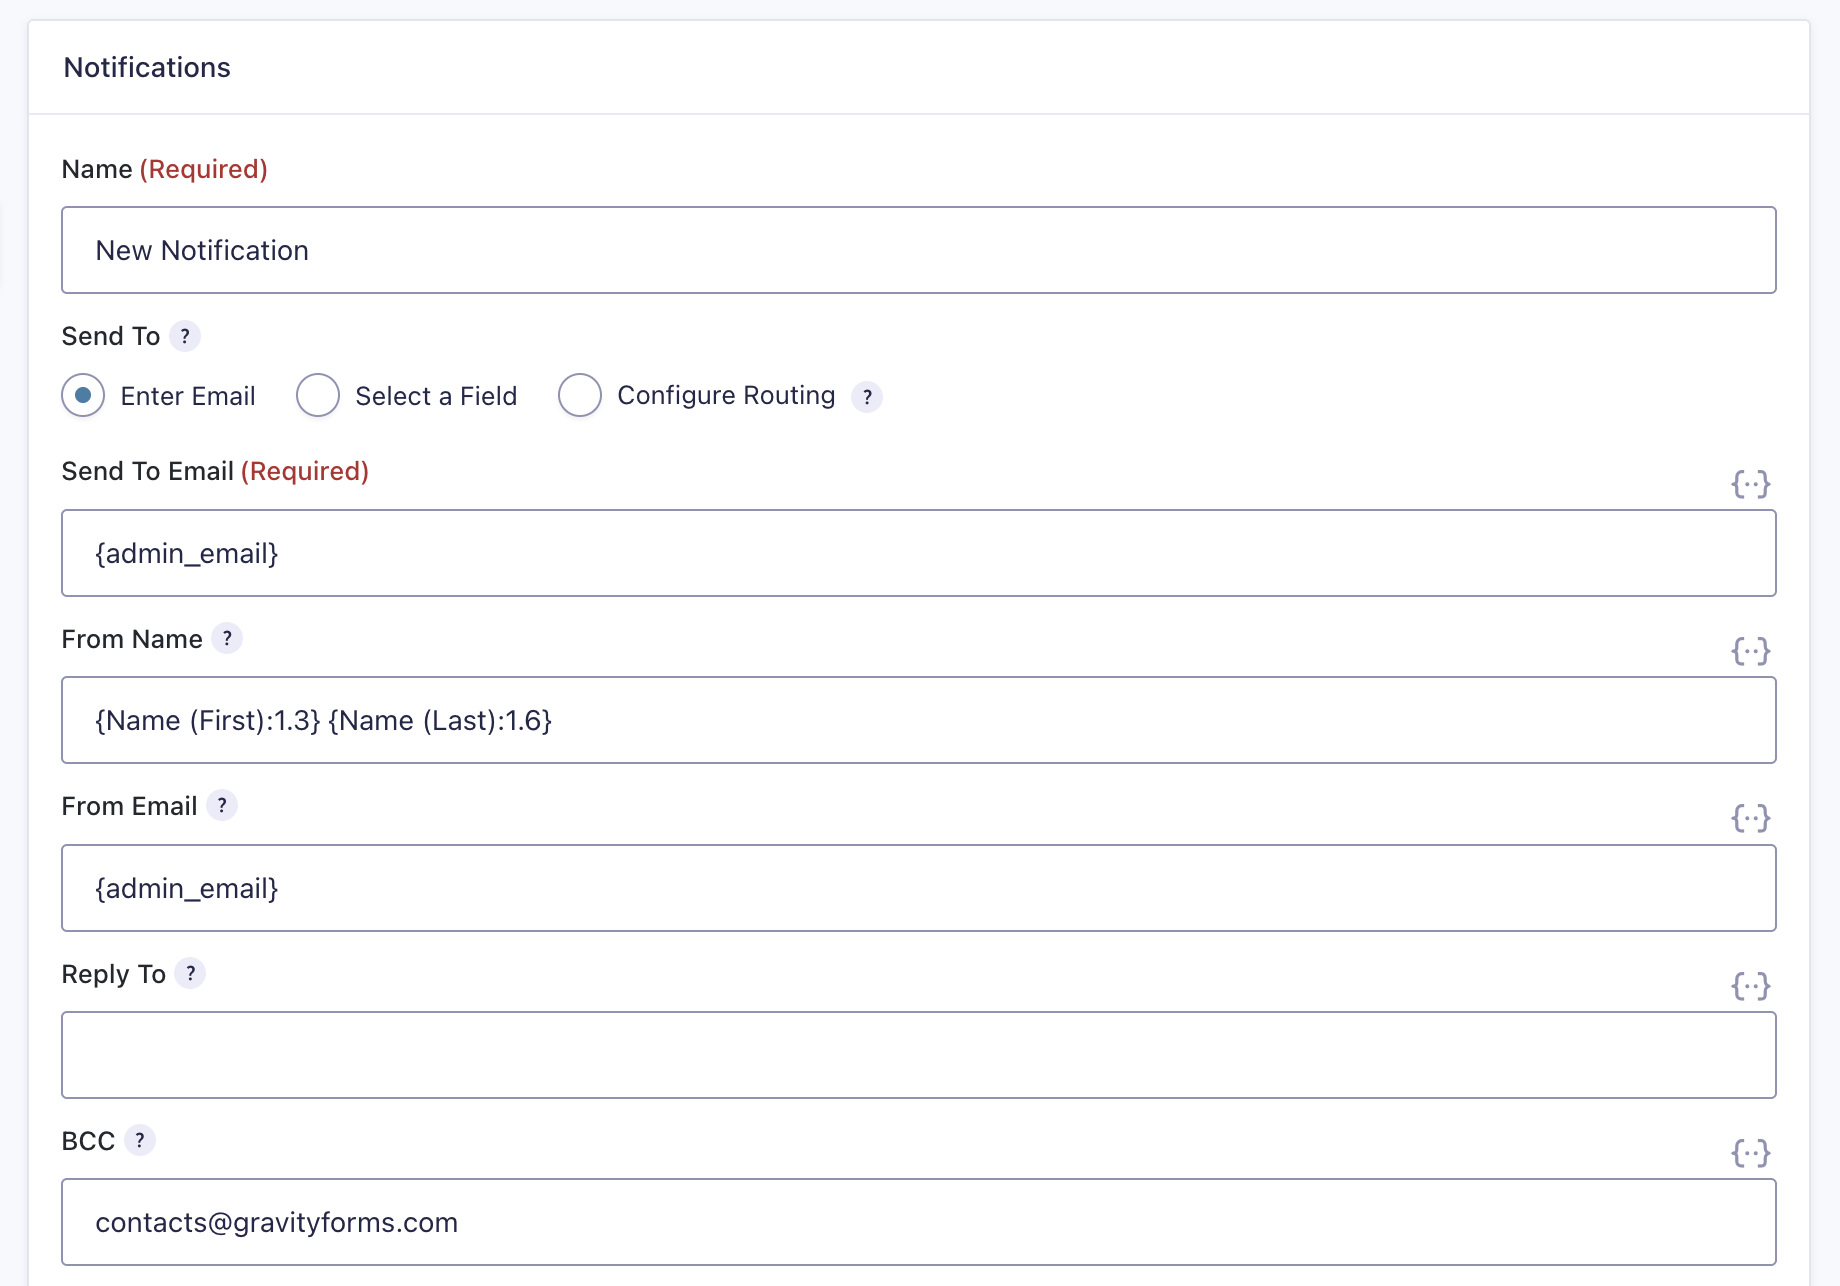
- Sent To Email.
This can be a merge tag for a field in your form: {Email:2}, a single email address, or multiple email addresses separated by a comma that all notifications for this form will be sent to, eg:[email protected]or[email protected],[email protected],[email protected]
Refer to the Notifications Settings Reference for more information about Send To options and configurations. - From Name.
When a notification email is sent, the From Name will be displayed as the sender. This can be set to a static value or dynamically generated with merge tags. In the screenshot above, the name field is populated dynamically from the form for use as the From Name in the notification. Click on the merge tag icon {..} to the right of the field, and click on the field that is used for the name.The number in the merge tag is the value of the field_id. Example: {Single Line Text Field:4} will select field ID 4. {First Name:5.3} will target the 3rd subfield of the field ID 5. For more information on merge tags, refer to this article.
- From Email.
This is the email address that is displayed as the sender when receiving the notification. It can be set to use the {admin_email} (WordPress admin email) or a static email address. Always use a valid from email to prevent sending and deliverability issues.
Set the Message and Subject
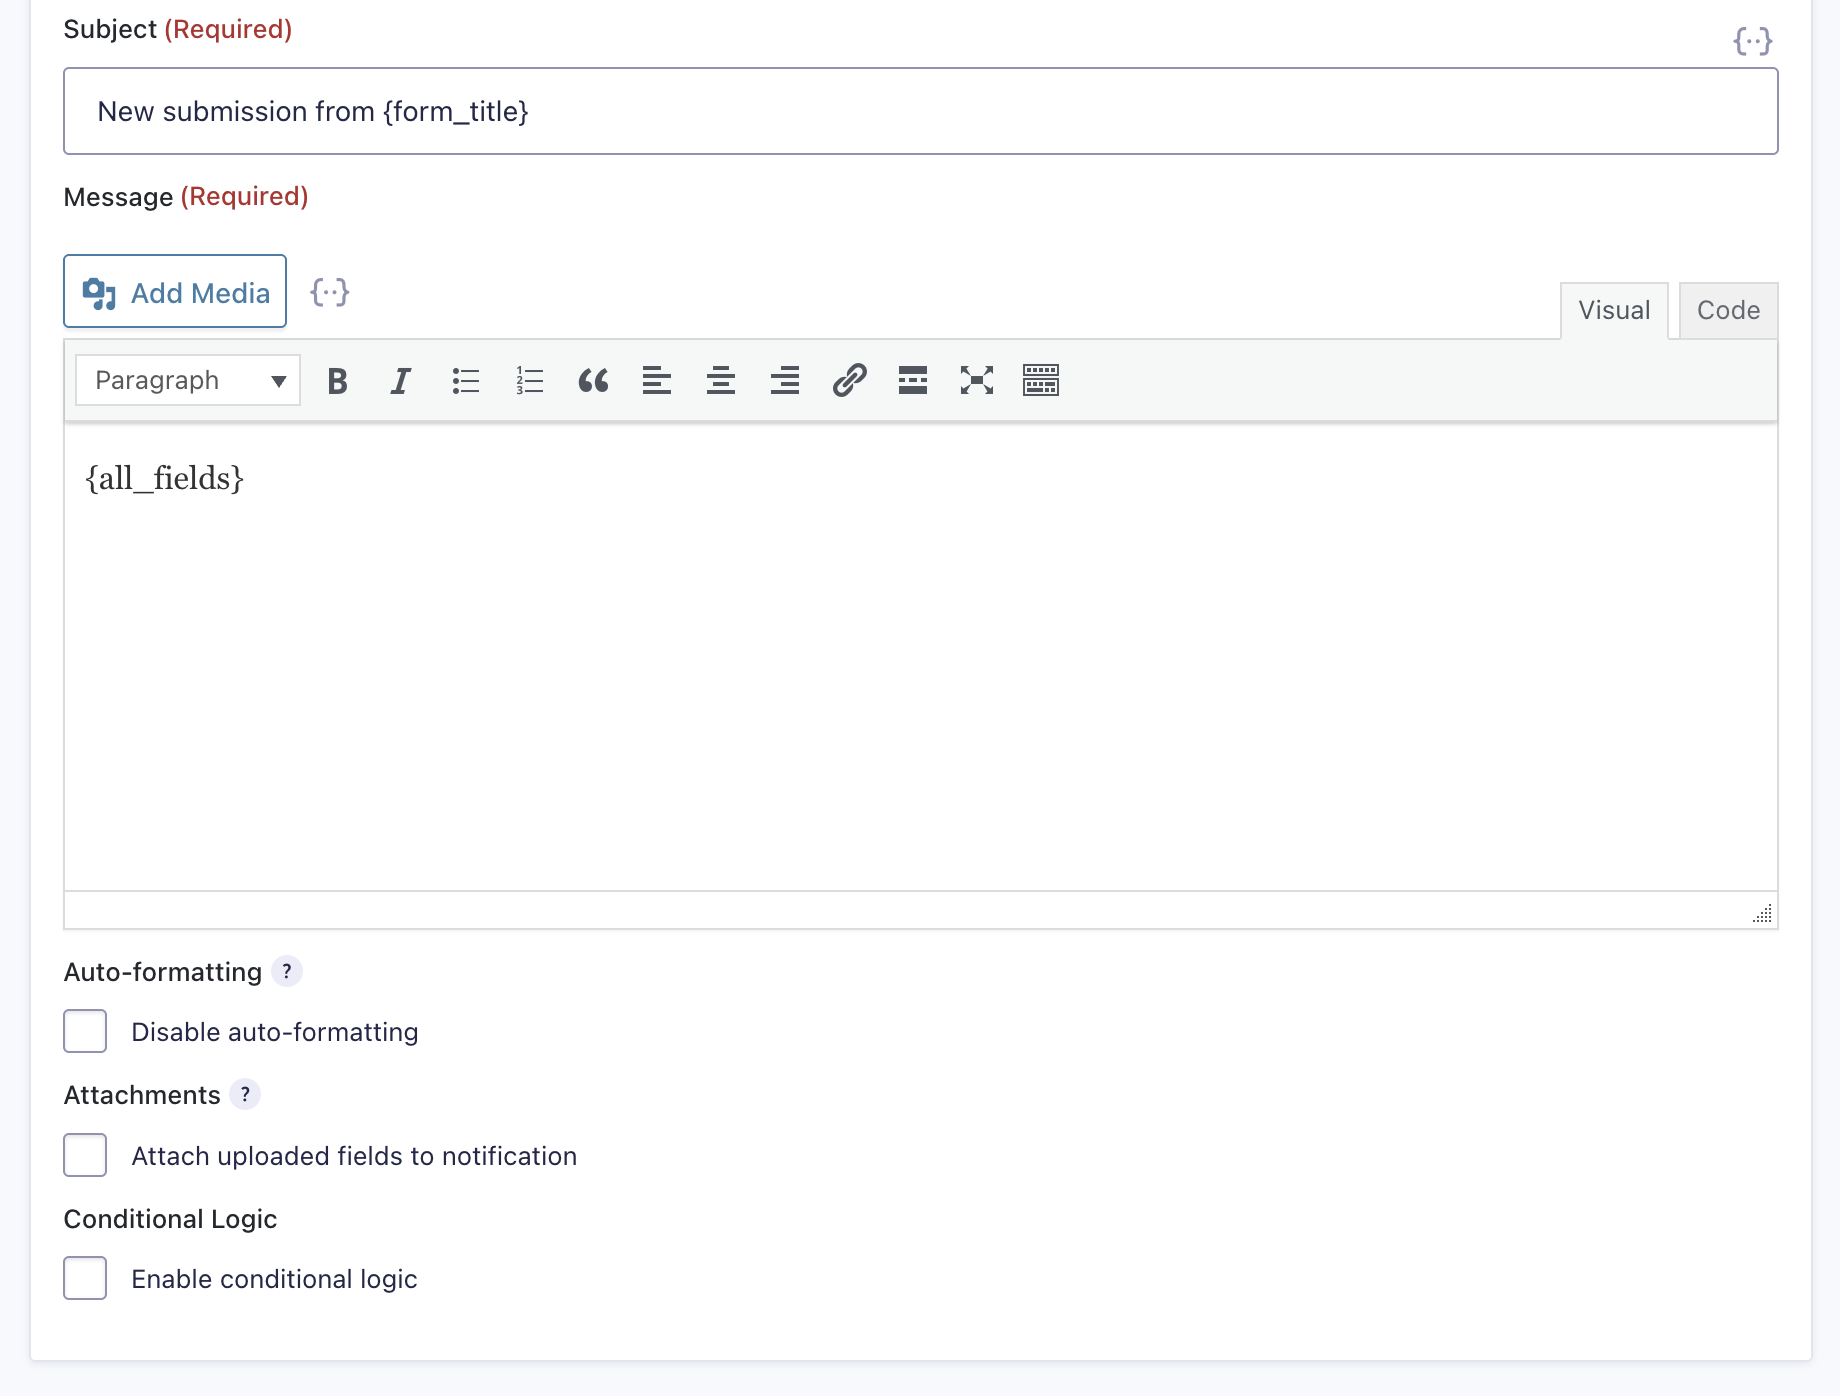
- Subject.
The subject defaults to the form title but can be customized. Merge tags may be inserted for dynamic content. - Message.
The message includes submitted form content by default. Users may change it and insert merge tags using the dropdown icon.
Resources
Settings Reference
Refer to the Notifications Settings Reference for more information about Send To options and configurations.
Creating A Customized Notification
See Creating Customized Form Notification Emails
Using Conditional Logic With The Notification
Notifications support conditional logic, which allows specific conditions to determine whether a notification is sent. Once enabled, the conditions can be configured. For more details, see Configuring Conditional Logic.