Overview
Learn how to install Gravity Forms add-ons using the Add-On browser, WordPress dashboard, or FTP.
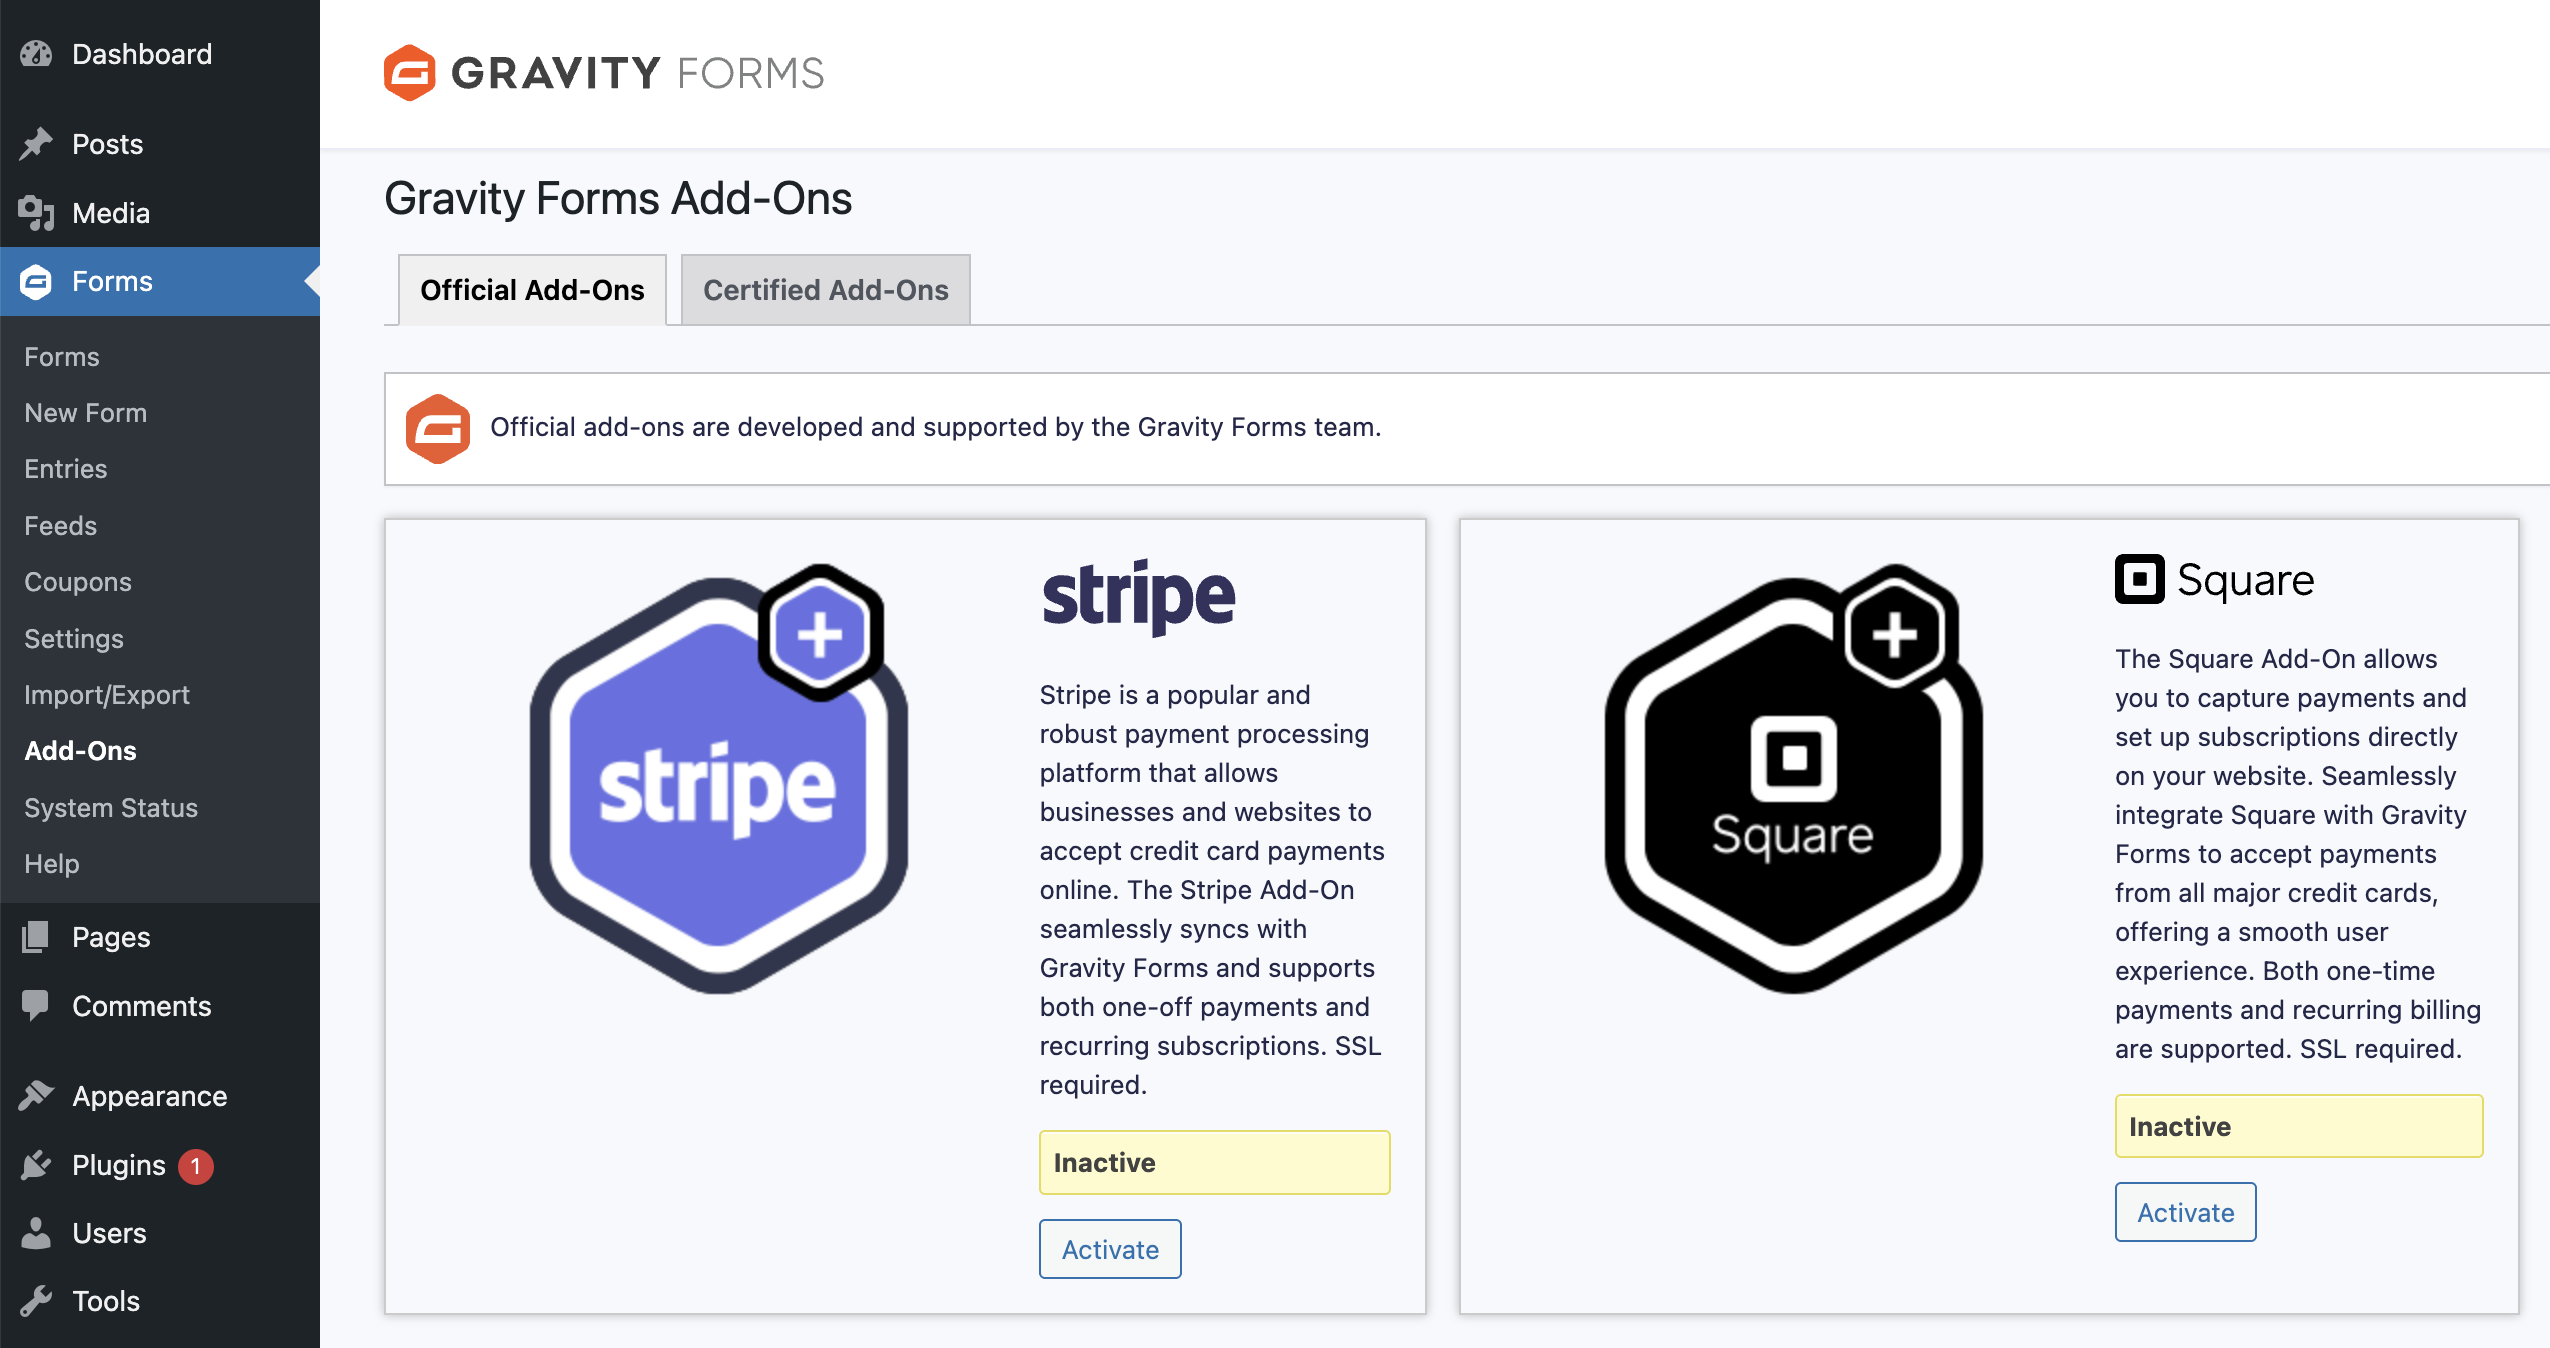
Installing Gravity Forms Add-Ons using the Add-On Browser
- In WordPress, go to Forms > Add-Ons.
- Find the add-on you want to install and click Install.
- After installation completes, click Activate Plugin.
Installing Gravity Forms Add-Ons using the WordPress dashboard
- Download the add-on zip file from the Gravity Forms downloads page.
- In WordPress, go to Plugins > Add New.
- Click Upload Plugin > Choose File. Select the zip file and click Install Now.
- WordPress will automatically handle the unpacking and installation for your Gravity Forms add-on. Once complete, click on Activate Plugin to activate it.
- After installation completes, click Activate Plugin.
Installing Gravity Forms Add-Ons using FTP
- Download the add-on zip file from the Gravity Forms downloads page and extract it.
- Connect to your server via FTP and navigate to
wp-content/plugins. - Upload the extracted add-on folder.
- In WordPress, go to Plugins and click Activate for the add-on.
Activate the Add-On and Review the Settings
After activating an add-on, check its settings page to complete any required configuration. See the add-on’s documentation for setup instructions.