Introduction
This guide covers how to manage images within the Image Choice field: uploading, updating, and deleting them, as well as customizing their appearance in the Gravity Forms block.
Working with Images in the Form Editor
Uploading an Image
The Image Choice field allows you to upload a new image or use an image already in the WordPress Media Library.
Note: When uploading a new image using the Image Choice field, it will be cropped and set to the optimal aspect ratio of 1:1. If you are using images that are already in the media library or if the image is not uploaded with the Image Choice field UI, you will need to use a WordPress plugin to resize existing images.
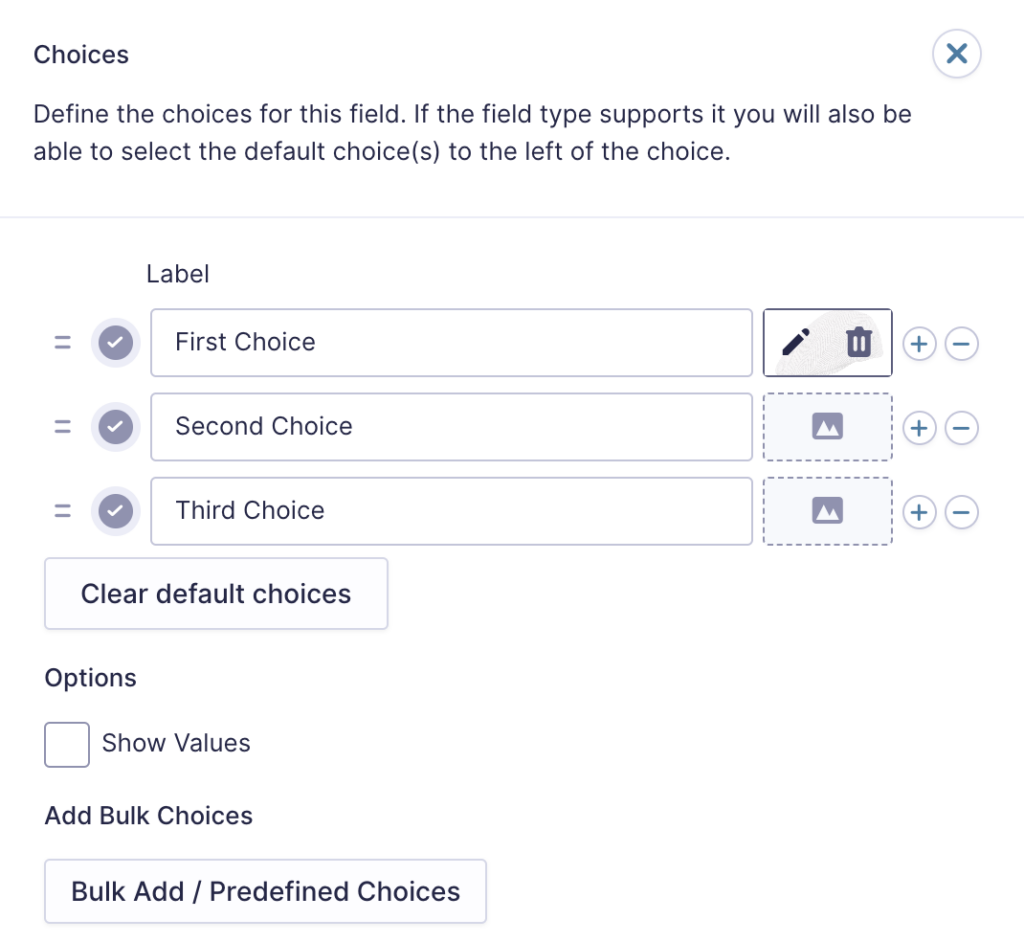
- Open the Edit Choices flyout.
- Add a new image by clicking the image placeholder near the choice Label.
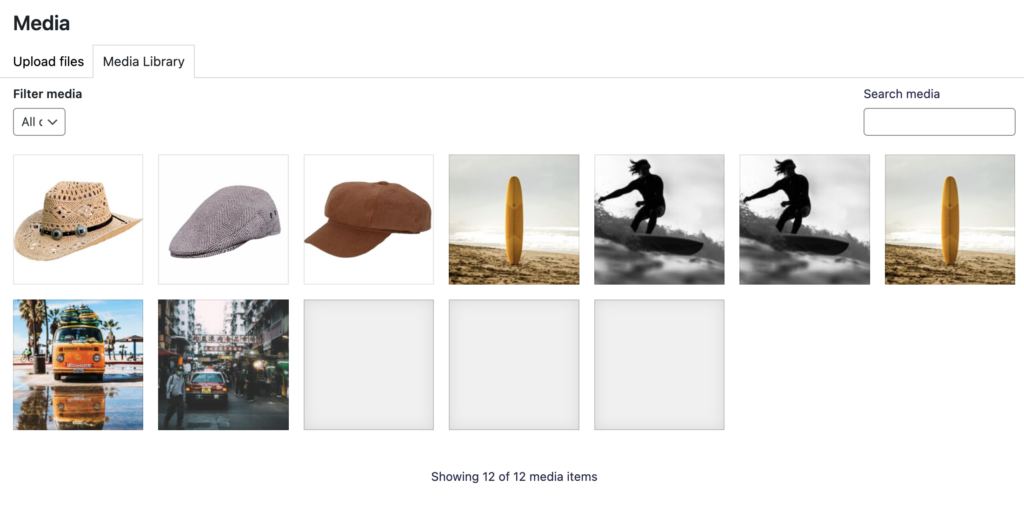
- A pop up with the WordPress Media Library will be opened.
- Select an image from the Media Library or upload a new one.
Updating an Image
- Open the Edit Choices flyout
- Hover on the image you want to update.
- The “Pencil” and “Trash” icons will be displayed.
- Click on the “Pencil” icon to update the image.
- A pop up with the WordPress Media Library will be opened.
- Select an image from the Media Library or upload a new one.
Deleting an Image
- Open the Edit Choices flyout
- Hover on the image you want to delete.
- The “Pencil” and “Trash” icons will be displayed.
- Click on the “Trash” icon to delete the image.
- The image will be deleted from the Image Choice field.
Block Settings
Image Choice Styles
The Image Choice Styles settings are found in the Gravity Forms block settings in the post editor. They allow you to change the Appearance, Style, and Size of the images in the Image Choice fields.
Appearance set to Card will show the image inside a card.

Style set to Circle will show the image as a circle instead of a square.

With the Size setting, you can also choose whether to show Small, Medium, or large images.
Note: these settings will apply to all Image Choice fields on the form. These settings are only available for forms using the Orbital Theme.


