Introduction
Gravity Forms has a selection of built-in form templates for many common website needs. These can be immediately added to your site from our Template Library. Once added, you then have full control over any modifications and adjustments you require to suit your site’s needs.
This guide outlines the steps you need to complete the customization of these generic templates to turn them into a fully functional form on your site.
Adding a Form from a Template
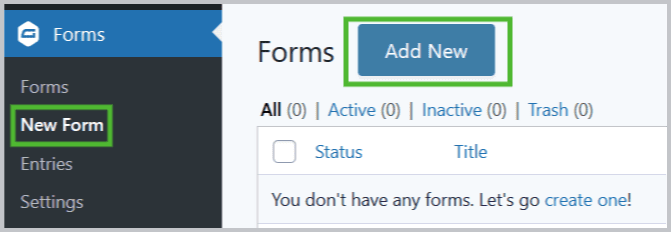
When you click the “New Form” link or the “Add New” button, you will be offered the Template Library to choose from.
Once you have clicked to add a new form, you will be presented with a modal dialog that gives you the option to start with a blank form or one of the pre-installed templates:
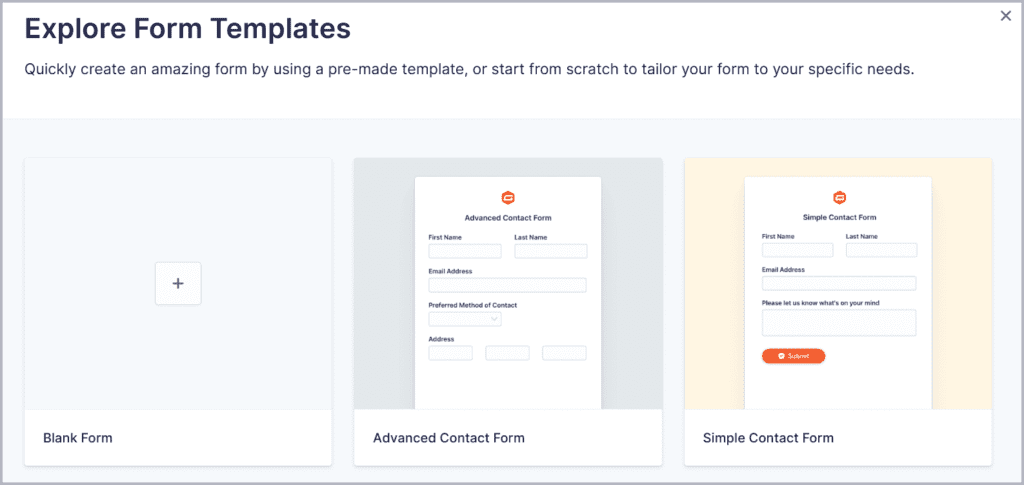
To start with a blank form, click the + sign to start with a blank form, then follow this guide. To start with one of the pre-installed templates, find the template closest to your requirements, hover over that template, and select “Use Template”:
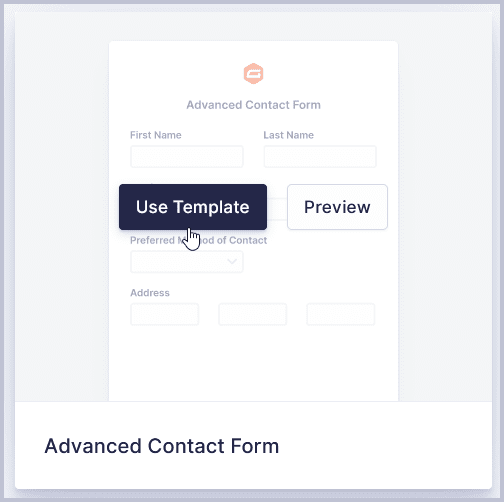
Note: if you want more information about the form before selecting it for use on your website, the “Preview” button will link to the form template on the gravityforms.com website, where you can inspect the form before selecting it. You can find examples of all the form templates in the form template library on our website.
One of the quickest ways to get a form up and running is to import a completed form from a saved/exported form file. From there, you can use it as is or modify it for any special requirements you have.
Adding a Form Using a Saved File
Refer to this article that shows how to import a form file.
Note: If you want to export your own form (for example, to save a backup or migrate it to another site), follow this guide.
Customize your form
No matter how many forms we have seen here at Gravity Forms, your form will probably have slightly different needs! To help get you from the built-in template to a fully functioning form tailored exactly for your website and your audience, we have added an extensive guide full of steps you should consider.
Check out that guide to customizing your form here.