Summary
Save and Continue functionality is a critical feature that many individuals rely on when building large forms. By utilizing Save and Continue functionality, users are able to save their place and come back to the form without the need to start over again. In this article, we will show you how to use the Save and Continue functionality within Gravity Forms.
How Save and Continue Works
The Save and Continue functionality within Gravity Forms will create a link for continuing the form at a later date. Upon clicking the link in the form, the user will be presented with a custom link to the current state of their form submission, with the option of sending the link via email.
Links created will last 30 days. After that period, the link will no longer be accessible. To override this, you can utilize the gform_incomplete_submissions_expiration_days filter.
Note: If you are handling sensitive data, be sure that you have SSL (HTTPS) enabled and running on your site. The URL generated is accessible to anyone who has it, and the URL can be used to decrypt the saved details within the database. Without encryption, it’s possible that someone could access the partially submitted data as well as continue the submission of it.
Note: Single File Upload fields will not preserve any file added before the Save and Continue action. This is because single file fields are not validated as non-malicious until form submission is submitted. Thus, when Save and Continue is used, any single file uploads attempted will be cleared and not preserved by the link. This behavior does not exist with Multi-File Upload fields, as they validate uploaded files at the time of upload, not form submission.
Note: When using a List field, the column names must be unique or the data will not save when using Save and Continue.
Enabling Save and Continue
- First, access the form that will utilize the Save and Continue functionality. This can be done by clicking on Forms on the left side of your WordPress admin, then clicking on the form that you want to enable Save and Continue on.
- Next, access the form settings for the form by clicking on Settings at the top of the form editor.
- Within the form settings page, you should see an option labelled Save and Continue. Simply enable the checkbox to allow Save and Continue functionality within the form.
- Upon enabling Save and Continue, an additional field will be available to change the link text. If you would like to change the text content of the Save and Continue link, you can enter your new text here.
Of course, don’t forget to save your settings when complete.
Confirmations/Notifications
Upon enabling the Save and Continue option, additional confirmations and notifications are created. To change any notifications or confirmations related to the Save and Continue link, access the new items as you normally would with other notifications or confirmations.
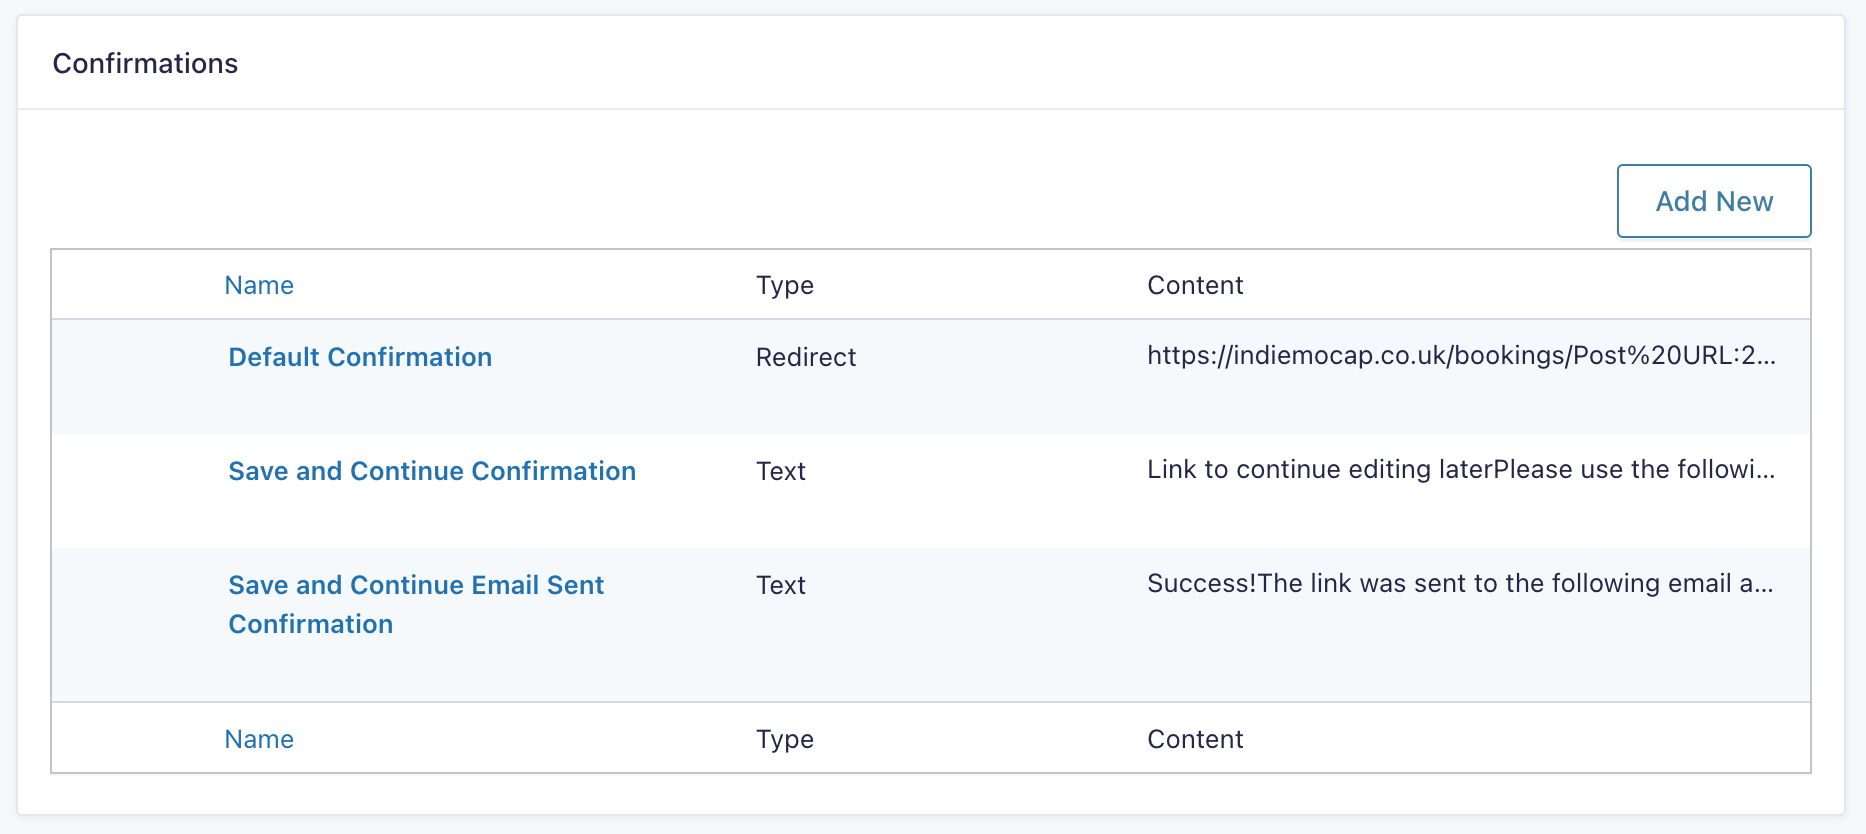
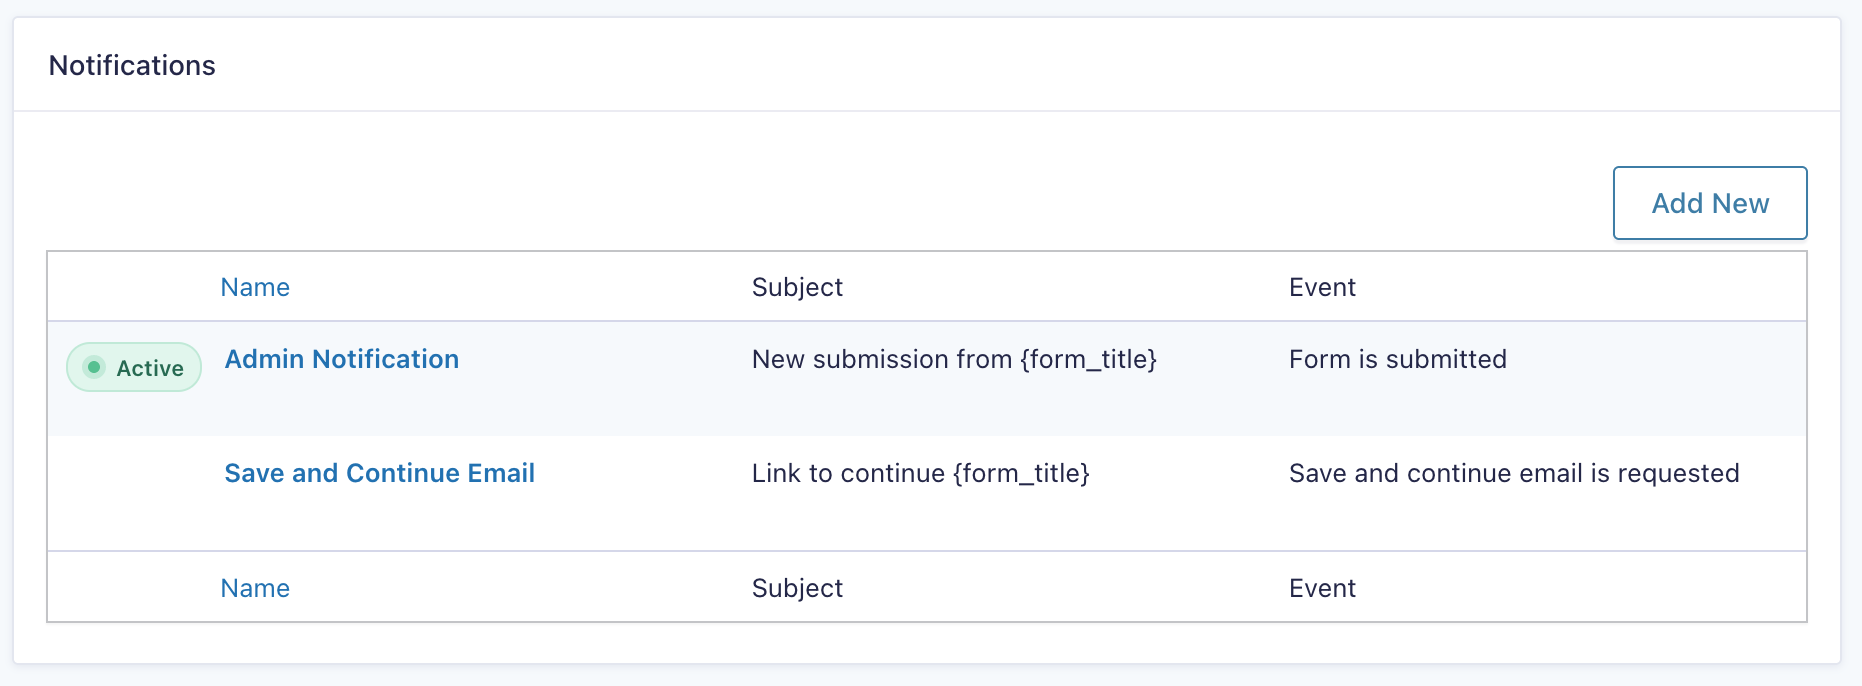
Due to the Save and Continue feature using its own confirmations and notifications that are independent of any existing items, you will need to modify these independently. Also note that if you disable the Save and Continue feature, the notifications and confirmations that were automatically created will be deleted.
Merge Tags
The following merge tags will work only in Save and Continue confirmations and Notifications using the Save and continue email is requested event.
{save_email_input}
Outputs the input field that is used for sending the continue link to an address. A custom validation message, as well as button text, can be passed.
Example
{save_email_input: button_text="Send the link to my email address" validation_message="The link couldn't be sent because the email address is not valid."}
{save_email}
The email address that the saved partial input has been sent to.
{save_link}
This outputs the Save and Continue link as a clickable link. For use as part of the content for the default Save and Continue Confirmations and Save and Continue Email only.
{save_url}
This outputs the Save and Continue URL only. For use as part of the content for the default Save and Continue Confirmations and Save and Continue Email only.
{save_token}
The token generated.
Save and Continue Link Recovery
By default, the resume URL isn’t saved. The value of the gf_token query argument from the URL is saved, along with the form values, in a separate database table, which is not accessible from anywhere in the WordPress admin dashboard.
Extending Save and Continue
The following add-ons include features that integrate with or extend Save and Continue.
- The Partial Entries Add-On – if Partial Entries is enabled for the form and the Save and Continue button is clicked, the resume URL and token will be saved with the partial entry. The resume link is displayed at the bottom of the entry info metabox on the Entry Detail page. It also makes the URL and token available as optional columns for display on the Entries List page.
- Advanced Save & Continue by certified developer Gravity Wiz adds auto-saving, auto-loading, and draft management.
Disclaimer: Third-party services, plugins, or code snippets that are referenced by our Support documentation or in Support Team communications are provided as suggestions only. We do not evaluate, test or officially support third-party solutions. You are wholly responsible for determining if any suggestion given is sufficient to meet the functional, security, legal, ongoing cost and support needs of your project.
Feedback, feature, and integration requests, and other functionality ideas can be submitted at http://forms.roadmap.gravity.com/.