Summary
A feed allows form submission data to be sent to another service. To use the EmailOctopus Add-On with Gravity Forms, you will need to create a feed to pass data from your form to your EmailOctopus account. This allows you to automatically add subscribers to a list when a form is submitted.
Pre-requisites
- You have completed setup the EmailOctopus add-on, including registering the API key.
- You should already have a form set up within Gravity Forms that you wish to use as the source of feed submissions.
Create a Feed
To create a feed to EmailOctopus using the EmailOctopus Add-On for Gravity Forms, do the following from your WordPress Admin Dashboard:
- Click on Forms in the left side menu.
- Select the form that you want to use with EmailOctopus.
- Once within your desired form, hover over Settings and click on EmailOctopus.
- Click Add New to create a new feed. All the options you are presented with are described in the next section.
Feed Settings Screen
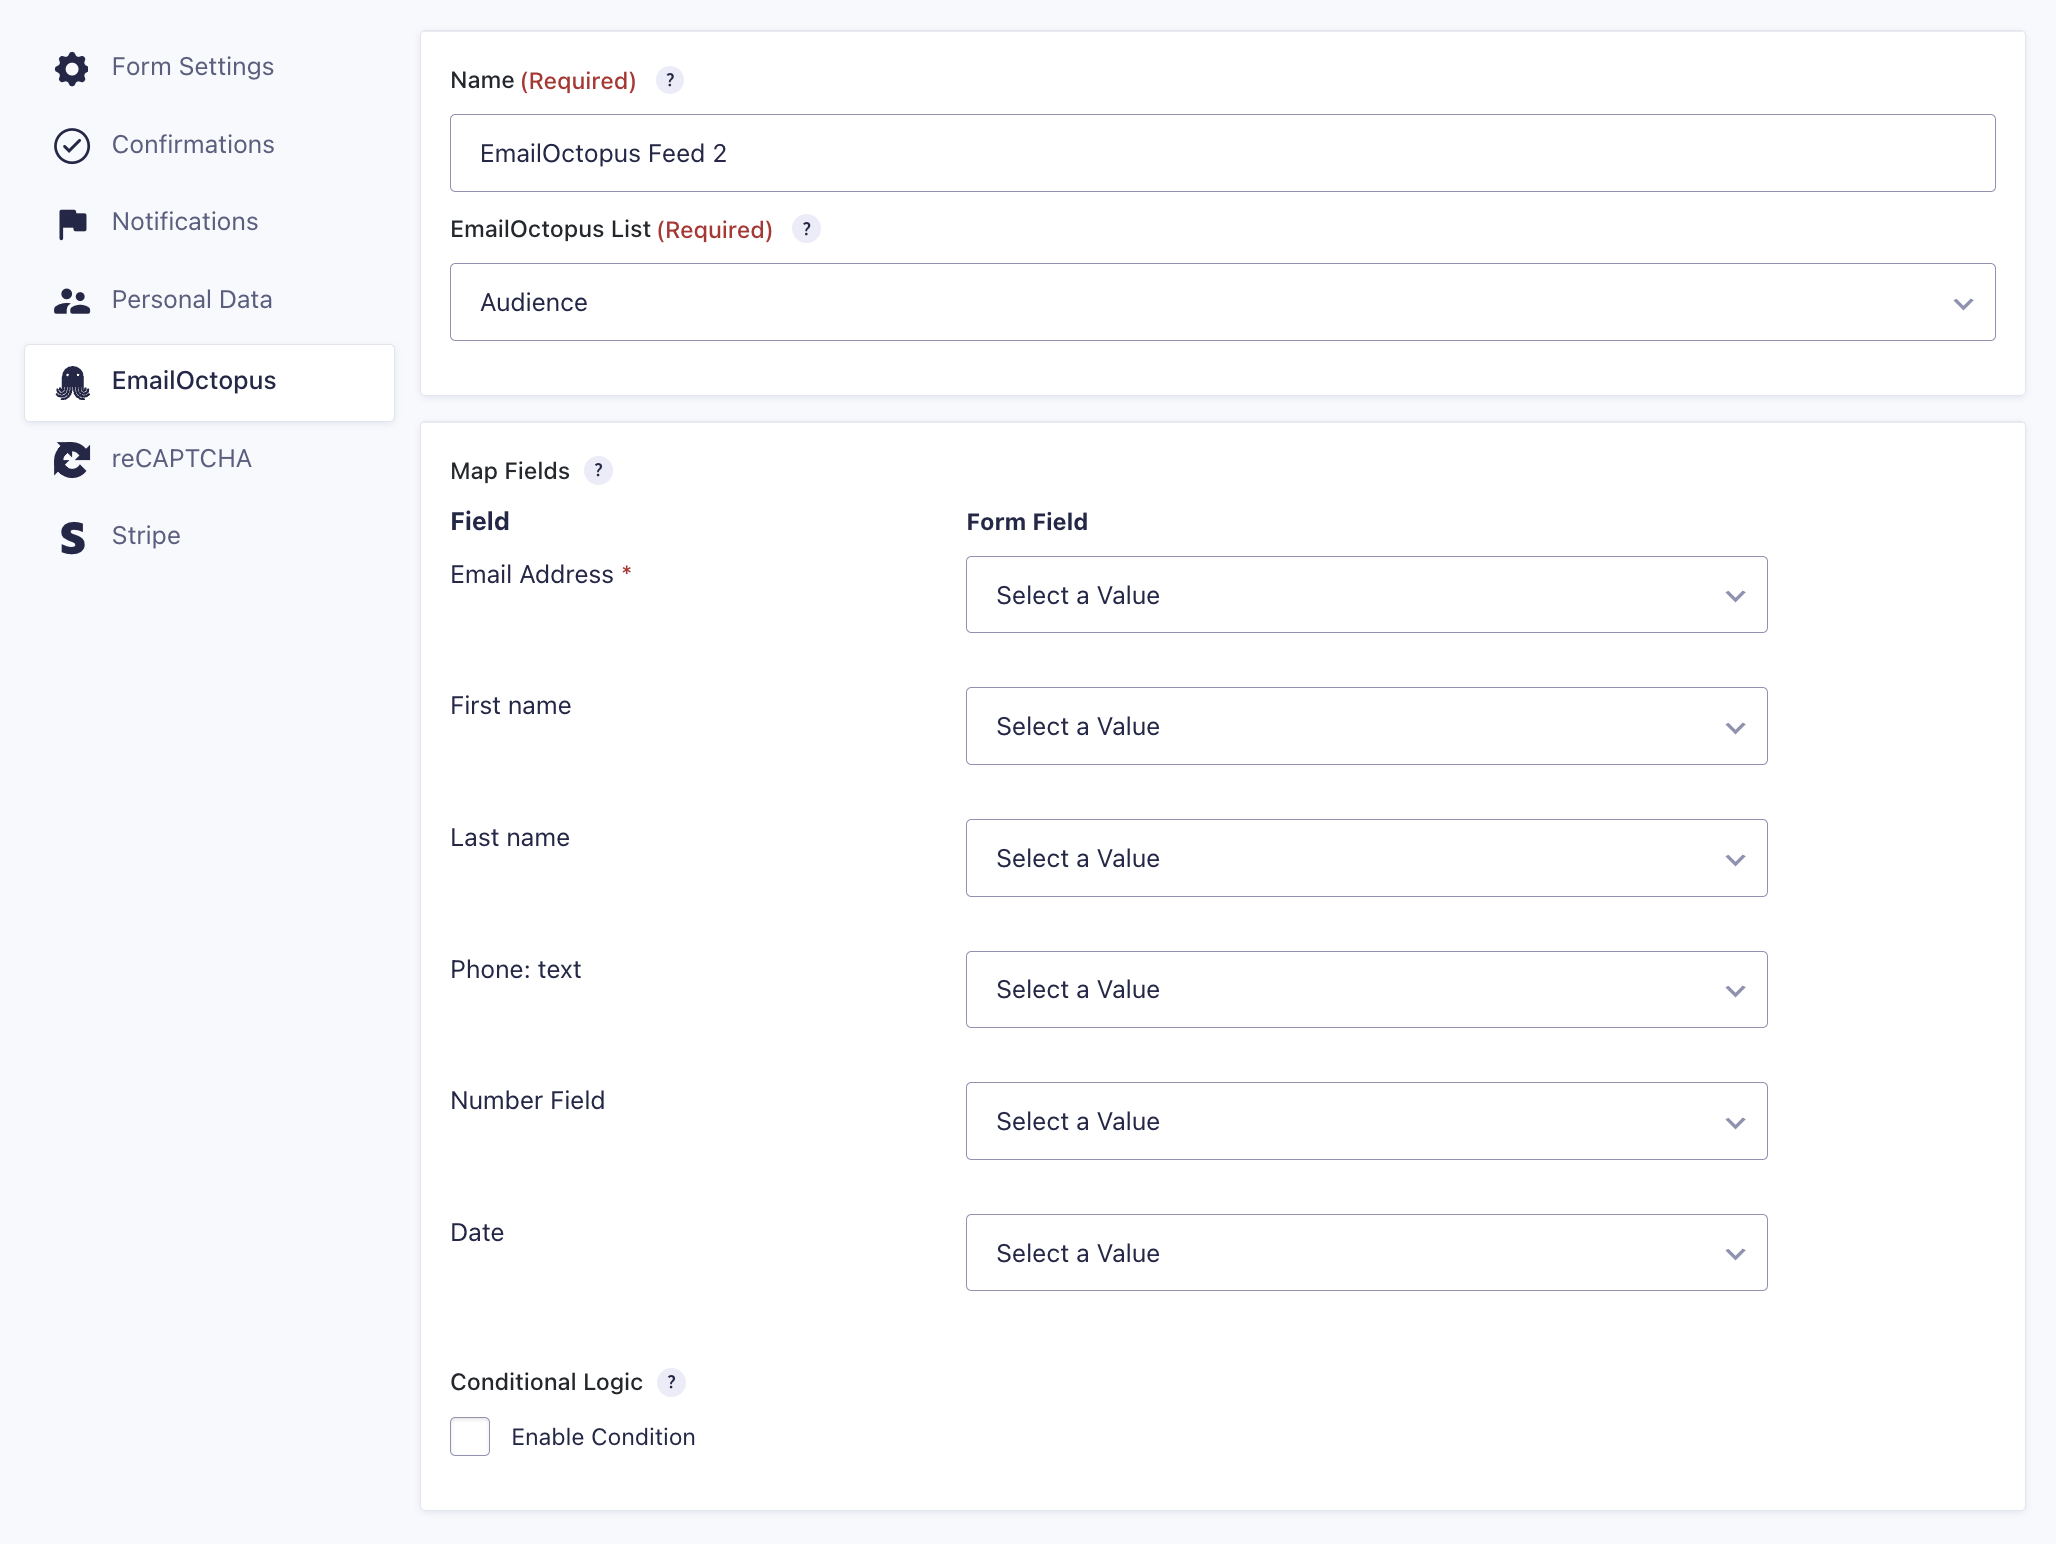
| Setting | Description |
|---|---|
| Name | Used to identify your feed in the feed list. Required. |
| EmailOctopus List | The list in your EmailOctopus account to which subscribers will be added. Required. |
| Map Fields | Map each EmailOctopus field to the corresponding form field. See Field Mapping below. |
| Conditional Logic | If unchecked, every successful form submission will be sent to EmailOctopus. To limit submissions to specific conditions, check Enable Condition and fill out the required criteria. |
Note: When mapping a Gravity Forms phone field, select the Phone: text field in EmailOctopus. The Number field type in EmailOctopus only accepts numeric values and will not accept phone field data.