Pre-Requisites
Setup
- Log into your WordPress admin dashboard.
- On the left side navigation menu, hover over Forms and click on Settings.
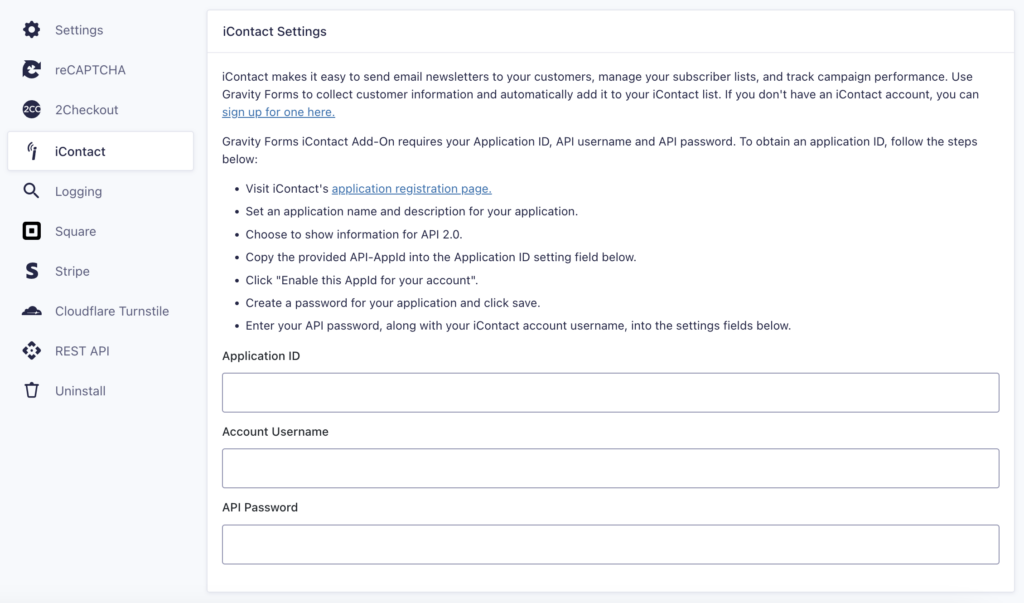
- From this page, click the iContact tab.
- Enter your Application ID, Account Username, and API Password. These are obtained from iContact. See below for instructions on how to create an application ID.
- Click Update Settings. If you’ve entered your account information correctly, green check marks beside each box will notify you. If you do not see green check marks, please double-check this information and try again.
Creating an iContact Application ID
- Visit iContact’s application registration page.
- Set an application name and description for your application.
- Choose to show information for API 2.0.
- Copy the provided API-AppId into the Application ID setting field below.
- Click “Enable this AppId for your account”.
- Create a password for your application and click save.
- Enter your API password, along with your iContact account username, into the settings fields below.
Once you have entered your API information, you’re ready to begin creating a feed for the iContact Add-On.
Add-on Framework Hooks
Because the iContact Add-On is built using the Add-On Framework it also inherits any hooks available in the framework methods it uses such as:
- gform_short_slug_field_value for changing a field value before it is passed to iContact.
