Introduction
One of the features of the Advanced Post Creation Add-On allows posts to be created upon form submission for third-party post types. This article provides a guide on how to use Advanced Post Creation with WooCommerce, to create Products, and The Events Calendar, to create Events.
Note: This article assumes you have installed and activated the required plugins. If not, you will need to do so before you can use any of the functionality in this article.
Creating WooCommerce Products
Create the Form
To create a WooCommerce Product, you need to capture several pieces of information through your form. The basic information includes a product category, which is populated using a Drop Down field. You’ll also need a Single Line Text field for the Product Name and a Paragraph field for the Description.
For pricing, add a Number field with the number format set to currency. Finally, include a File Upload field to allow users to submit a Product Image. These fields provide the foundation for creating WooCommerce products through form submissions.
Create the Advanced Post Creation Feed
For more details about how to create the feed, review the Creating A Feed For The Advanced Post Creation Add-On article.
- Scroll to the Post Content section and map the Title to the Product Name field.
- Map the Content to the Description field.
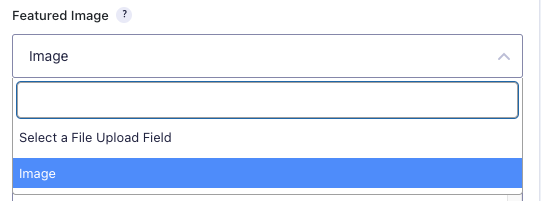
- Map the Featured Image to a File Upload field labeled Image. If the File Upload field is not present on your form this field will not appear in Post Creation settings.
- Click Save Settings.
Note: The Price and Category will be handled separately because they cannot be directly mapped.
How to handle fields unable to be mapped
Not all fields needed for the product can be directly mapped in the feed. The gform_advancedpostcreation_post_after_creation action hook will be used to update the Price and Category for the product. Below are examples for two of the Product fields that need to be handled specially.
Price
The price information is stored in the wp_post_meta table, and the update_post_meta() function will be used to save this information.
Category
The product category utilizes multiple WordPress taxonomy and term database tables, and the wp_set_object_terms() function will be used to save this information. The example below updates the Price using the value stored in field 7 of the entry. The Category is updated using the value stored in field 6 of the entry.
add_action( 'gform_advancedpostcreation_post_after_creation', 'update_product_information', 10, 4 );
function update_product_information( $post_id, $feed, $entry, $form ){

	//update the prices set for the product
	update_post_meta( $post_id, '_regular_price', $entry['7'] );
	update_post_meta( $post_id, '_price', $entry['7'] );

	//update the category
	wp_set_object_terms( $post_id, $entry['6'], 'product_cat' );

}
Populating Drop Down with WooCommerce Product Categories
Refer to the gform_pre_render filter article for more information about dynamic population.
Creating Events for The Events Calendar
Create the Form
To create an Event, you need to capture several pieces of information through your form. Start by creating a new form and adding the following fields to collect the basic information required.
Begin with a Drop Down field labeled “Category” for selecting the event category. Add a Single Line Text field for the Event Title and a Paragraph field for the Event Description.
Include a Checkboxes field labeled “Event Options” with the following choices: All Day, Hide From Event Listings, Sticky in Month View, and Feature Event. This allows users to set various display and scheduling preferences for their event.
For scheduling, add a Date field labeled “Start Date” and a Time field labeled “Start Time”. Configure the Start Time field with conditional logic to show the field only when Event Options is not set to All Day. Similarly, add a Date field labeled “End Date” and a Time field labeled “End Time”, with the End Time field also using conditional logic to show only when Event Options is not set to All Day.
Create the Advanced Post Creation Feed
For more details about how to create the feed, review the Creating A Feed For The Advanced Post Creation Add-On article.
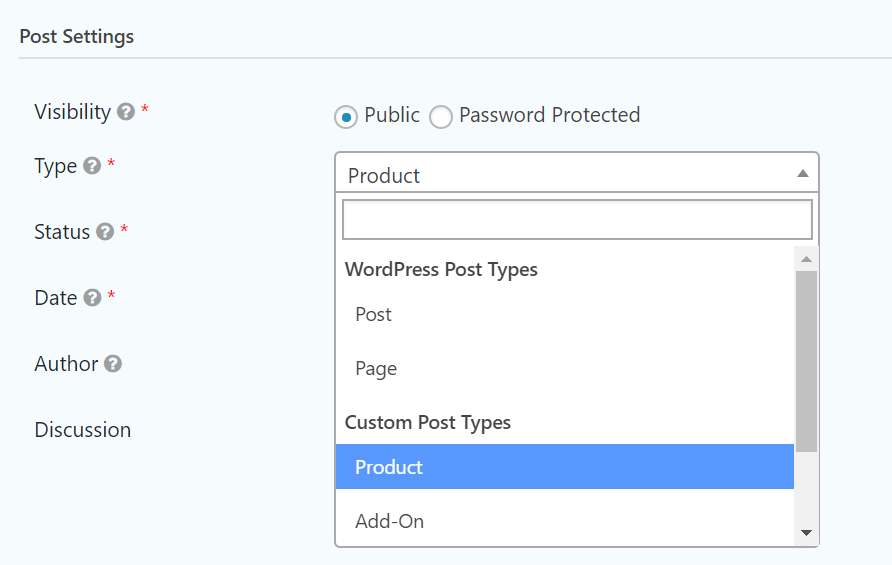
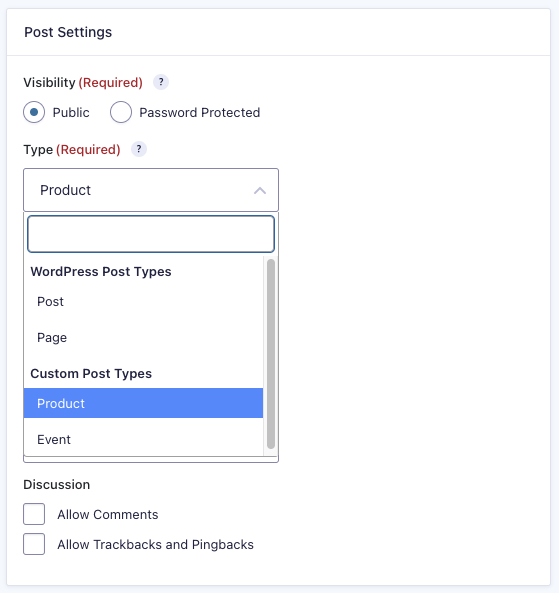
- Expand the drop down for Type in the Post Settings section and select Event.

- Scroll to the Post Content section and map the Title to the Event Title field.
- Map the Content to the Event Description field.
- In the Custom Fields section, in the dropdown “Select a Custom Field Name” scroll to the bottom of the list and enter this custom field name: _EventStartDate. Map that to the Start Date field in your form. Repeat for the custom field name _EventEndDate and map that custom field to the End Date field in your form.
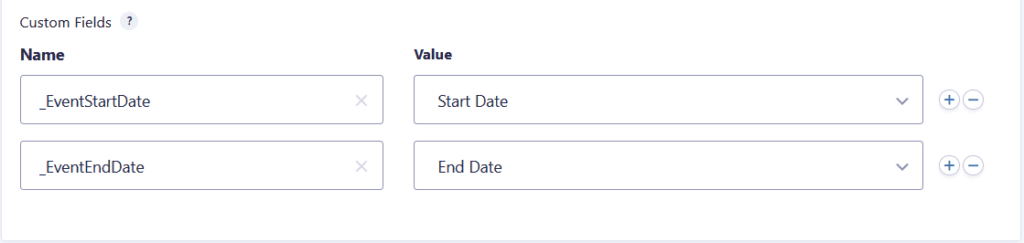
Mapping custom fields for the event start date and event end date. - Scroll to the Taxonomies section and map the Event Categories to Field Value and Category field.

Handling Fields Unable to be Mapped
Not all fields needed for the event can be directly mapped in the feed. The gform_advancedpostcreation_post_after_creation action hook will be used to update these fields. Below are examples of several fields that need to be handled specially.
add_action( 'gform_advancedpostcreation_post_after_creation', 'update_event_information', 10, 4 );
function update_event_information( $post_id, $feed, $entry, $form ){
	// Only process for form 123
	if ( rgar( $form, 'id' ) != 123 ) {
		return;
	}

	//update the All Day setting
	$all_day = $entry['4.1'];
	if ( $all_day == 'All Day' ){
		update_post_meta( $post_id, '_EventAllDay', 'yes');
	}

	//update the Hide From Monthly View Setting
	$hide = $entry['4.2'];
	if ( $hide == 'Hide From Event Listings') {
		update_post_meta( $post_id, '_EventHideFromUpcoming', 'yes' );
	}

	//update the Sticky in Month View setting
	$sticky = $entry['4.3'];
	if ( $sticky == 'Sticky in Month View' ){
		wp_update_post(array( 'ID' => $post_id, 'menu_order' => '-1' ) );
	}
	else{
		wp_update_post(array( 'ID' => $post_id, 'menu_order' => '0' ) );
	}

	//update the Feature Event setting
	$feature = $entry['4.4'];
	if ( $feature == 'Feature Event'){
		update_post_meta( $post_id, '_tribe_featured', '1');
	}
	else{
		update_post_meta( $post_id, '_tribe_featured', '0');
	}
}
Populating Drop Down with Event Categories
Refer to the gform_pre_render filter article for more information about dynamic population.
Matching up Images with Advanced Custom Fields (ACF) or other Custom Fields
When images are stored in Custom Fields, they are written into Custom Post Meta with a value of the ID (or an array of IDs) that links to the Image in the Media Library. In order to properly map an Image Custom Field to an Upload Field added from Gravity Forms, you need to use the {apc_media} merge tag in the Custom Field Mapping for the Advanced Post Creation Feed.
Make sure the Field is copied to the Media Library
The file will not be available for proper mapping to the Custom Meta if you don’t also copy it to the Media Library. As long as you have added your image field as a File Upload Field, it will be available to copy the field to the Media Library. This ensures that the field has a Post ID that matches the ‘Image ID’ in ACF and other Custom Field plugins.
Map the Image Field to the Custom Field
You will need to perform this step for each image field you’re adding.
- Under Custom Fields, Add a field mapping for your Image field. Select the ‘name’ of the field under Name.
- Under Value, Select “Add a Custom Value”
- Use the Merge Tag Tool to select your Image Field to place it’s merge tag in the Value
- Replace the “Field Name” in the Merge tag with the apc_media merge tag action
- Add ids or urls as the return type to the end of your image tag