Summary
Before the Advanced Post Creation can be used with Gravity Forms, you will first need to create a feed. A feed simply allows form submission data to be sent to another source. In this instance, form data being sent to a WordPress post or page.
Note: You cannot use Post Fields in Advanced Post Creation. This means the fields of Post Body; Post Category; Post Custom Field; Post Excerpt; Post Image; Post Tags; and Post Title are not for mapping in an Advanced Post Creation feed. Use Standard or Advanced fields instead. Refer to Advanced Post Creation vs Post Fields for additional information.
Post Creation Settings
To create a feed for the Advanced Post Creation Add-On for Gravity Forms, do the following from your WordPress Admin Dashboard:
- Click on Forms in the left side menu.
- Select the form that you want to use with Advanced Post Creation.
- Once within your desired form, hover over Settings and click on Post Creation.
- Click Add New to create a new feed. You will be presented with the Advanced Post Creation Settings feed settings screen. See below for descriptions of all the available feed settings.
General Settings
| Setting | Description |
|---|---|
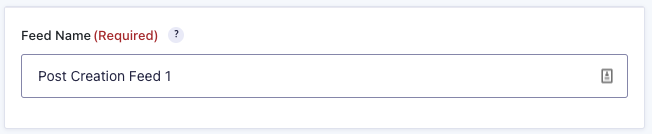
| Feed Name | A Feed Name is required. It is only used for identification and will not be shown anywhere other than your feed listing. |
Post Settings
| Setting | Description |
|---|---|
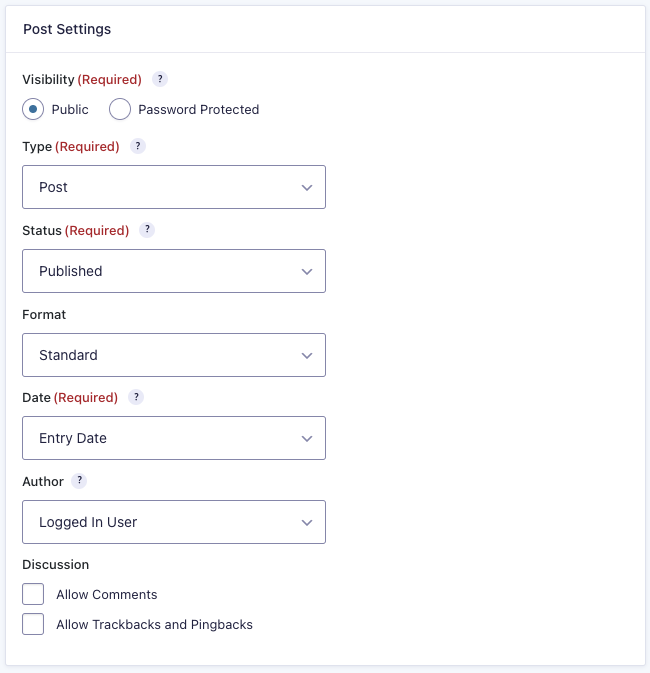
| Visibility | Required. Public or Password Protected. If password protected, you can set the password using a text field that accepts merge tags. |
| Type | Required. Choose from standard WordPress post types of Post or Page. Additionally, any custom post types you have created will appear here. |
| Status | Required for the appropriate type. Choose the status from options such as: Published, Scheduled, Draft, Pending, Private, and Trash. See note 1. |
| Date | Required. Post date. Can be set to be the same as the entry date, as a custom value, or to use a date/time value submitted with the form by mapping to the form fields. For more info see note 5. |
| Author | Can be set to “Logged In User” or to an existing user established in your site setup. |
| Discussion | Allow Comments or Allow Trackbacks and Pingbacks on the post. |
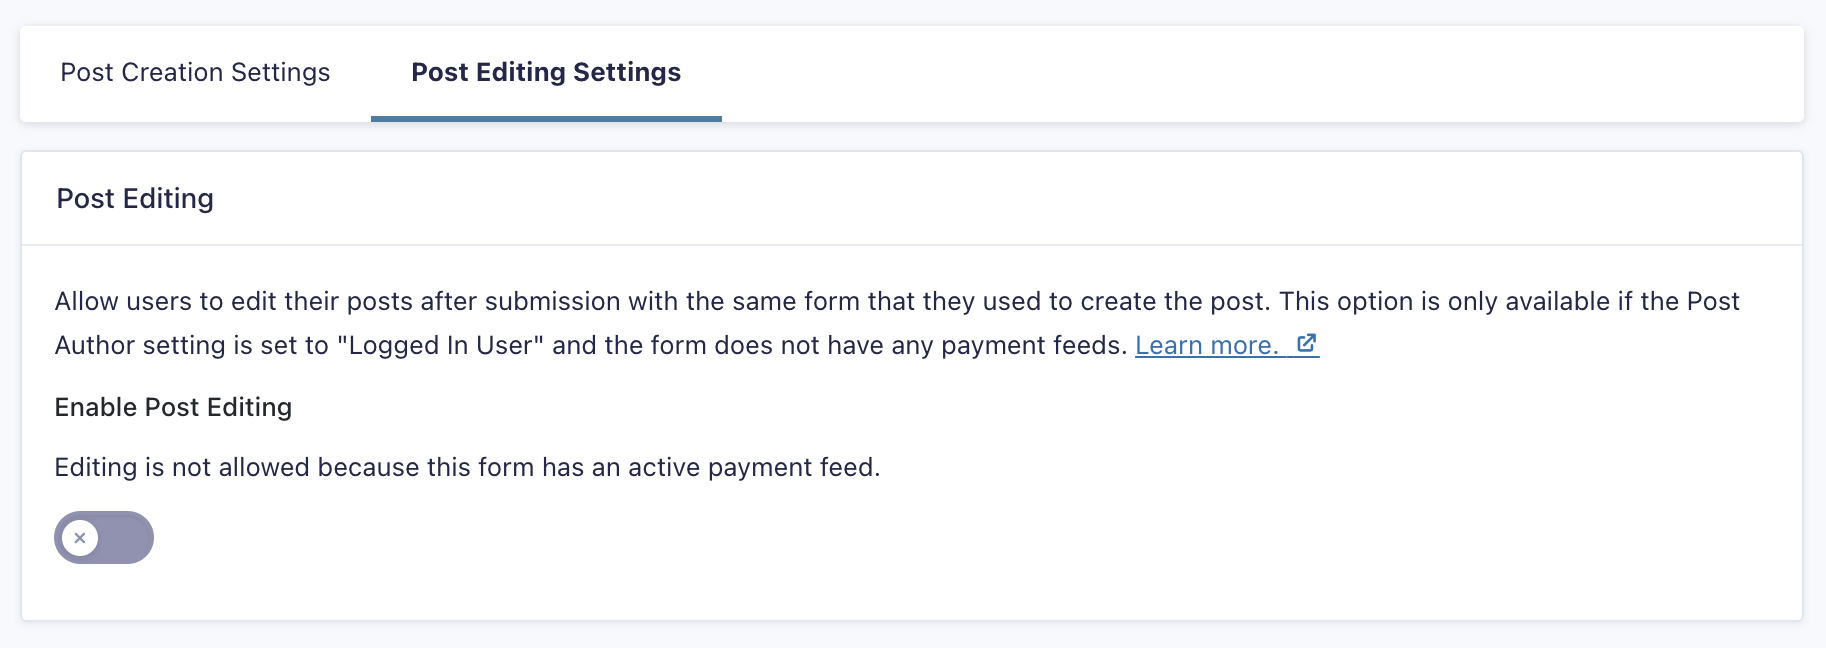
Note: When Post Editing is enabled, if you change the author to anything other than “Logged In User”, post editing will be disabled.

Post Content
| Setting | Description |
|---|---|
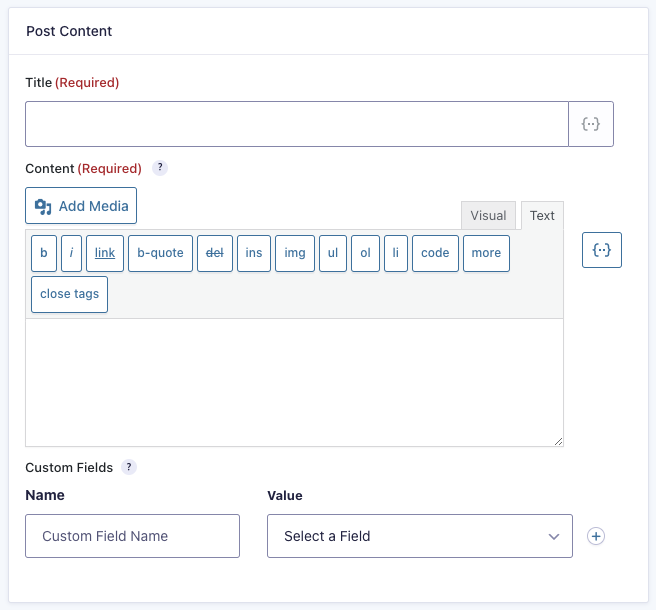
| Title | Required. You can use a Single Line Text field. |
| Content | Required. You can use static text and/or merge fields.See note 2. |
| Add Media | Choose one or more single or multi-file upload fields to allow loading of additional files to the site media library. See notes 3 and 4. |
| Featured Image | Choose a single file upload field to be the source for the post/page featured image. See notes 3 and 4. |
| Custom Fields | Allows the entry of one or more custom field name-value pairs. Click [+] to add multiple custom fields. |
| Custom Field Name | Text value that will be used to name the custom field. Select an existing value or the “Add New Custom Field Name” at the end of the list to enter a new custom field name. |
| Custom Field Value | Choose a form field to map as the value or select the last drop-down option “Add New Custom Field Name” to enter static text and/or utilize merge tags. |
Taxonomies
Any taxonomy associated with your post type can be managed from here. Standard taxonomies like Categories and Tags can also be added here.
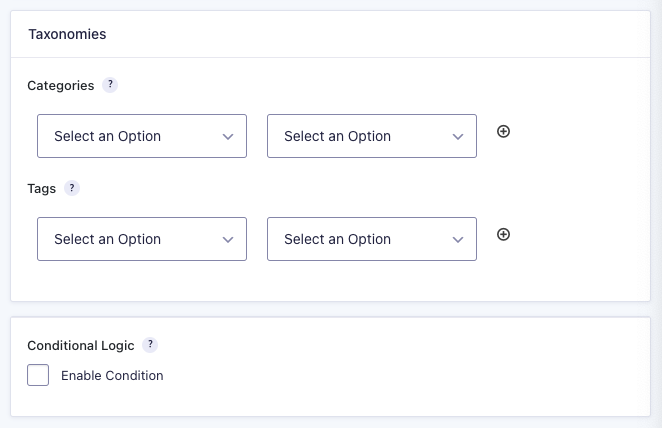
- Categories: In this field you have two options –
- Field Value: This will populate the taxonomy based on a field in the form, as specified in the second taxonomy field. Multiple categories will be created and assigned if the field has values separated by commas.
- Assign Category: This will allow you to choose an existing category (which will be assigned to every created post), or you can choose the “Add New Category” at the bottom of the list, which will present a text field where you can enter any static category. To add multiples, separate them with a comma.
- Tags: In this field you have two options –
- Field Value: This will populate the taxonomy based on a field in the form, as specified in the second taxonomy field. Multiple tags will be created and assigned if the field has values separated by commas.
- Assign Tag: This will allow you to choose an existing tag (which will be assigned to every created post), or you can choose the “Add New Tag” at the bottom of the list, which will present a text field where you can enter any static tag. To add multiples, separate them with a comma.
- Conditional Logic: You can set up multiple conditional logic rules to dynamically control whether or not a post should be created based on the value of one or more submitted fields. If not enabled, then a post will always be created. Check the “Enable” box and fill out your required criteria. Check the Conditional Logic for a Feed documentation for examples.
- Click the Update Settings button to save your options.
Gravity Forms will initially look for the category/tag of the same name as specified and use that. If no match is found, then a new category/tag will be created. All new categories/tags created this way will be placed at the top level of the category/tags hierarchy.
Assigning Taxonomy Video
Click the link to view a video demonstrating how to use “field value” to assign the taxonomy value using a form field.
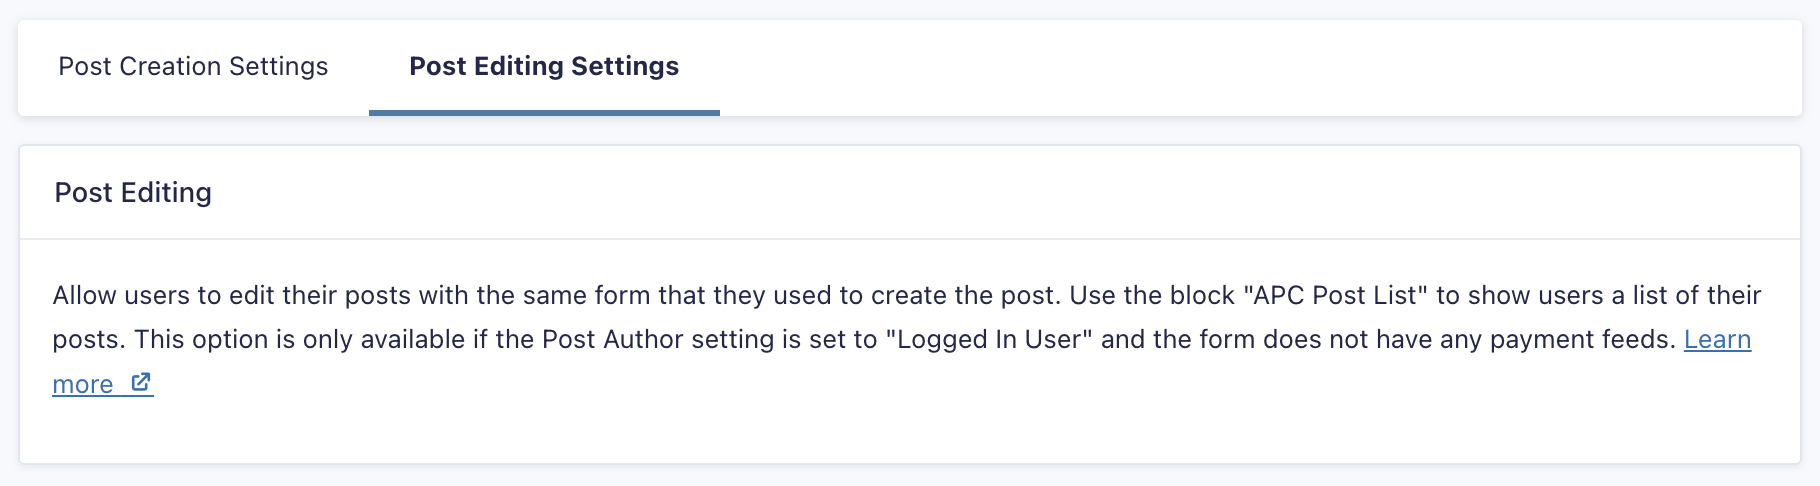
Post Editing Settings
Enable users to modify their posts after submission using the same form as the original post creation.
Note: This feature will be available only when the Post Author setting is configured to “Logged In User.”
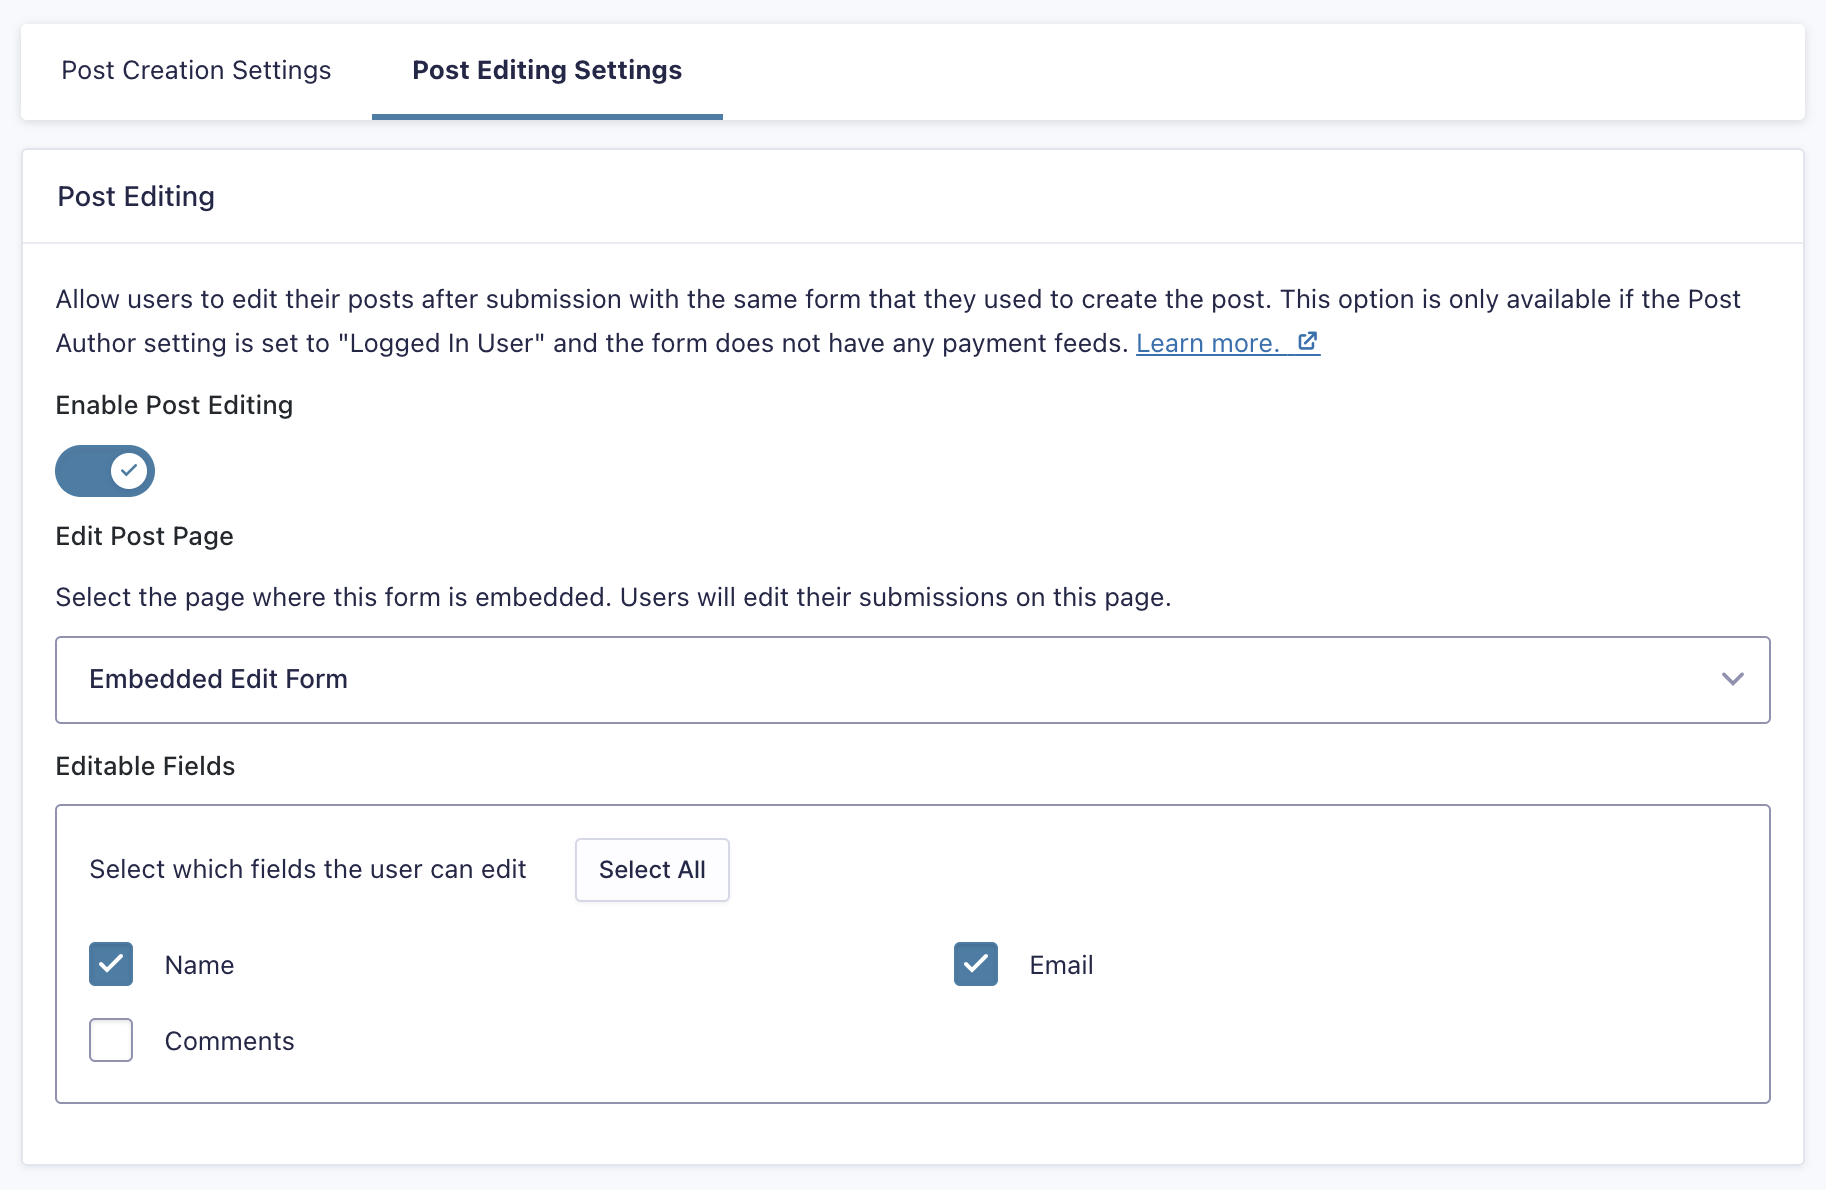
| Setting | Description |
|---|---|
| Enable Post Editing | Allow users to edit their posts. |
| Edit Post Page | The page where this form is embedded. Users will edit their submissions on this page. |
| Editable Fields | Select the fields that will be enabled for edition when the user is editing the post. |
Merge Tags
The Add-On provides a specific merge tag:
- {apc_media} — Allows for files uploaded to the media library to be inserted into the post.
Notes
- Setting a post with date/time ahead of the current WordPress time will force the post to be “scheduled”.
- Special characters (that may have HTML meaning, such as start and end tags like < and >) entered within a form field that is then rendered as post content will be preserved. That is, the tags will not be converted to HTML formatting.
- Any images used within the content fields (by referencing them with a merge tag from within your Post Creation settings) will also be uploaded to the Media Library. Thus the Media Library will be populated by anything referenced within content, used as a featured image, or loaded using the media library setting.
- Post Fields are not supported by this add-on, which includes the Post Image field. Due to differences in how the Post Image field is handled during submissions, it is cannot be selected as a field to map to the Featured Image or Media Library. Use the File Upload field type instead.
- The date field will accept any valid PHP relative date, so values like “+5 minutes”, “-2 days”, “next week”, “next Wednesday”, etc. are all considered valid, but may not always behave exactly as the expected, especially for time components. Weeks, for example, presumes the same time at the start of the week, but “next Wednesday” presumes a midnight time, as does “tomorrow”. Invalid dates like “June 31st, 2021”, “13/13/21”, “someday”, etc., will simply revert to “now”, so any submitted forms will result in a post that is created immediately.
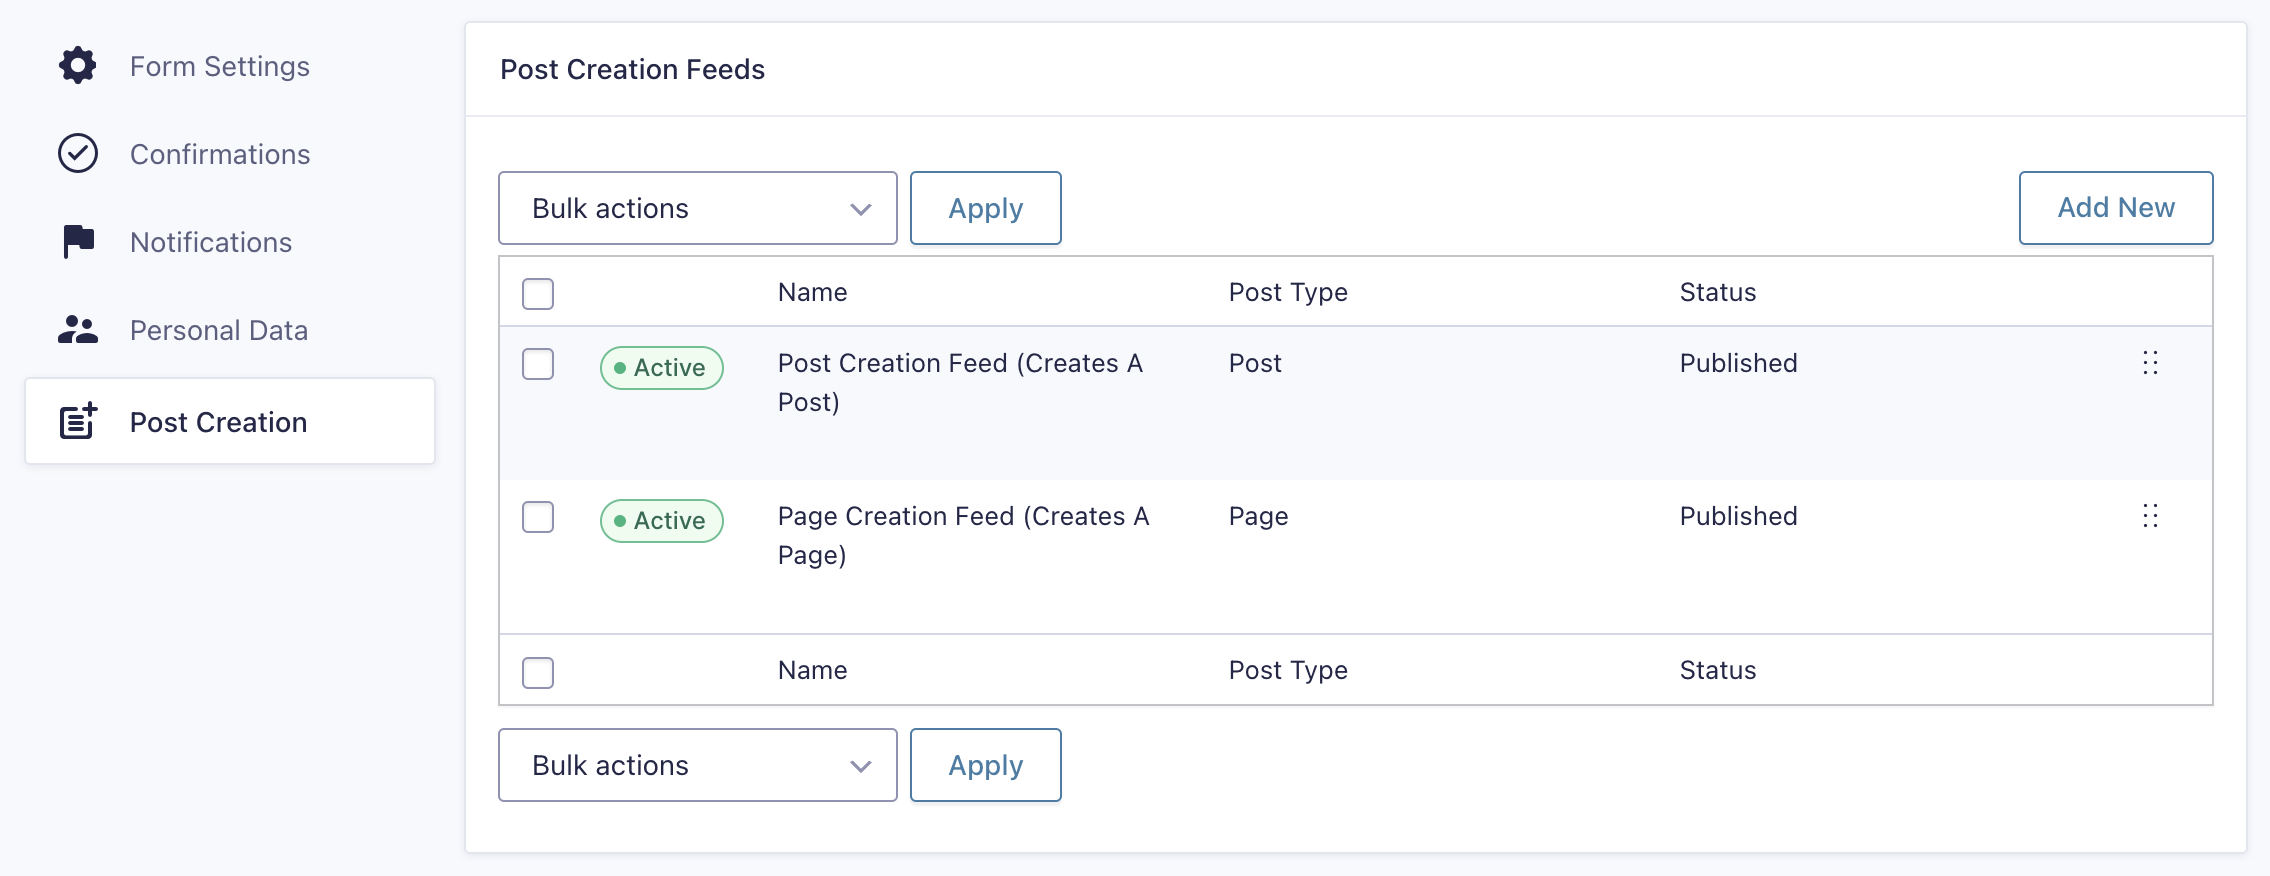
- The Advanced Post Creation Add-On allows you to generate multiple posts from a single form submission. To achieve this, configure a separate feed for each post you want to create.
In the example below, there are two feeds: one for creating a Post and another for creating a Page, both triggered by the same form submission.
- If the Form has a payment feed, Post Editing will be disabled.