Summary
Before the Help Scout Add-On can be used with Gravity Forms, you will first need to create a feed. A feed simply allows form submission data to be sent to another source. In this instance, automatically creating and assigning a customer conversation to your support team when a form is submitted.
Create a Feed
To create a feed to Help Scout using the Help Scout Add-On for Gravity Forms, do the following from your WordPress Admin Dashboard:
- Click on Forms in the left side menu.
- Select the form that you want to use with Help Scout.
- Once within your desired form, hover over Settings and click on Help Scout.
- Click Add New to create a new feed. You will be presented with the Help Scout feed settings screen where you can configure the behavior of the feed.
Feed Settings Screen
The following fields are available within the settings screen.
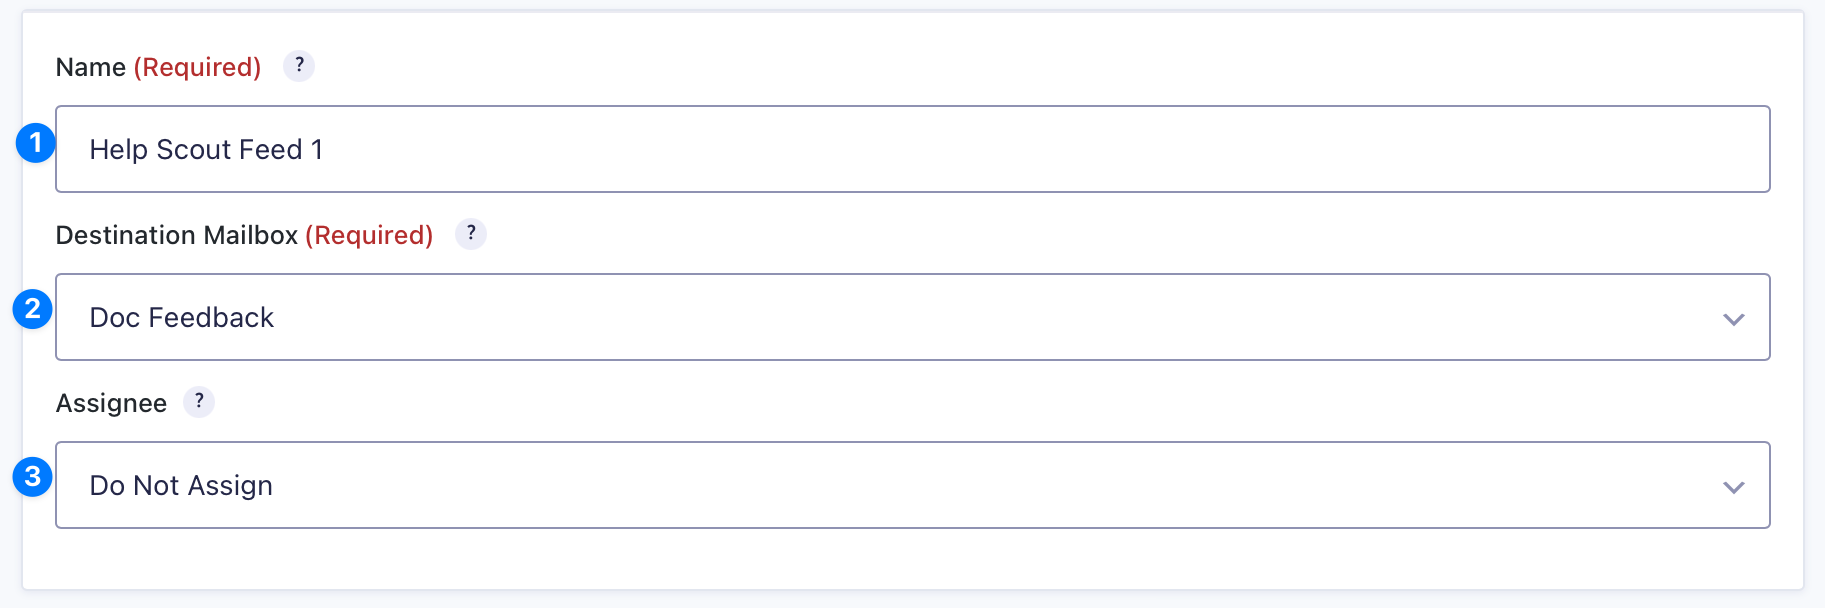
- A feed Name is required. It is only used for identification and will not be shown anywhere other than your feed listing.
- Destination Mailbox (Required): Select the Help Scout Destination Mailbox that the conversation will be sent to.
- Assignee: Select a user if you would like to automatically assign a specific Help Scout user to the conversation, or choose Do Not Assign if you would like the conversation to be unassigned when created.
Customer Details Screen
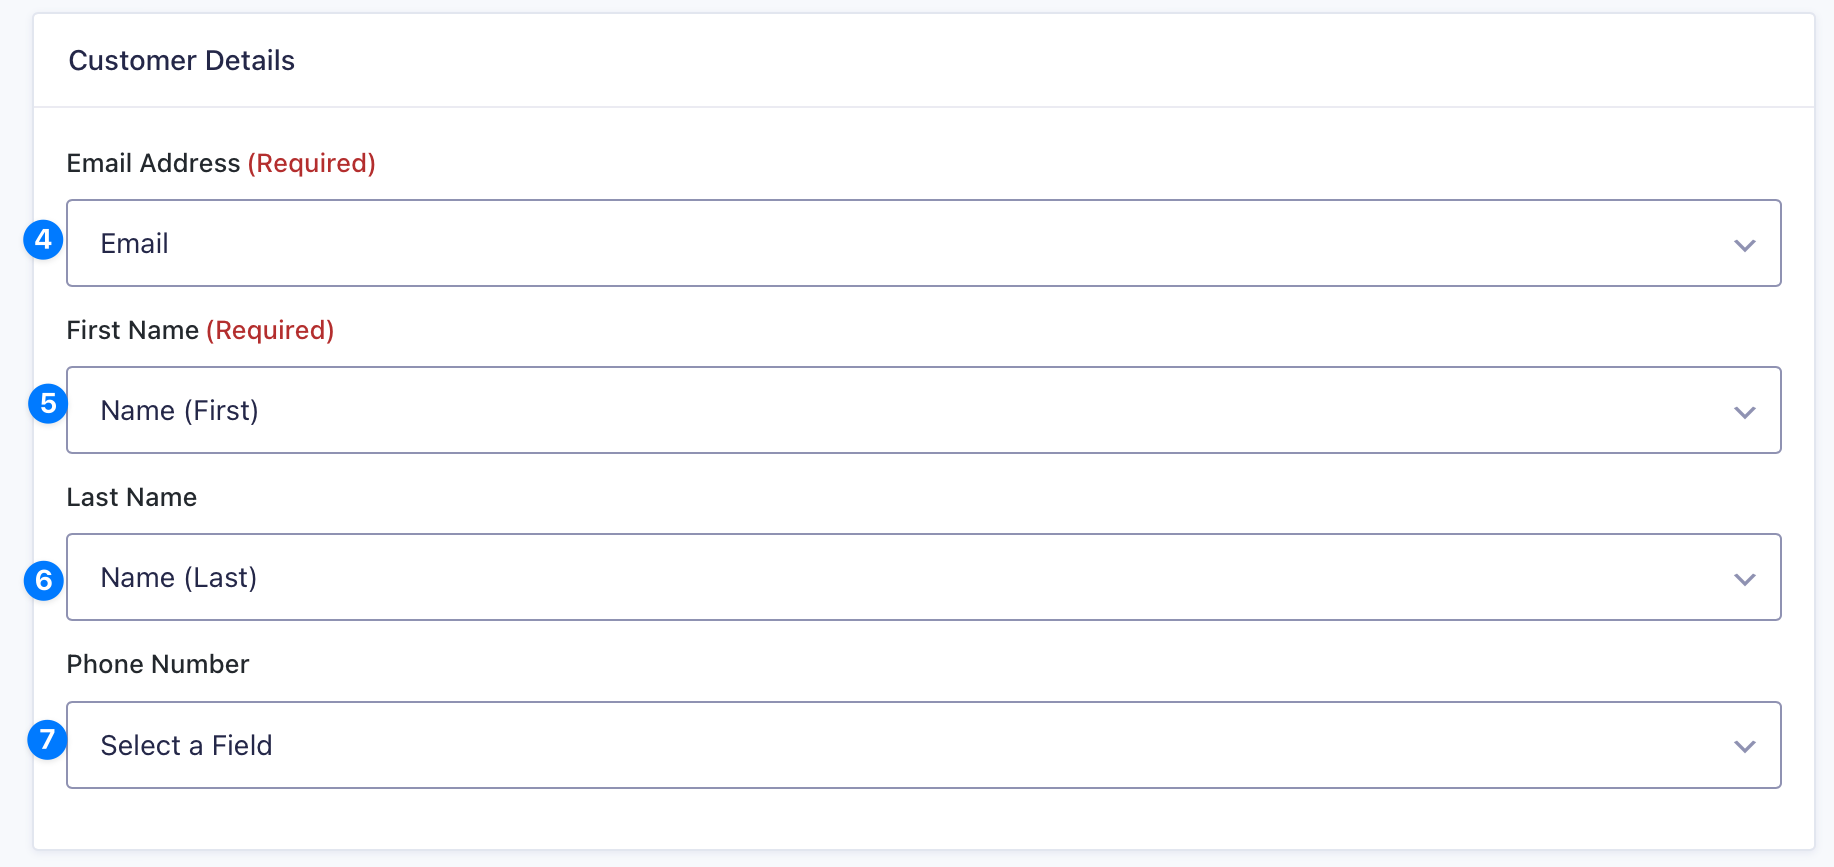
Under Customer Details, map each of the fields to the desired form field that will contain the customer’s information
Note: With Help Scout’s Mailbox API 2.0, used by Gravity Forms Help Scout Add-On v1.6+, the customer First Name field is now required; if a value is not passed, Help Scout will not create the conversation.
- Email Address (Required): The email address for the customer is required and is used to map to existing customer’s in Help Scout or create a new customer.
- First Name (Required): First Name of the Customer
- Last Name: Last Name of the Customer
- Phone Number: Phone number for the customer.
Message Details Screen
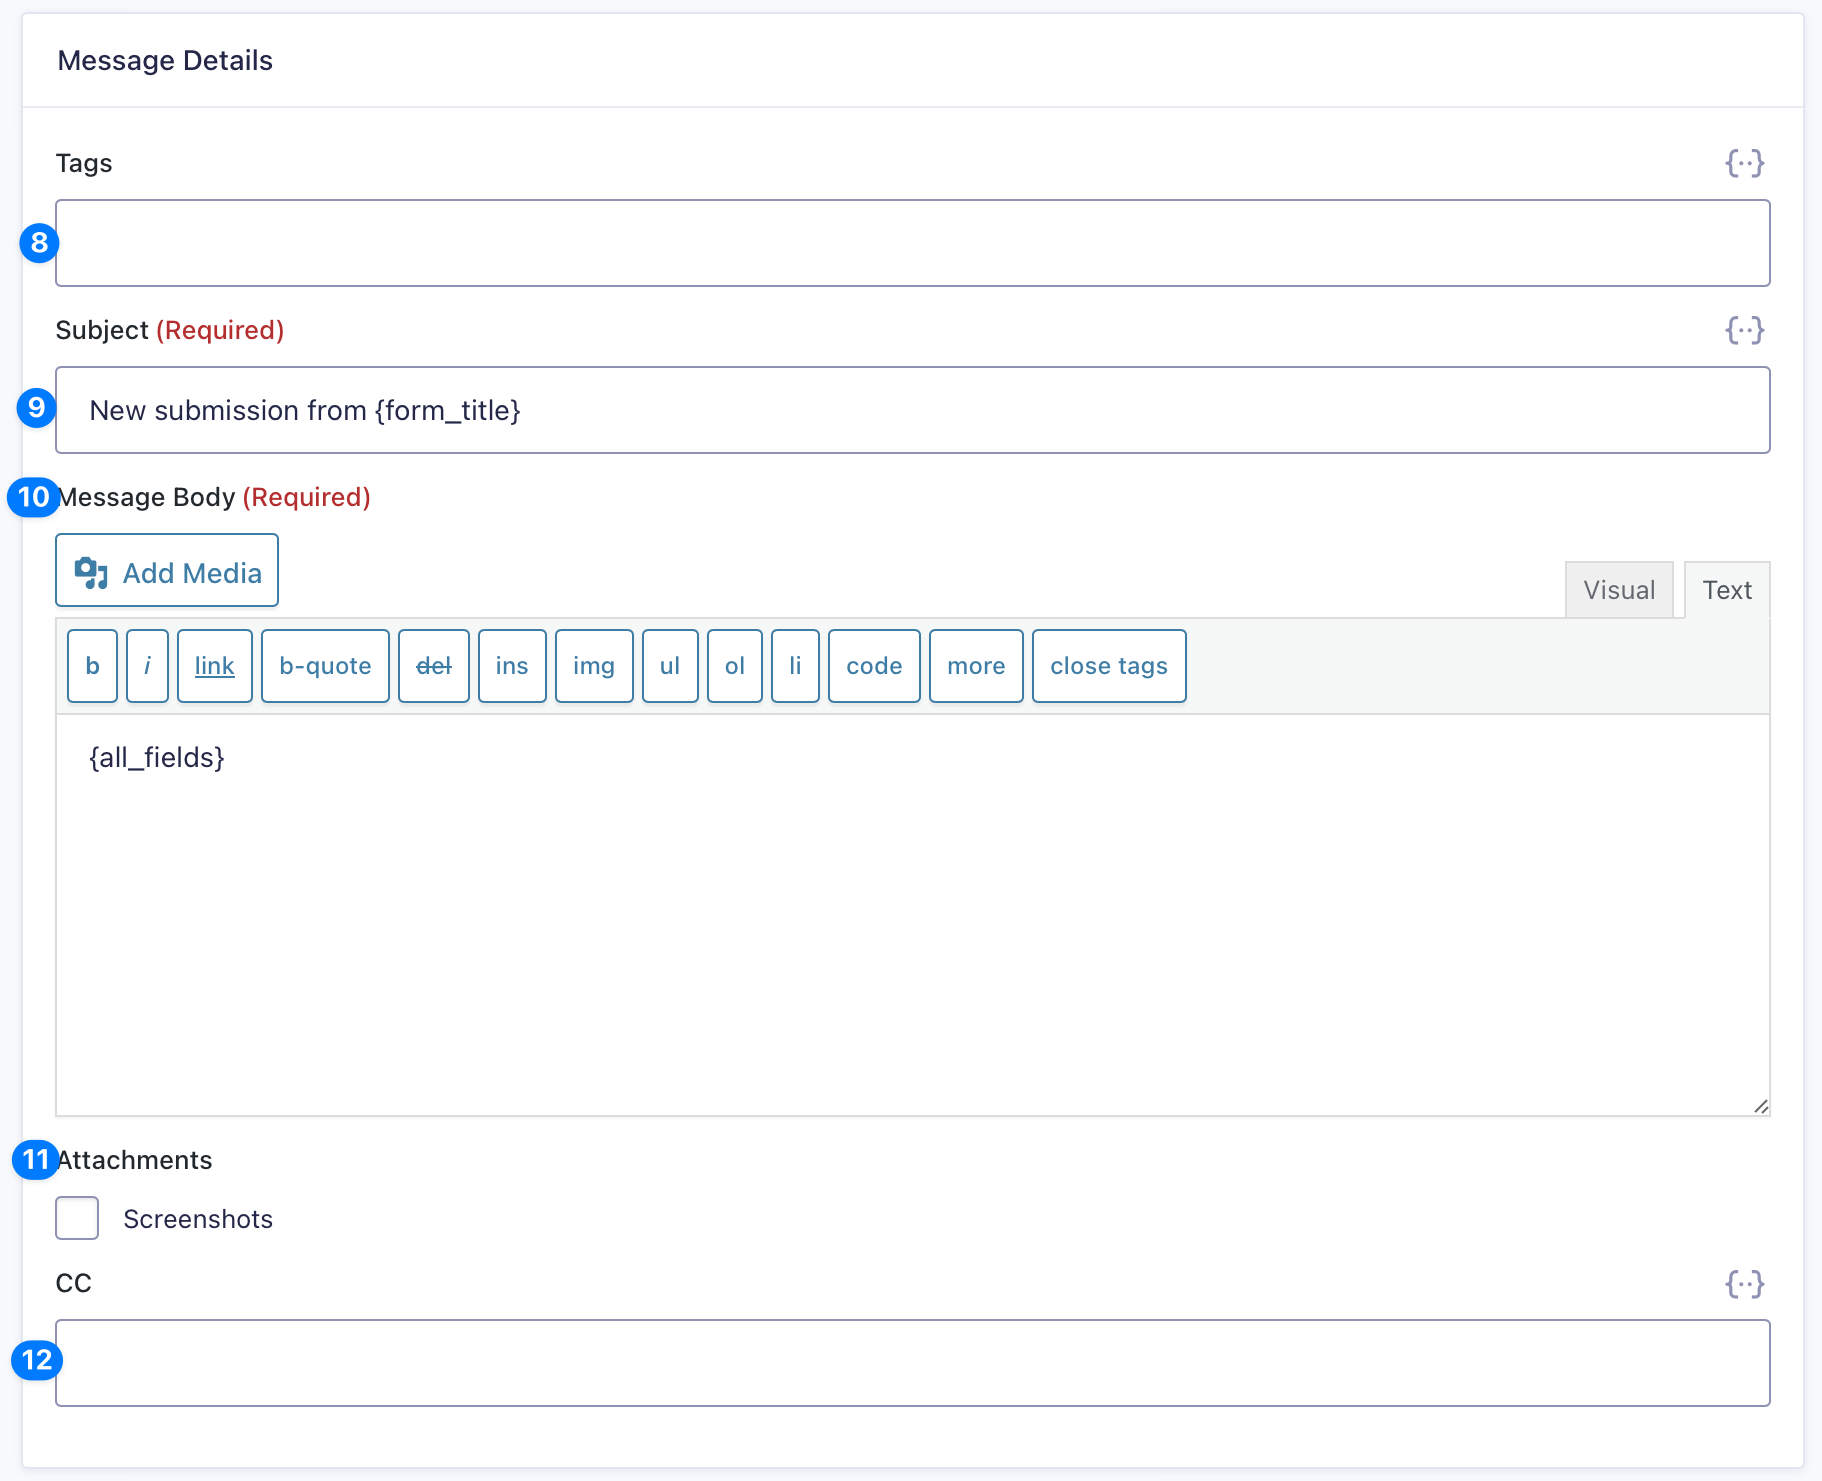
Under Message Details, you can format the conversation that will be created for the Help Scout ticket.
- Tags: Input a comma separated list of tags for this Help Scout Ticket. You can also use the Merge Tag Tool for this field. Multiple choice fields will output as comma separated automatically.
- Subject: Enter a one line text field for the Subject of the Ticket. You can use Merge Tools with this input.
- Message Body: Use the Text Editor field to complete the message body for the Help Scout message. You can use Merge fields on this editor window; by default the {all_fields} merge tag is configured to be output here.
- Attachments: Check the field(s) to be configured for file attachments. Note that the Attachments field will only show up here if you have a File Upload field on your form.
Warning: The Help Scout API only accepts files up to 10MB in size, and a larger attachment will prevent the creation of the conversation. We recommend configuring your form field to ensure the max file size setting is less than this Help Scout limit. - CC: If you would like to configure other email(s) to be copied ‘on this Help Scout conversation, input those value(s) here. You can also use the Merge Tag Tools for this field.
Message Options Screen
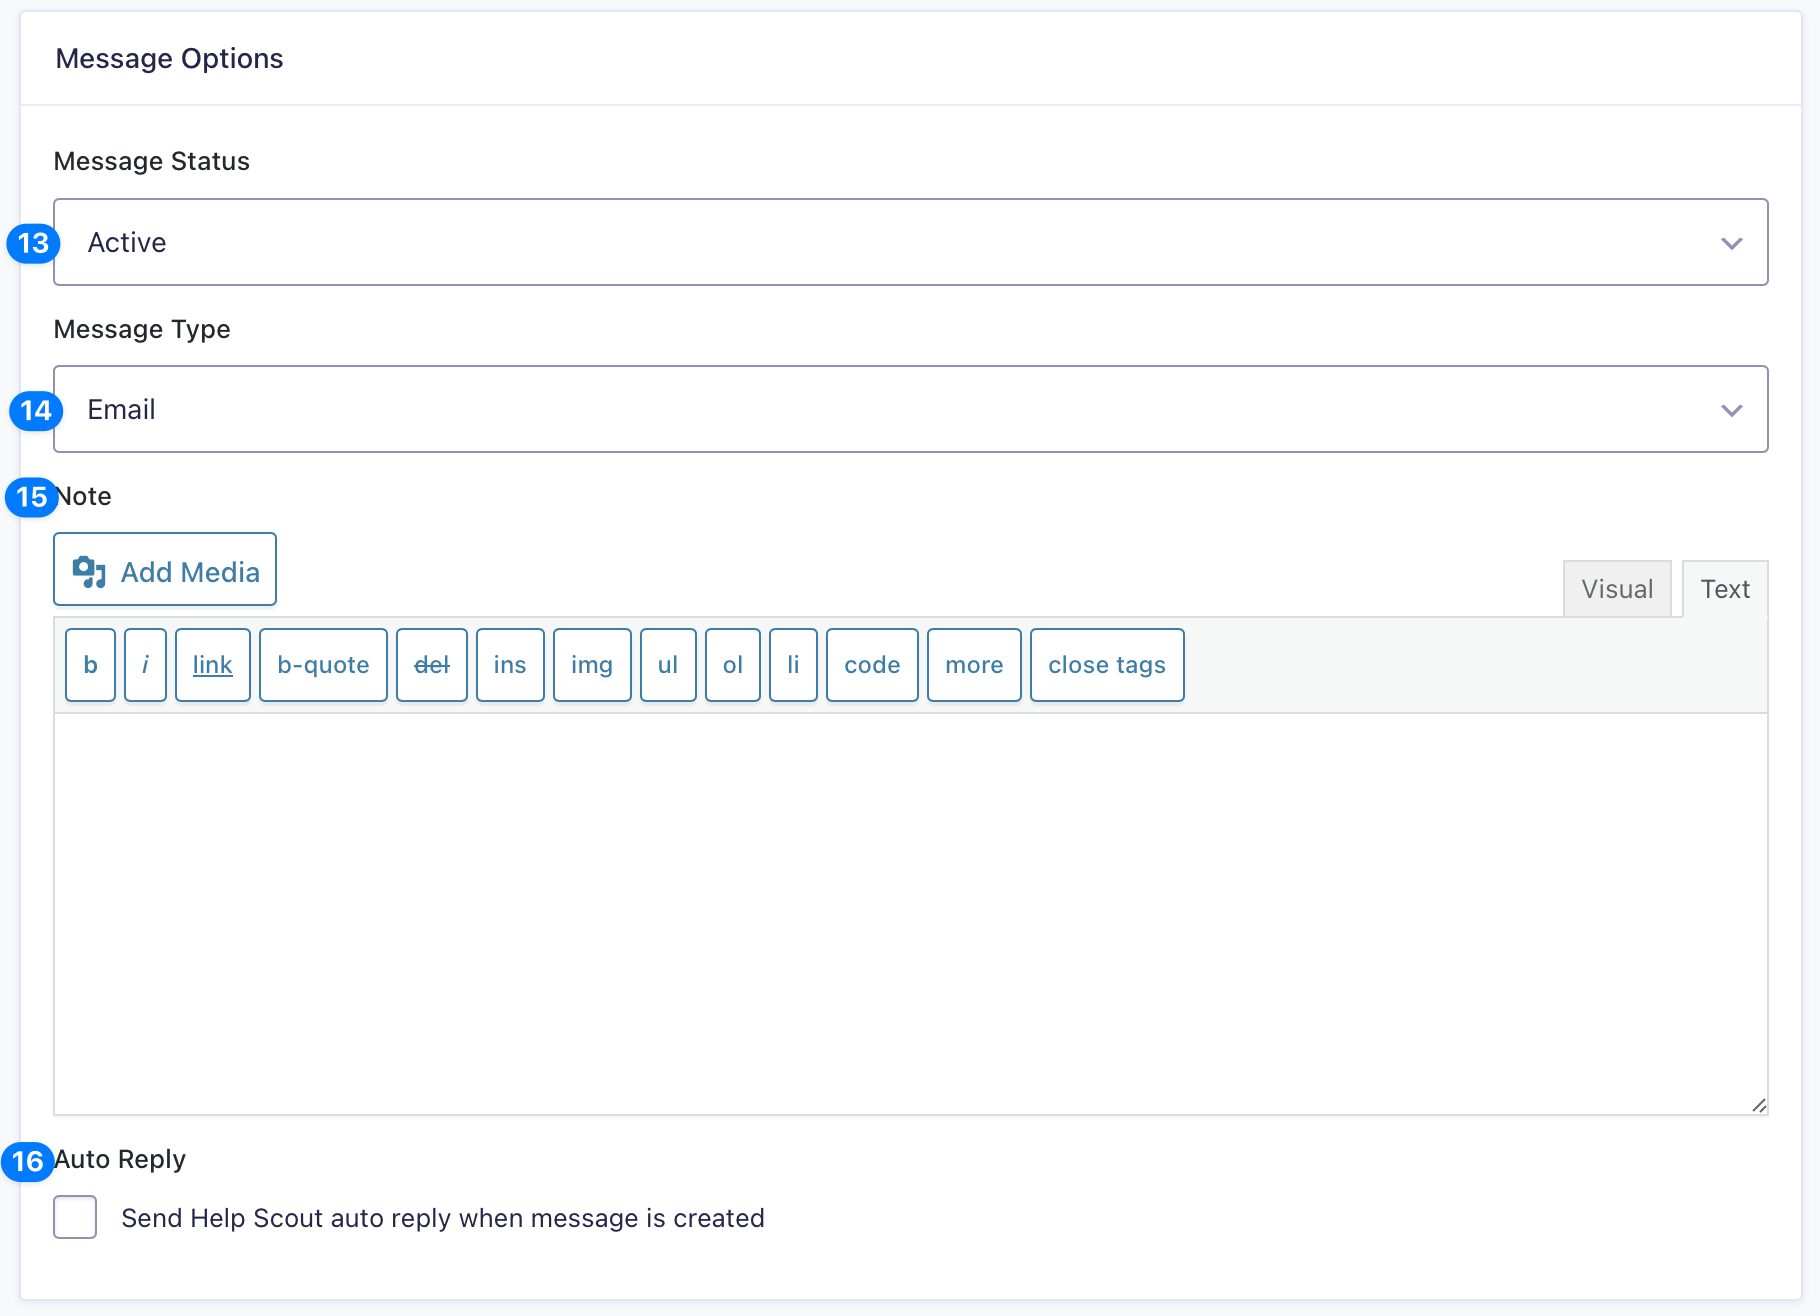
Under Message Options, complete the fields below to configure the message options for this particular conversation.
- Message Status: Select the Message Status from a drop-down list of Active, Pending, Closed or Spam.
- Message Type: Select the Message Type for the new conversation from a drop-down list of Email, Phone or Chat.
- Note: Allow you to enter a Note for the conversation with a full text editor. This field also accepts merge fields from the form.
- Auto Reply: If you have an auto-reply configured at Help Scout, you can check this box to automatically send that reply when the message is created.
Conditional Logic & Save Settings
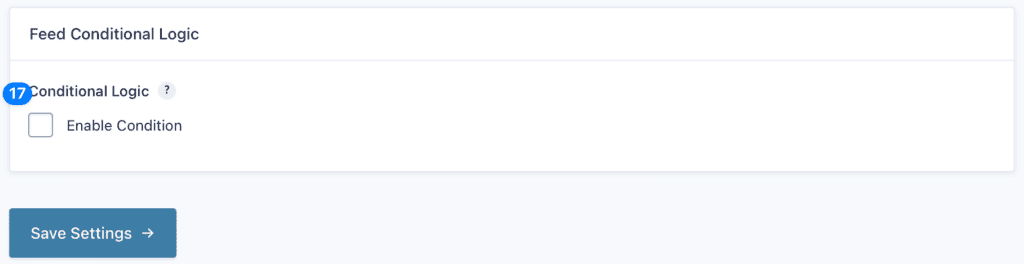
- Conditional Logic: If unchecked, every successful form submission will be sent to Help Scout. If you wish to set specific conditions for sending form data to Help Scout, then check the “Enable” box and fill out your required criteria.
- Click the Save Settings button to save your options.
Updating Customer Information
The Help Scout Add-On now supports updating customer information in the customer’s profile based on the email address.
- Name
The first name/last name will be replaced with any new value for a customer match (submission using the same email). - Phone Number
Any phone number sent will be appended as an additional phone number for a customer match (submission using the same email).