To use the Gravity Forms Pipe Add-On, you’ll first need to configure it. In this article, we’ll show you how to fully configure and use the Pipe Add-On for embedding a video recorder into your form.
Pre-Requisites
Setup
- Log into your WordPress admin dashboard.
- On the left side navigation menu, hover over Forms and click on Settings.
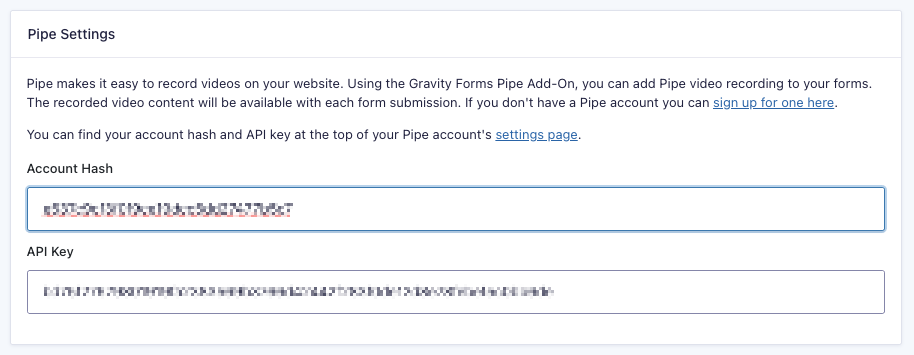
- From this page, click the Pipe tab.
- Enter your Account Hash and API Key. This can be found by logging into your Pipe account and clicking on Account at the top of the page.
- Click Update Settings. If you’ve entered your account information correctly, you will be notified by green check marks beside each box. If you do not see green check marks, please double check this information and try again.
Once you have entered your API key, you’re ready to add Pipe to your form.
Adding Pipe to Your Form
To add Pipe video recording to your form, you’ll need to add the Pipe field by using the form editor. See our User Guide for the Pipe Recording Field for more information.