Prerequisites
- Download and install the add-on.
- Create a Cloudflare account.
Cloudflare offers a free account for those planning to use Turnstile. It is not necessary to use Cloudflare’s caching service or have a paid account.
Settings
For a full list of all the Cloudflare Turnstile Add-On settings, refer to this guide.
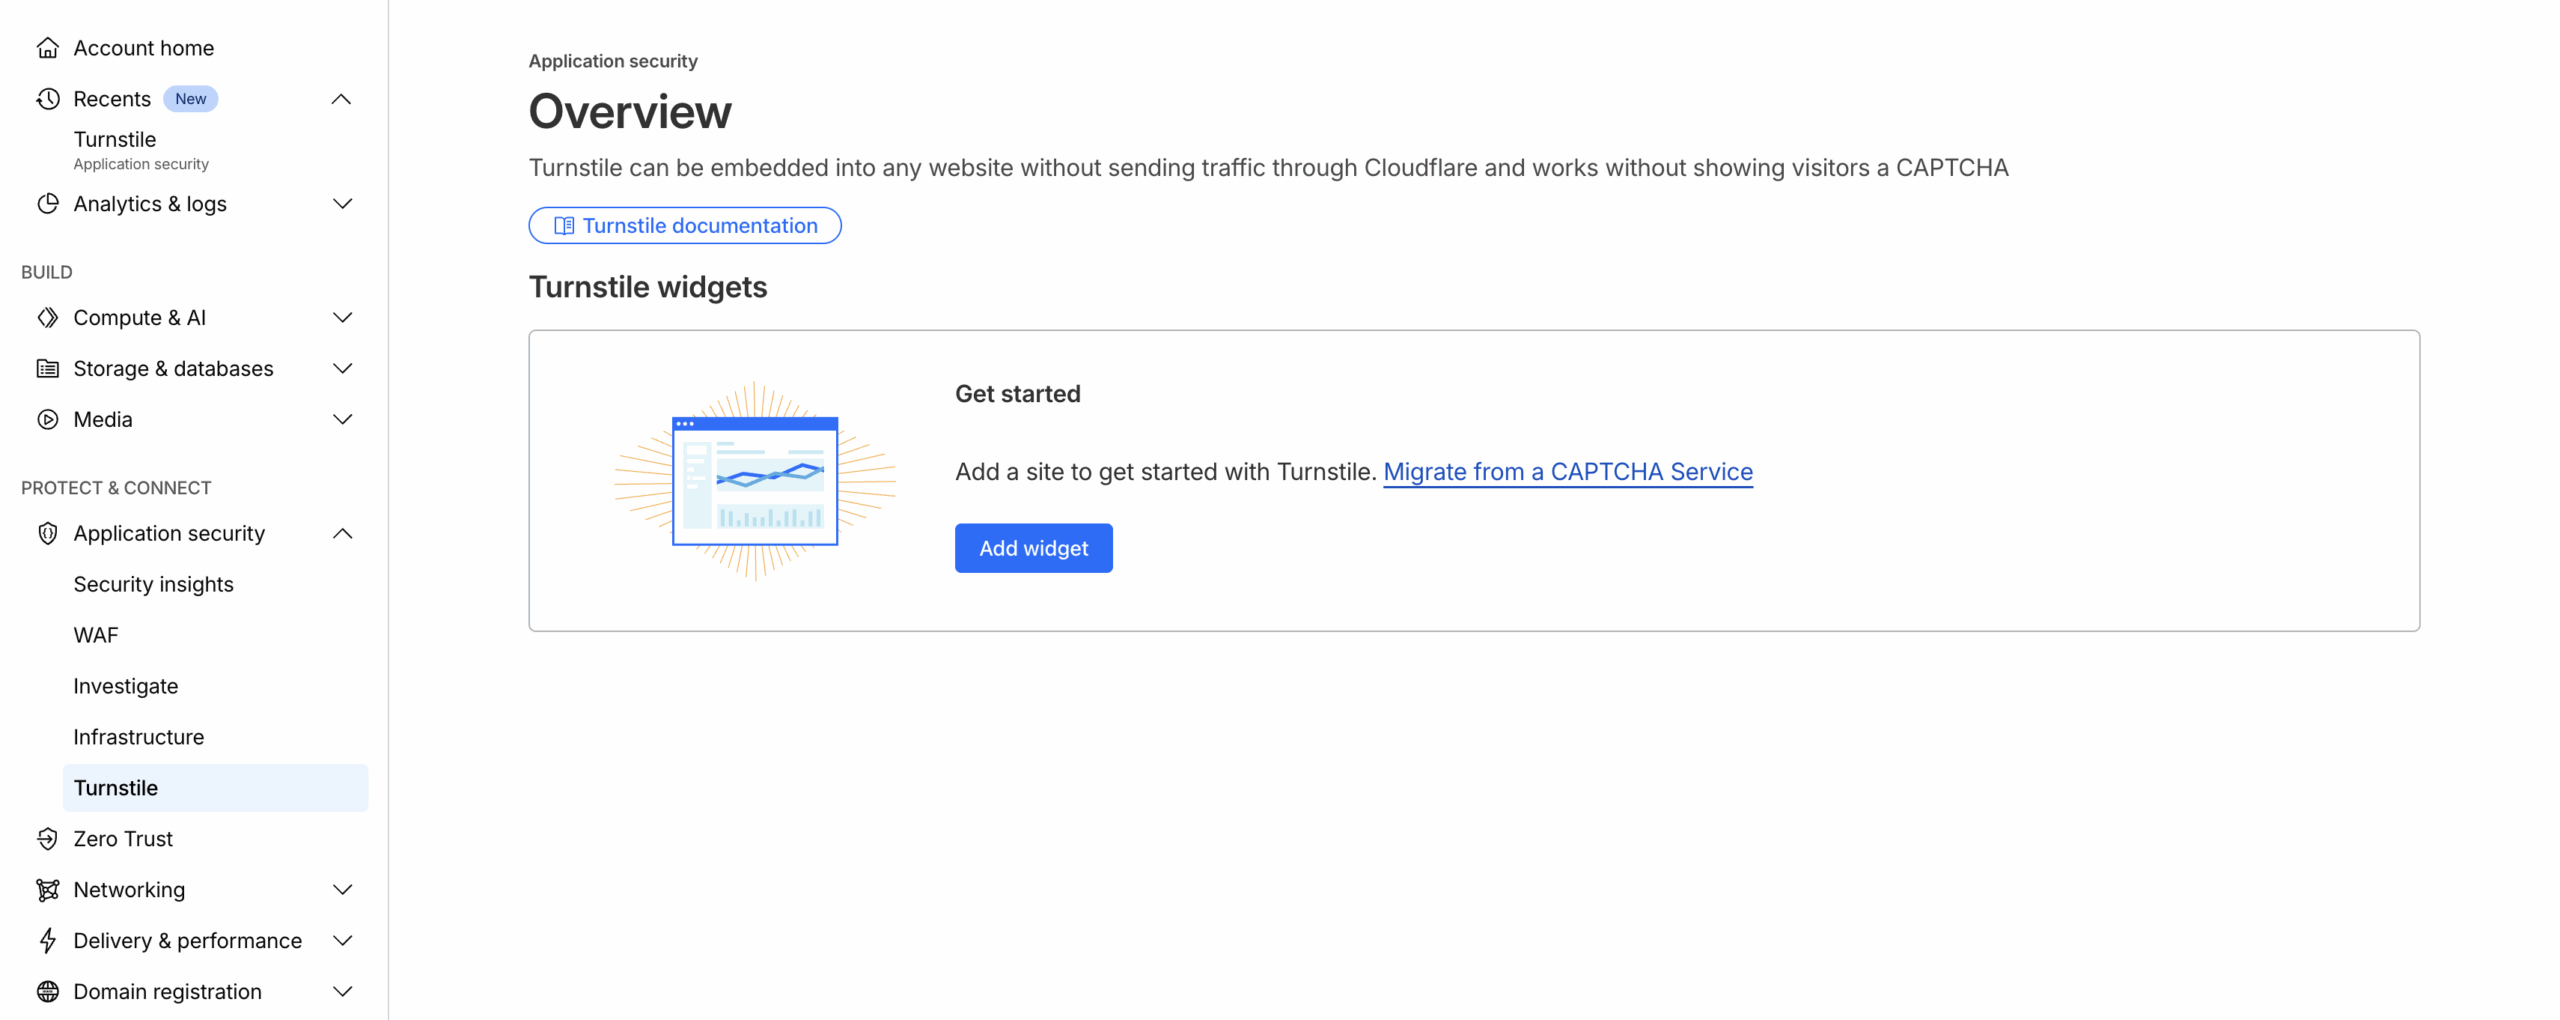
Create a widget
- In the Cloudflare dashboard, go to the Turnstile page.
- Select Add widget.
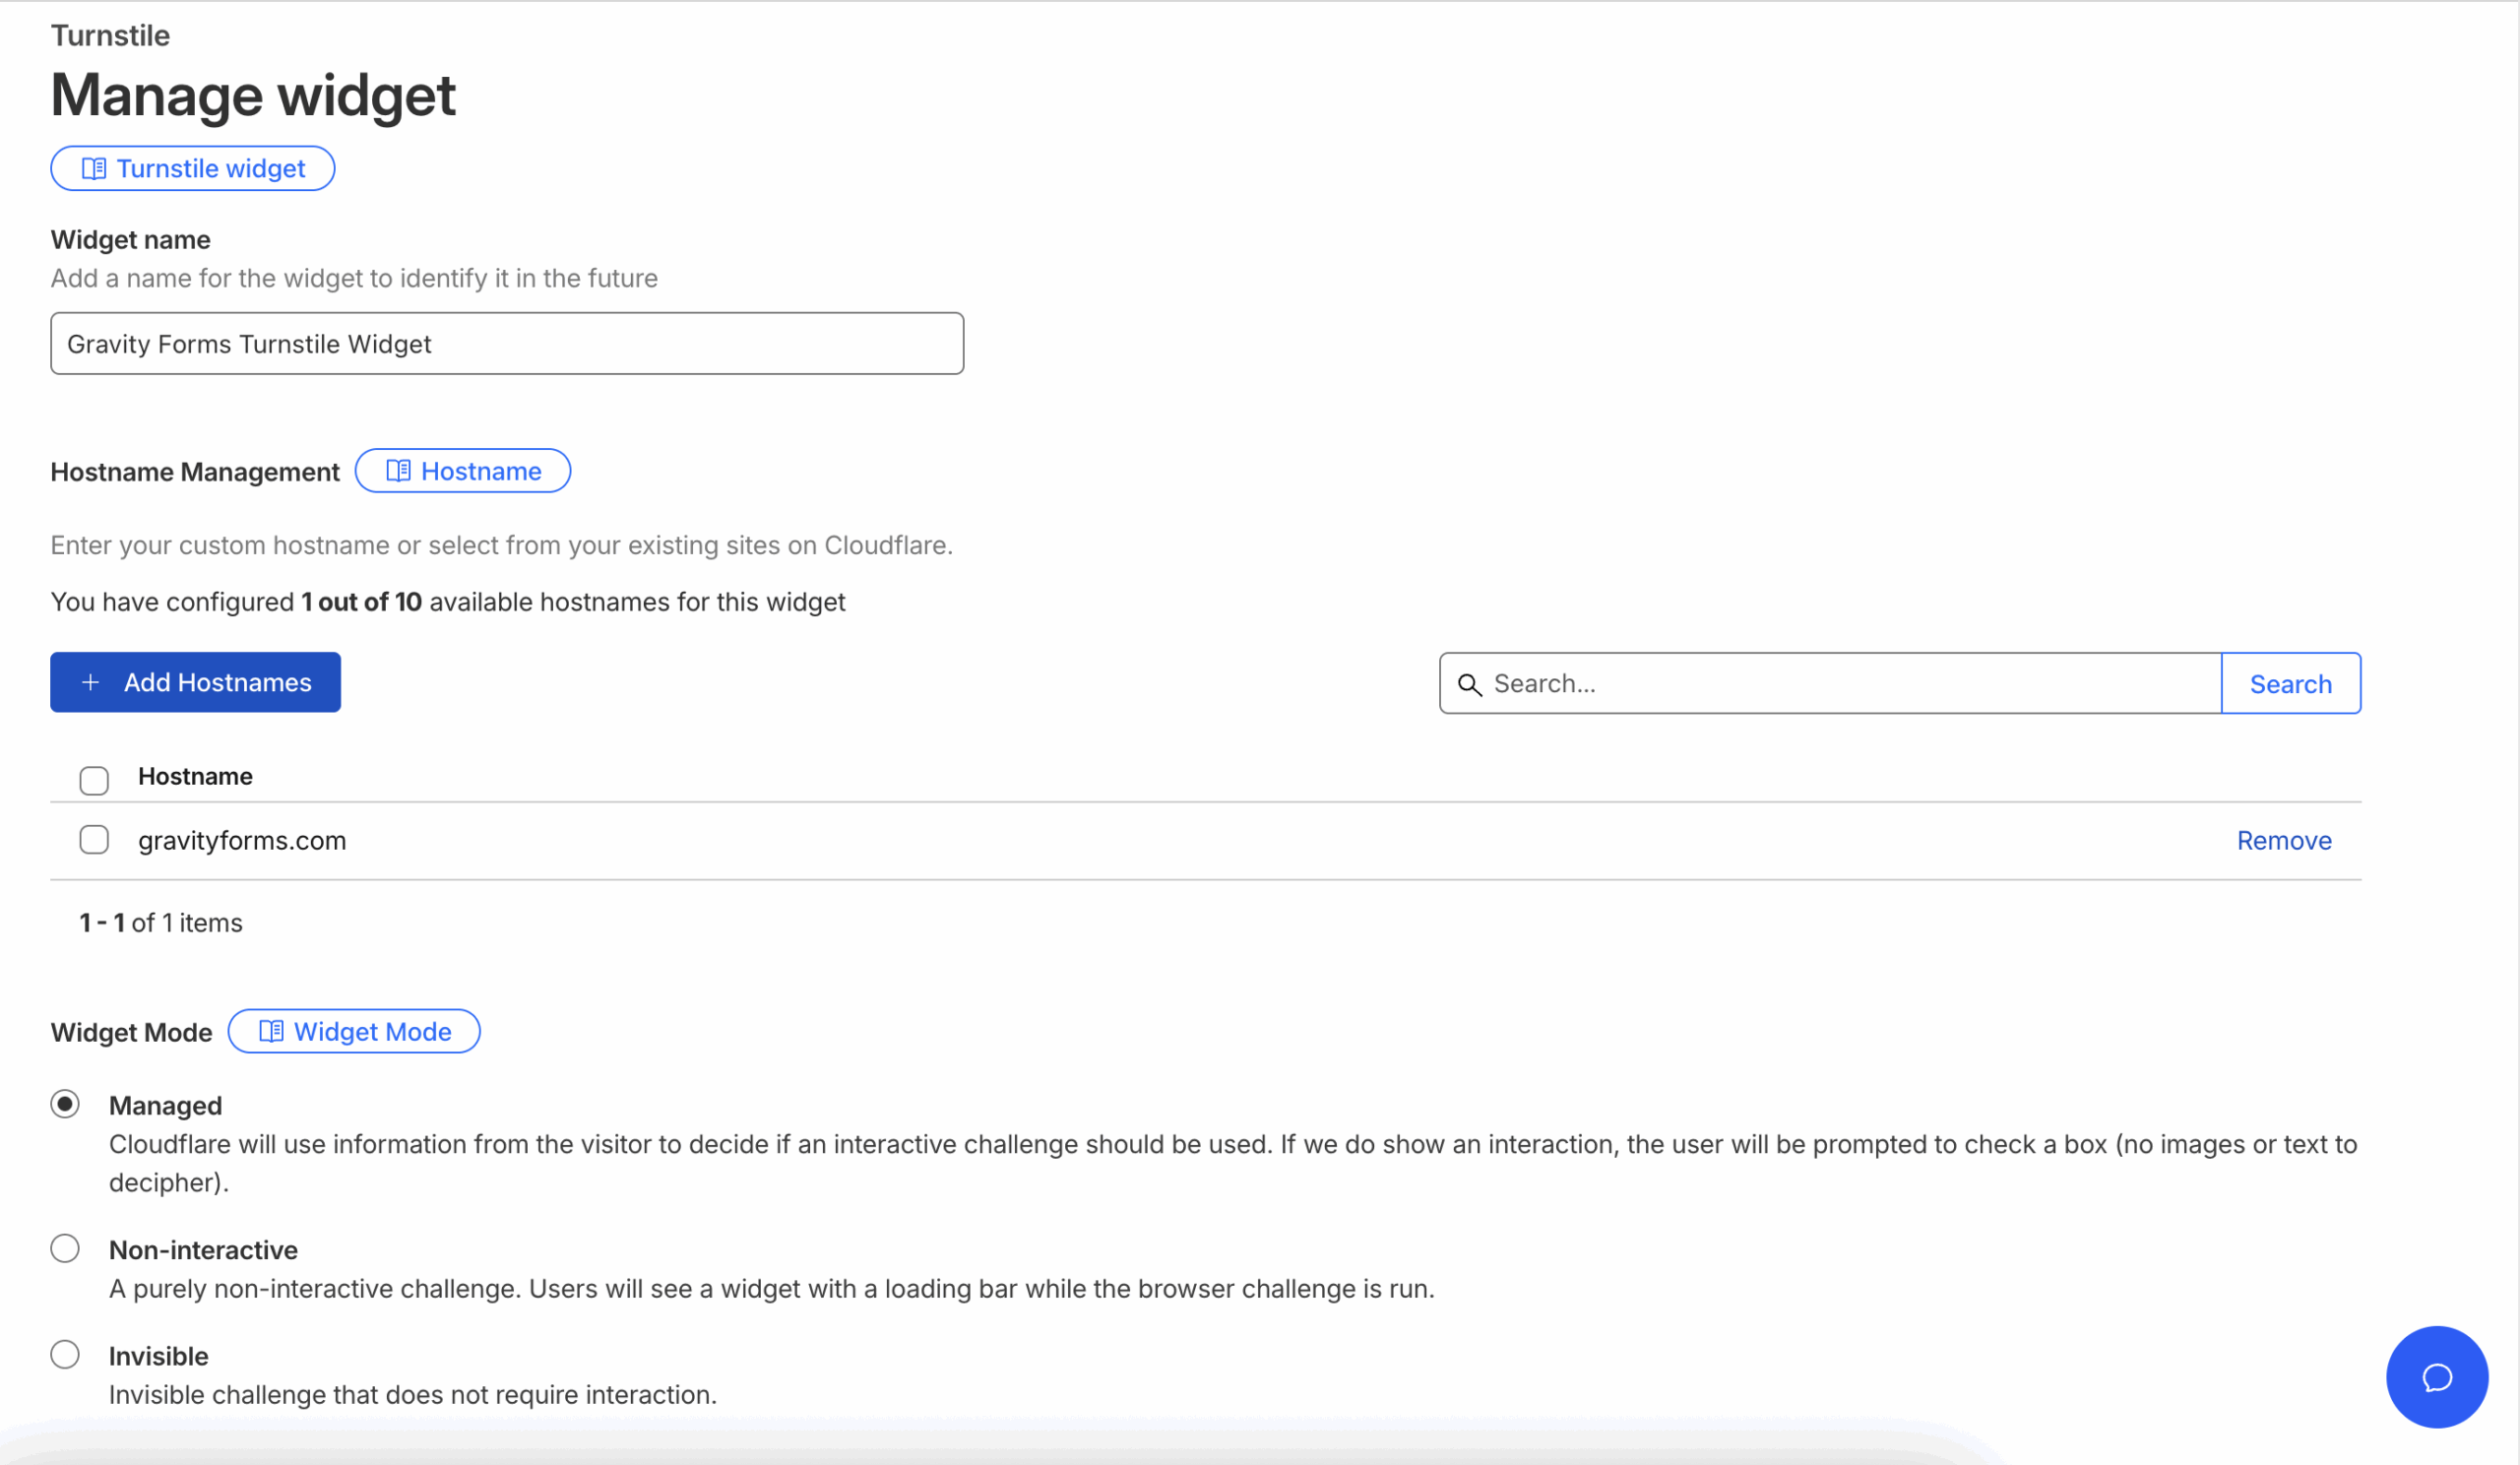
- Fill out the required information:
– Widget name: A descriptive name for your widget.
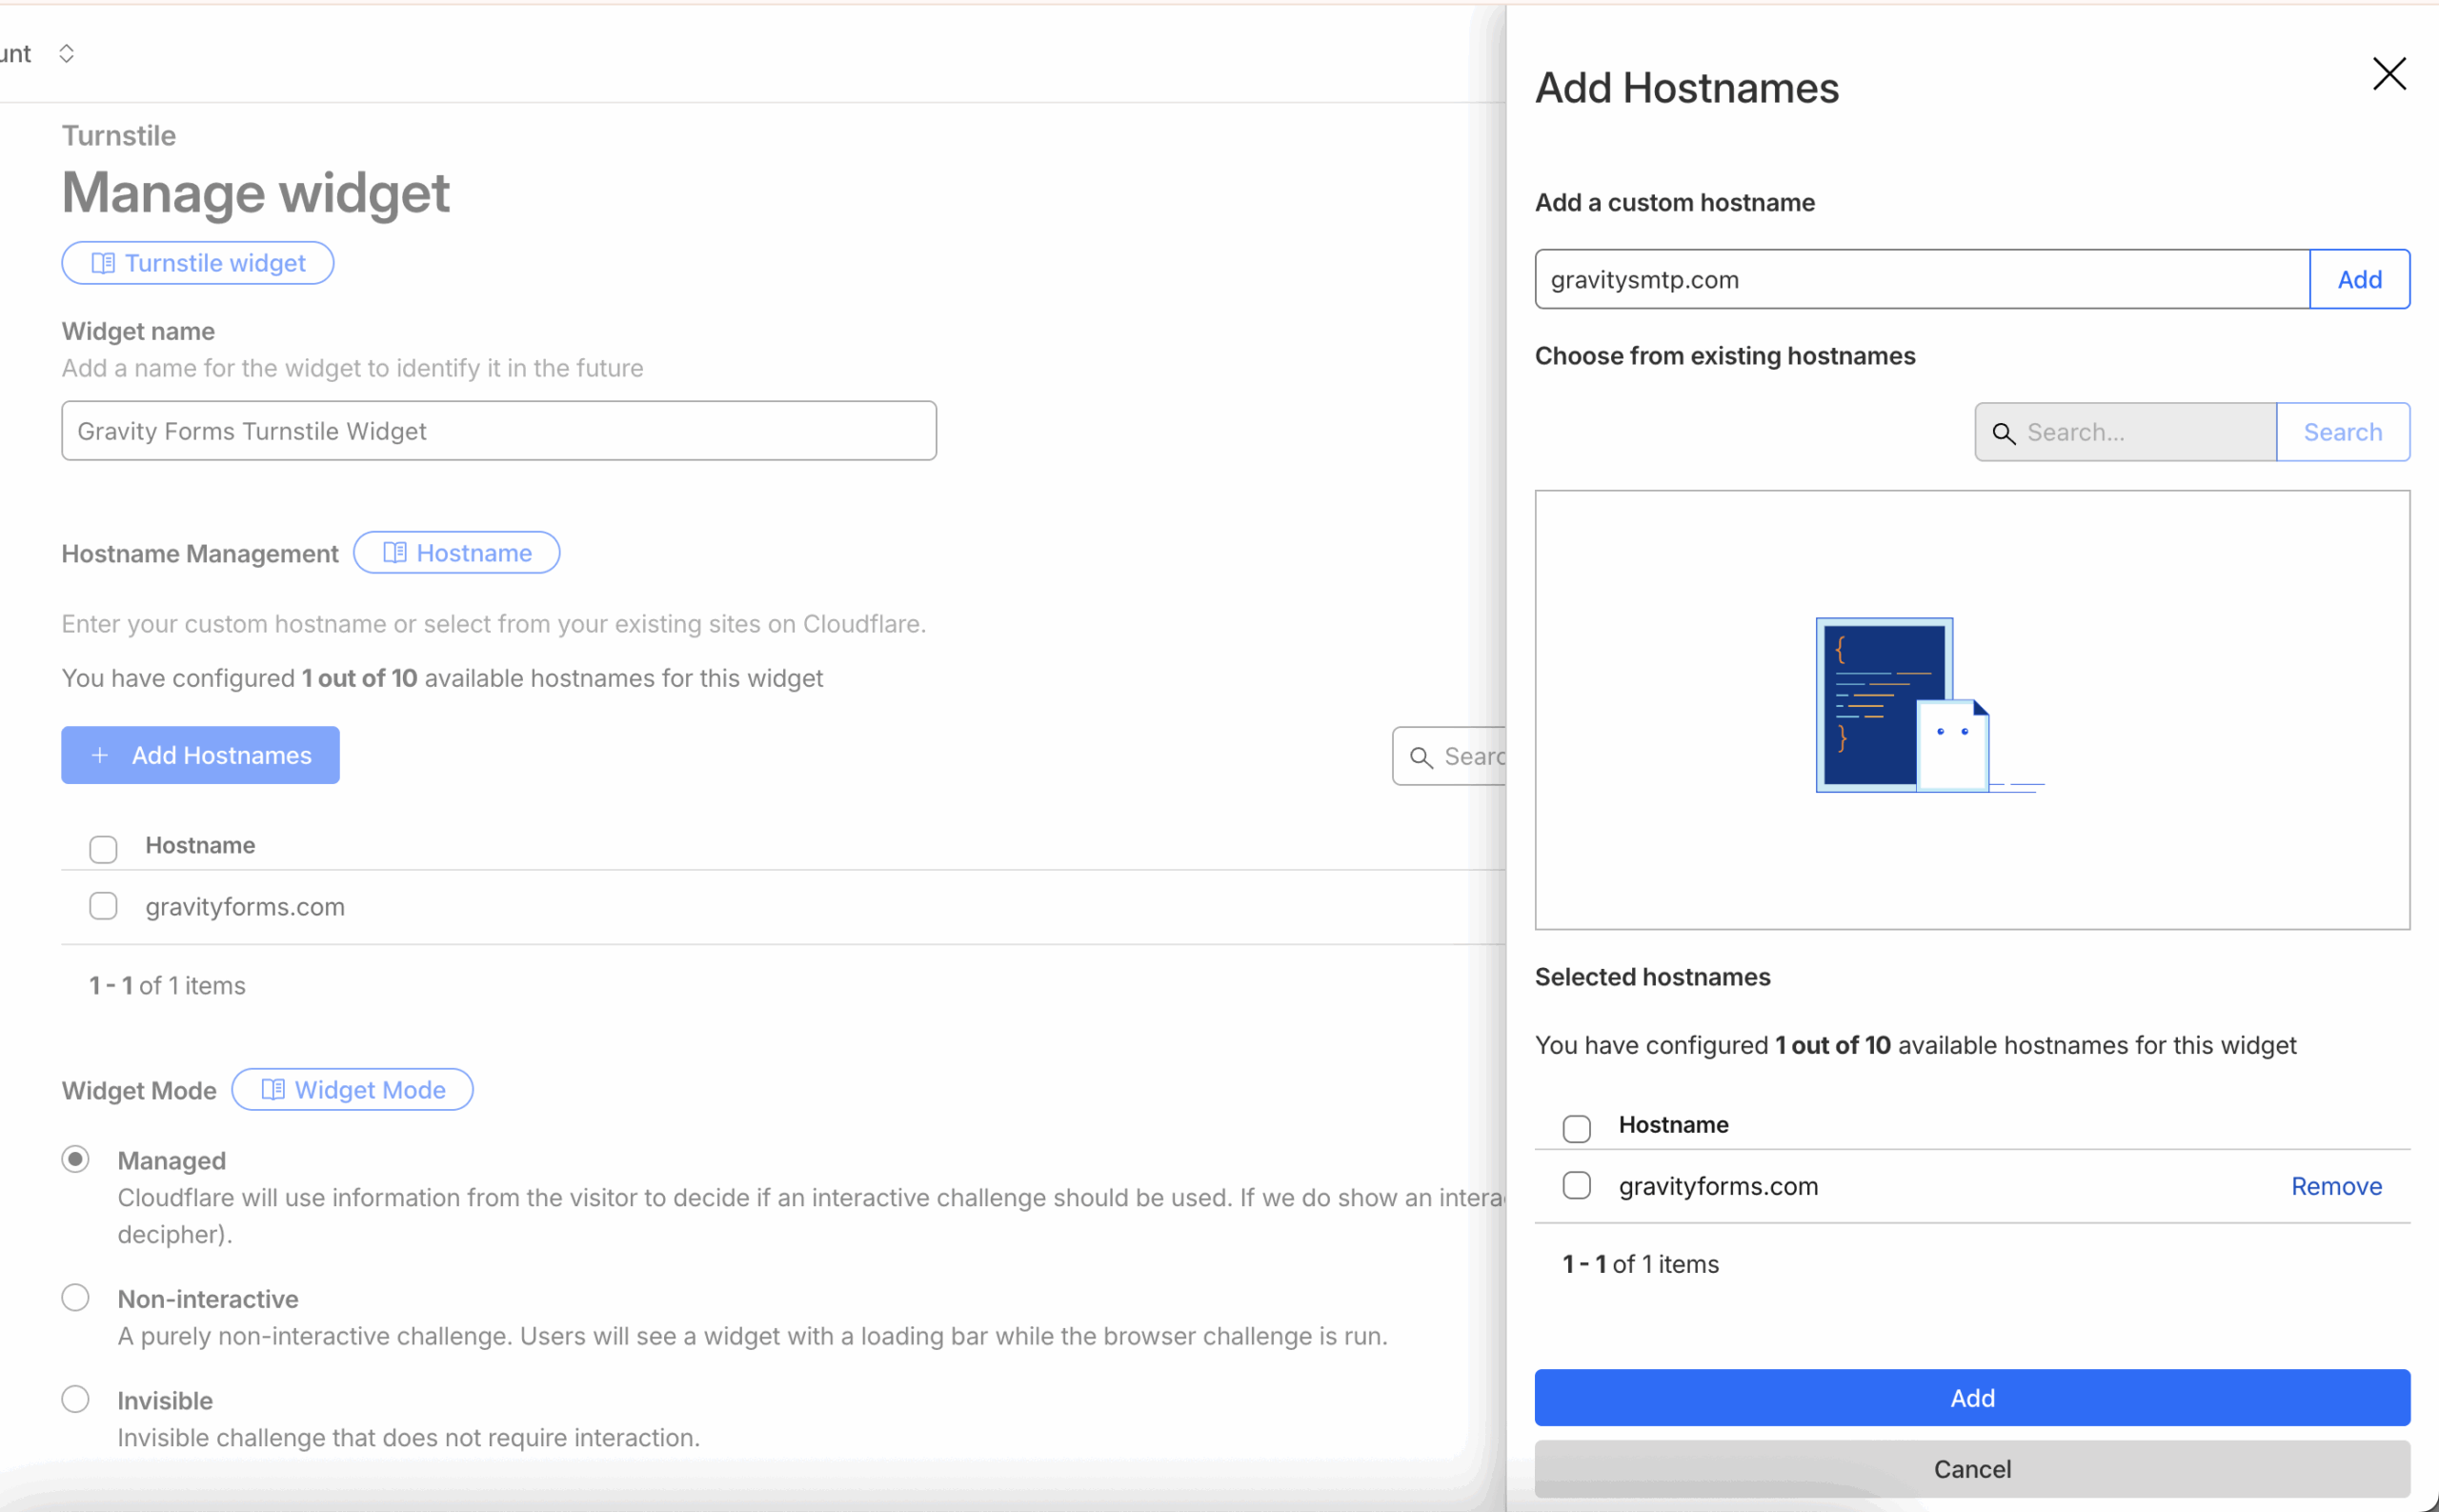
– Hostname management: Domains where the widget will be used.
– (Optional) Configure Pre-clearance support for single-page applications.
- Select Create to save your widget.

- Copy your sitekey and secret key, and store the secret key securely.

Adding your Site Key and Site Secret
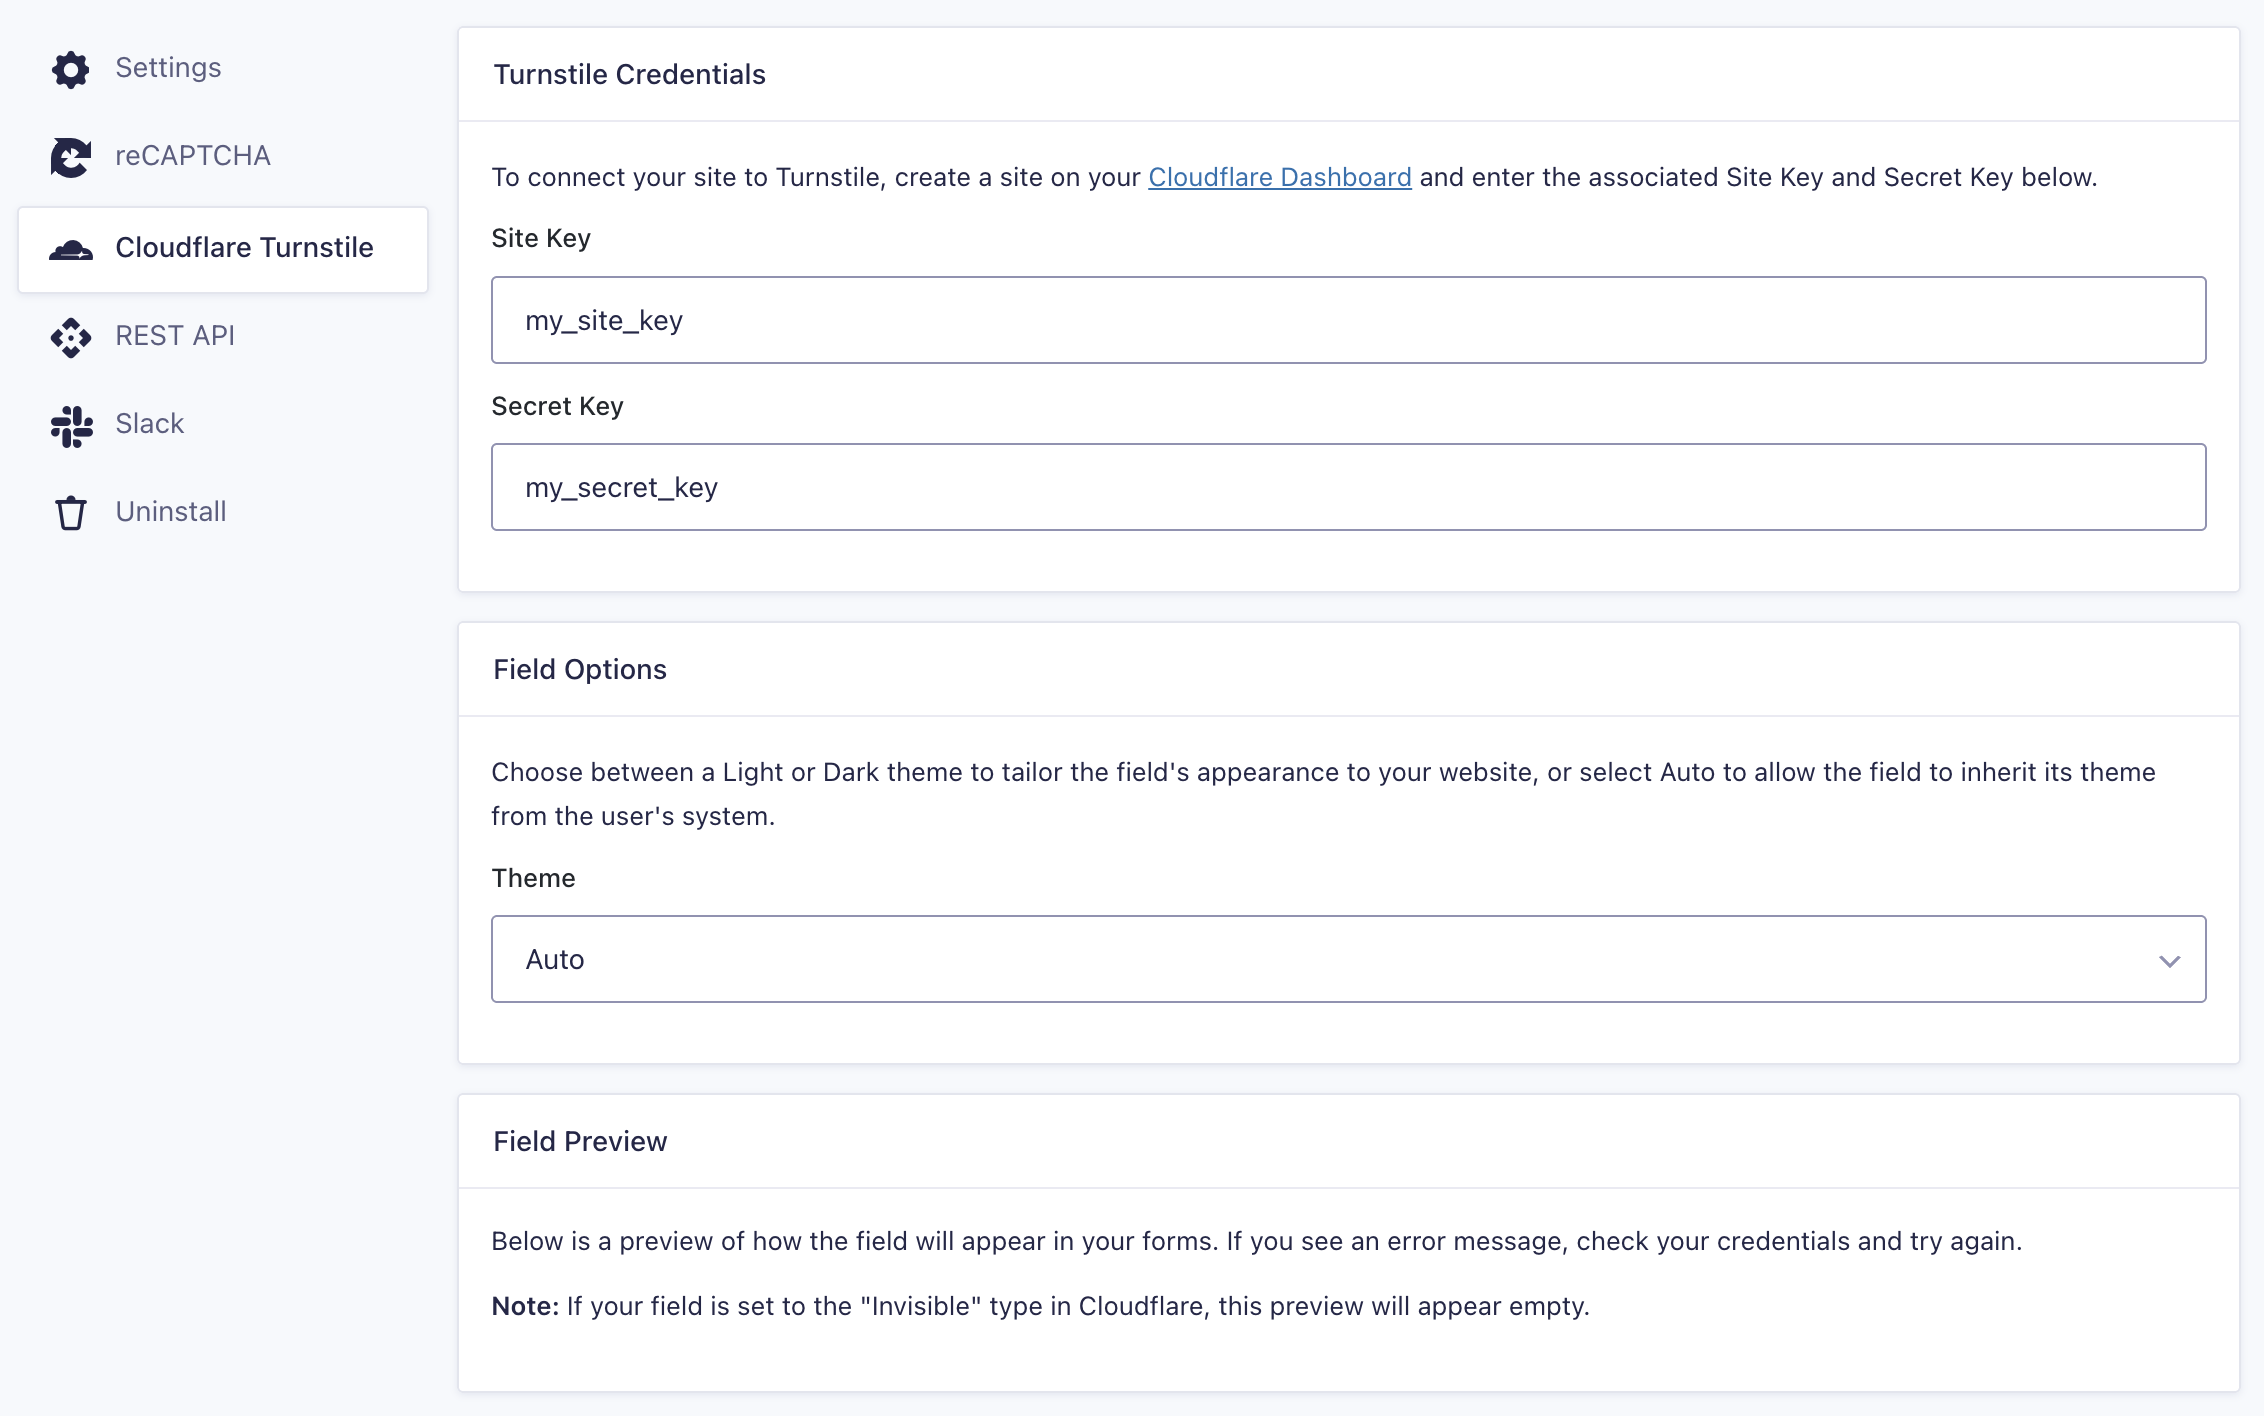
- Go to Forms → Settings → Cloudflare Turnstile.
- Copy the Site Key and Secret Key from your Cloudflare dashboard.
- Paste both keys into the Turnstile Credentials section.
- Under Field Options → Theme, choose your preferred theme (defaults to Auto).
- Click Save Settings to apply your changes. Turnstile is now ready to use in your forms.
Additional Settings
The full guide to the Cloudflare Turnstile Add-on Settings Reference provides an in-depth explanation of the additional configuration settings for the add-on.