Pre-Requisites
Setup
- Log into your WordPress admin dashboard.
- On the left side navigation menu, hover over Forms and click on Settings.
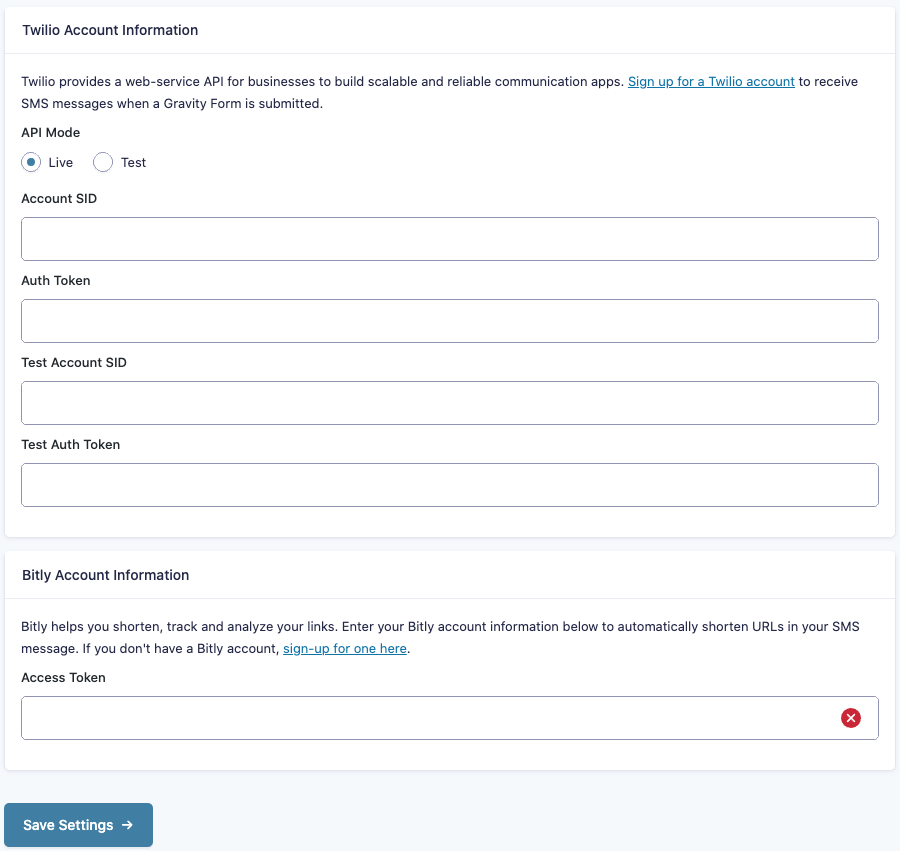
- From this page, click the Twilio tab. Here you will see two sections, one for Twilio Account information, and one for your Bitly account information.
Twilio Account Information
- Select your API Mode.
- Enter your Account SID, Auth Token, Test Account SID, and Test Auth Token. These are obtained from Twilio. If you are unsure of how to obtain your account information, take a look at our article on Obtaining Your Twilio API Key.
Bitly Account Information
You can integrate your links with Bitly for shortening and tracking. You will need to generate an access token. Refer to your Bitly account settings, or see this article from their documentation pages.
Note: As of September 14th, 2020, Bitly have deprecated all earlier API versions, and now require all authentication to happen via OAuth (deprecating their older API key integration method). If you notice that URLs for a previously working feed are no longer being shortened, visit the Settings page described in this article, and confirm that you have properly entered a Bitly OAuth token.
Next Step: Create a Feed
Once all your settings are complete, click Save Settings. If you’ve entered your account information correctly, you will be notified by a green check mark beside each box. If you do not see green check marks, double check this information and try again.
Now you are ready to begin creating a feed for the Twilio Add-On.
Screenshots
Image: the official Gravity Forms Twilio Add-On Settings page.