Summary
Before the 2Checkout Add-On can be used with Gravity Forms, you will first need to create a feed. A feed allows form submission data to be sent to another source. In this instance, payment data being sent to 2Checkout.
Note: To use the 2Checkout Add-On, you will need a 2Checkout Field within your form. When using Page fields to create a multi-page form, the 2Checkout Credit Card field should be located on the last page of the form.
Required Fields
To create a feed for 2Checkout, you must have the following fields on your form:
- Product Field and/or Total Field
- 2Checkout Field (only available when you have the 2Checkout Add-On active)
Create a Feed
To create a feed to 2Checkout using the 2Checkout Add-On for Gravity Forms, do the following from your WordPress Admin Dashboard:
- Click on Forms in the left side menu.
- Select the form that you want to use with 2Checkout.
- Once within your desired form, hover over Settings and click on 2Checkout.
- Click Add New to create a new feed. You will be presented with the 2Checkout Feed Settings screen.
Feed Settings Screen
The following fields are available within the settings screen.
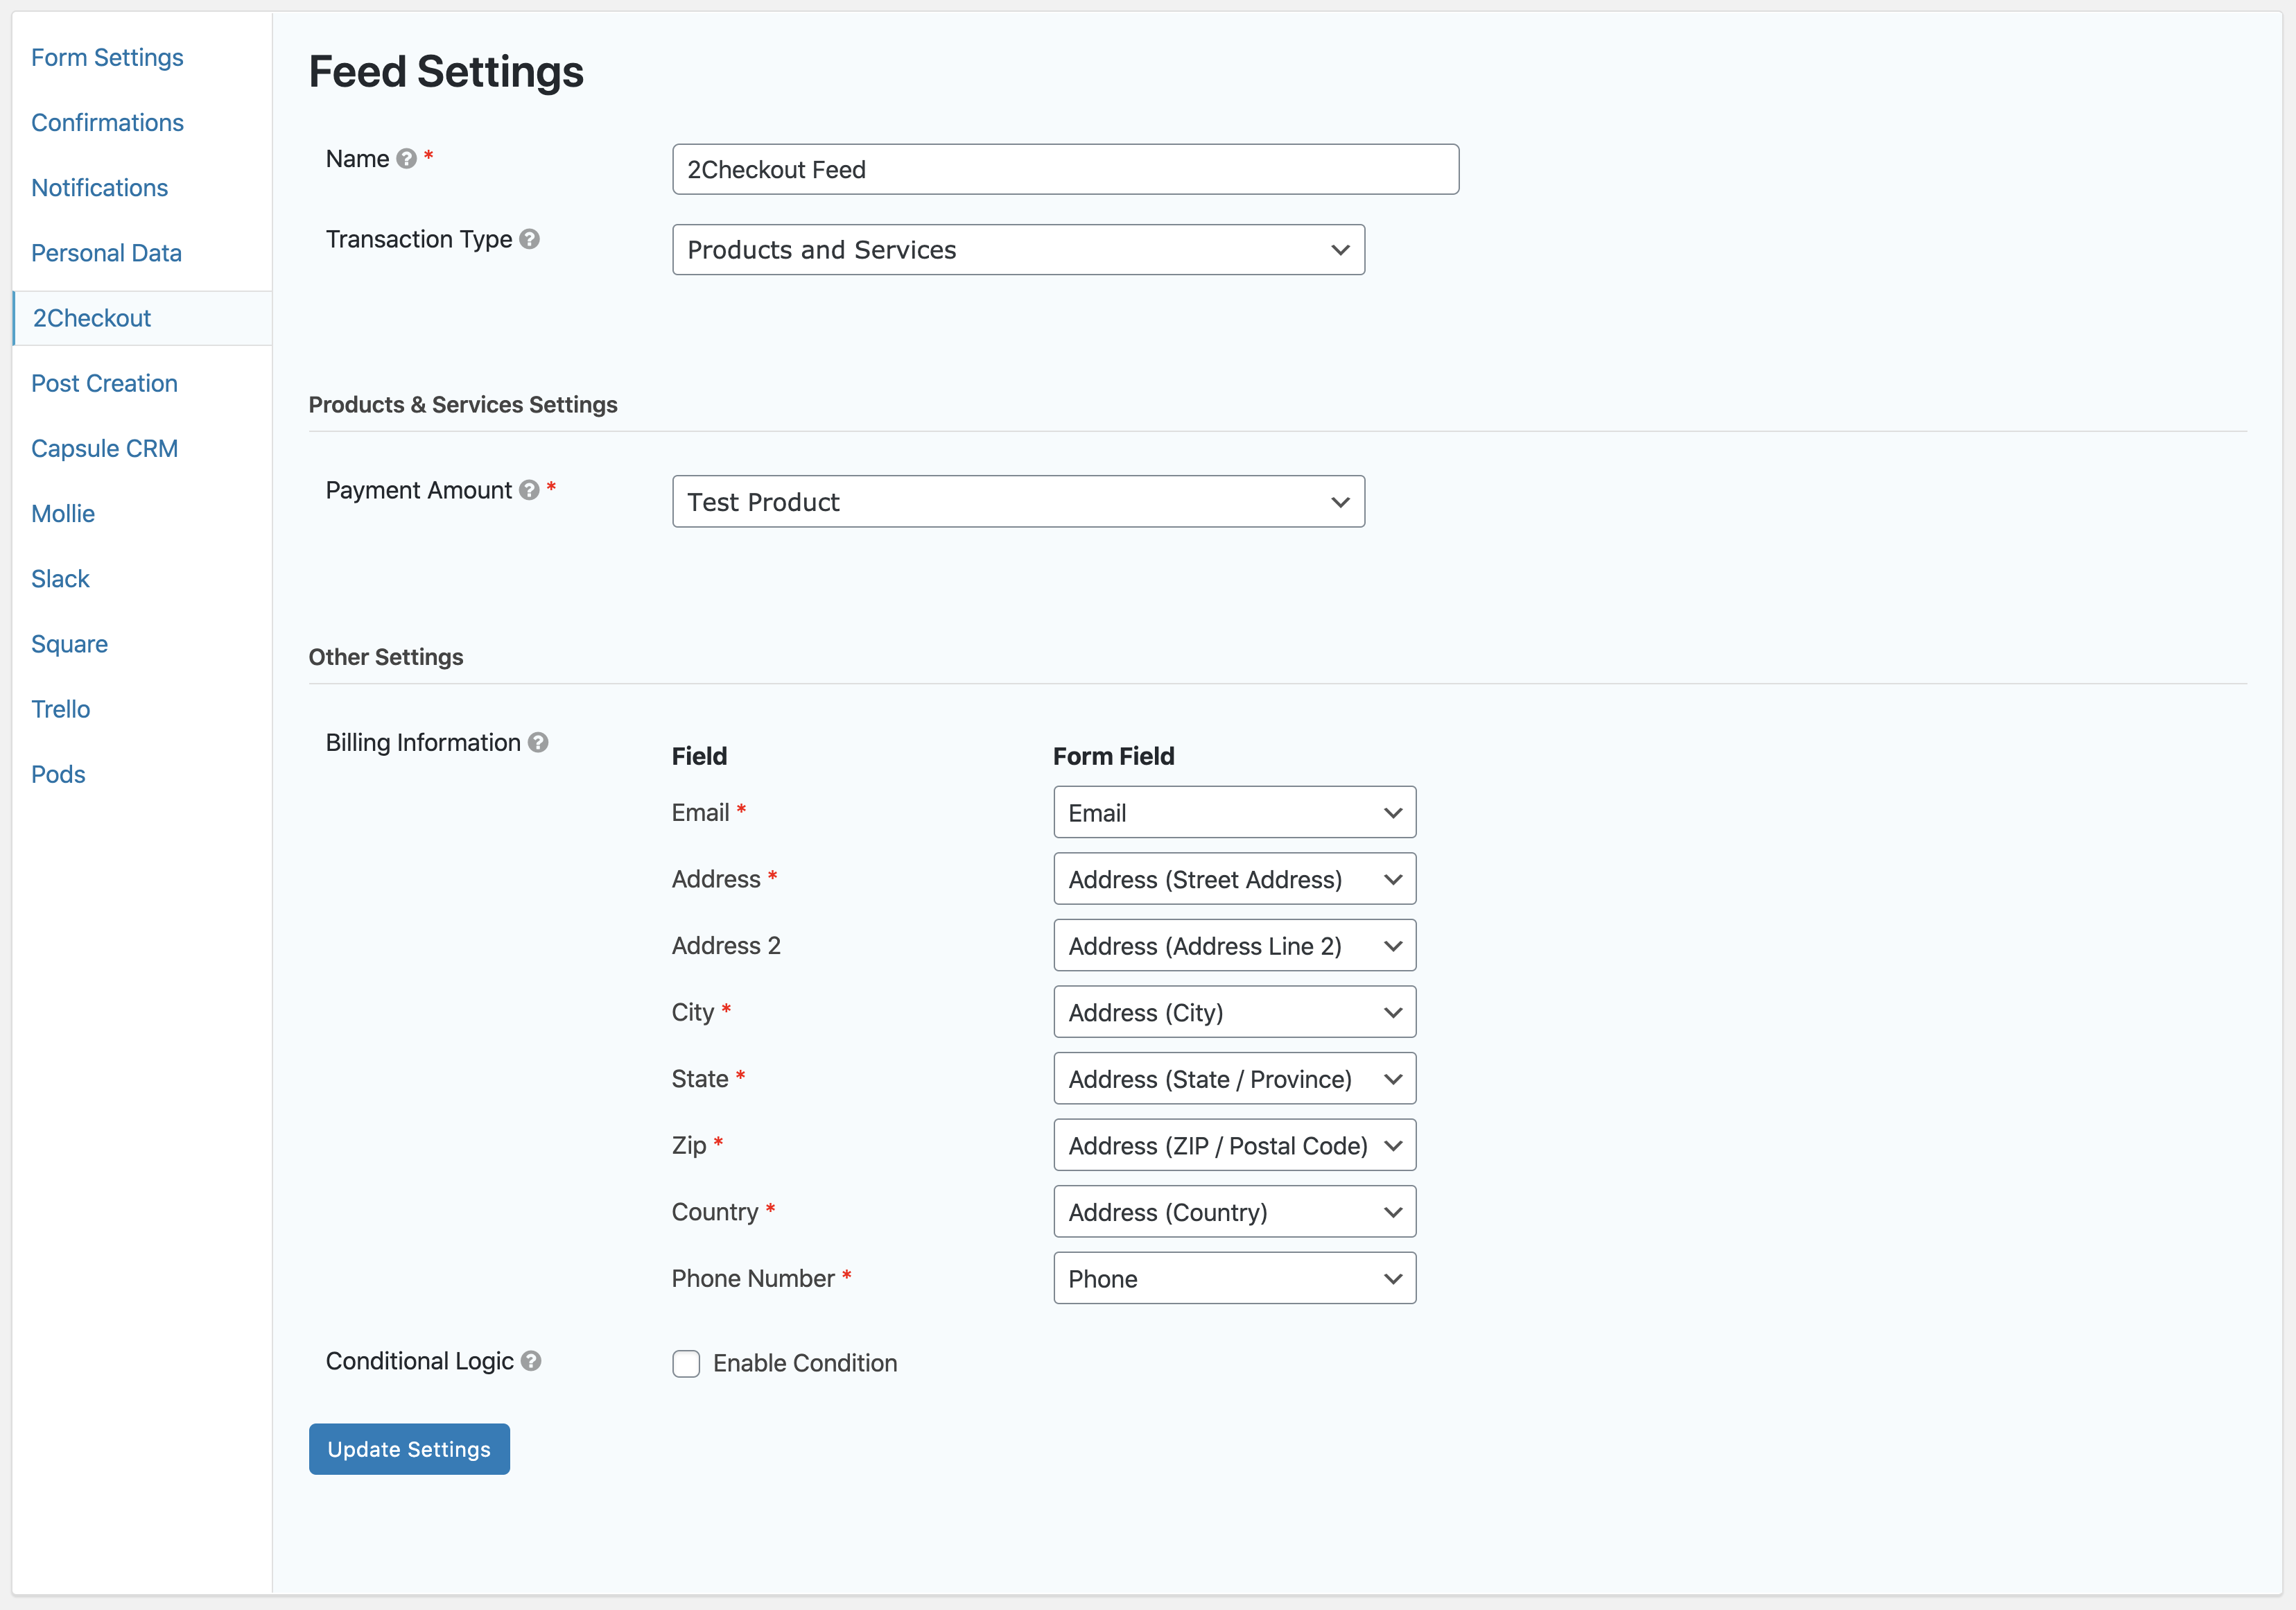
- A feed Name is required. It is only used for identification and will not be shown anywhere other than your feed listing.
- Choose the Transaction Type. Most users will select Products and Services, but there is also the Subscription transaction type if you will be taking recurring payments.
- Based on your selection within the Transaction Type drop down, additional settings will be available. This will either be the Products and Services Settings or Subscription Settings. Within both options, you will select the field that contains your form total, but if you have selected the Subscription option, you will also see additional options to control the subscription. See the section on Subscription Settings Below.
- Configure the Billing Information. Map each of the various options to the desired form field that will contain that information.
- Conditional Logic: If unchecked, every successful form submission will be sent to 2Checkout. If you wish to set specific conditions for sending form data to 2Checkout, then check the “Enable Condition” box and fill out your required criteria.
- Click the Update Settings button to save your options.
Subscription Settings
The following fields are available when selecting Subscription transaction type.
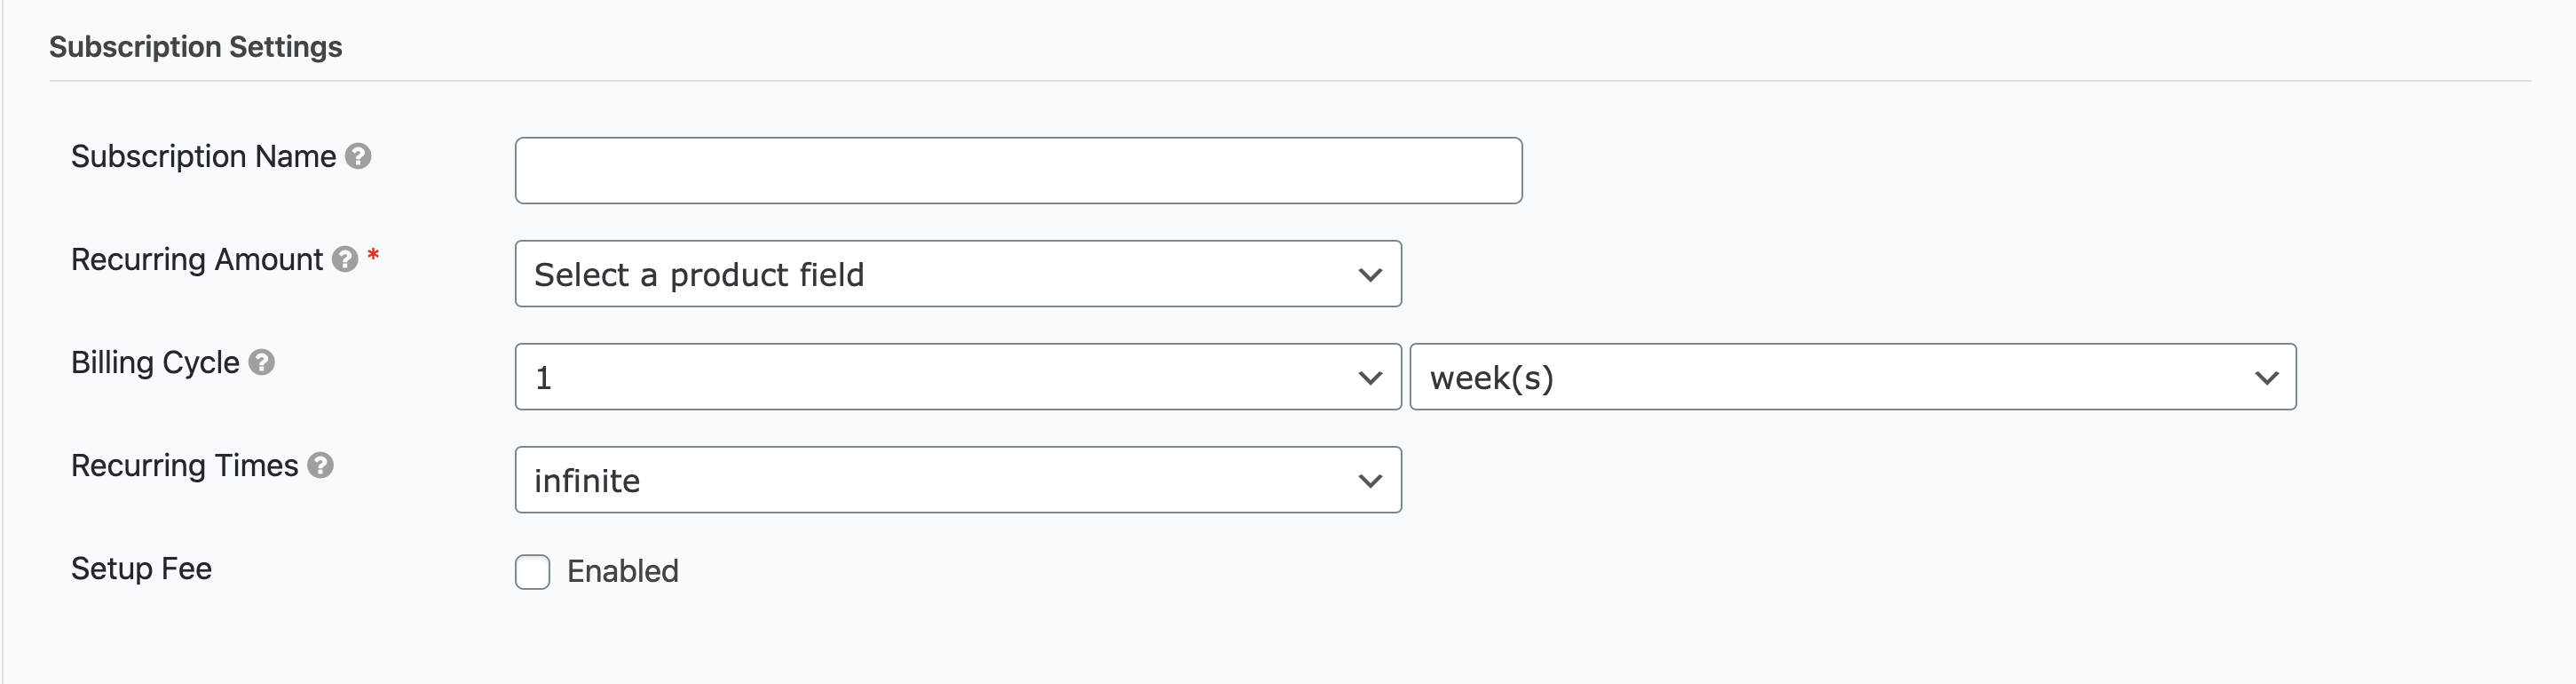
- Subscription Name: Enter a name for the subscription. It will be displayed on the 2Checkout dashboard as the name for the subscription. If left blank, the Feed Name will be used instead.
- Recurring Amount: Select which field determines the recurring payment amount, or select ‘Form Total’ to use the total of all pricing fields as the recurring amount.
- Billing Cycle: Select your billing cycle. This determines how often the recurring payment should occur. The first drop down defines the numeric frequency from 1-12 and the second allows you to select Week(s), Month(s) or Year(s).
- Recurring Times: Select how many times the recurring payment should be made. The default is to bill the customer until the subscription is cancelled.
Note: You can create multiple 2Checkout feeds for your form; however, you must configure conditional logic on them. The 2Checkout Add-On will only process one feed during submission; if conditional logic is not configured, it will use the first feed it finds.
Viewing Sales Results
After creating a feed and making your first sale, you can view the results on the Sales Results page. Review Viewing Sales Results article for more information.