Pre-Requisites
Setup
- Log into your WordPress admin dashboard.
- On the left side navigation menu, hover over Forms and click on Settings.
- From this page, click the Slack tab.
- Click the button labeled Connect to Slack to begin authorizing the Slack add-on.
- You will receive a notice “Redirecting you to Slack” while the Slack website opens
- You will be sent to the Slack website and prompted to authorize the application to your organization and select the channel where the Gravity Forms should post.

- From the prompt ‘Where should Gravity Forms post?”, Select the channel in your Slack organization to add Gravity Forms to that channel. See the note below regarding authorized channels.

- Click Allow to authorize the Slack Add-on. You will be returned to the Settings screen for the Slack Add-On and should see that your Slack Organization is connected.

Once you have authorized the add-on, you’re ready to begin creating a feed for the Slack Add-On.
Additional Notes
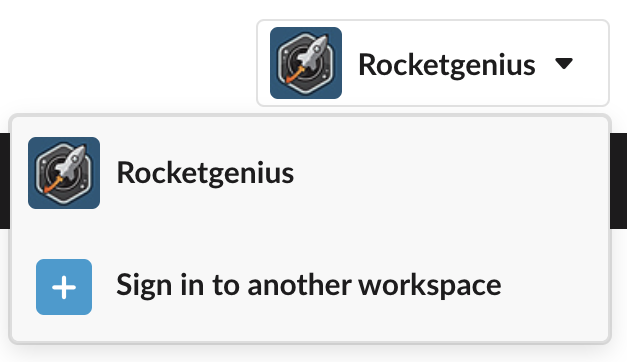
If you are not Authorized to the correct Slack Organization when you are Redirected to Slack or when you’re looking at the Slack Authorization Dialogue, you may need to Sign into another Workspace. In the upper right hand portion of the Slack website, select the Workspace for a drop-down dialog allowing you to Sign into another Workspace.
Authorized Channels for Slack Communication
When Gravity Forms is added to your Slack Organization, you will receive a message in the channel selected above in Step 7 that “Administrator has added an integration to this channel: Gravity Forms”. By default, Gravity Forms will only have authorization to communicate in public channels, direct message other users, and communicate in Private Groups/Channels which they have been invited.
If you want to use the Slack Add-On to communicate in Private Groups, you will need to invite them to those channels ahead of time.
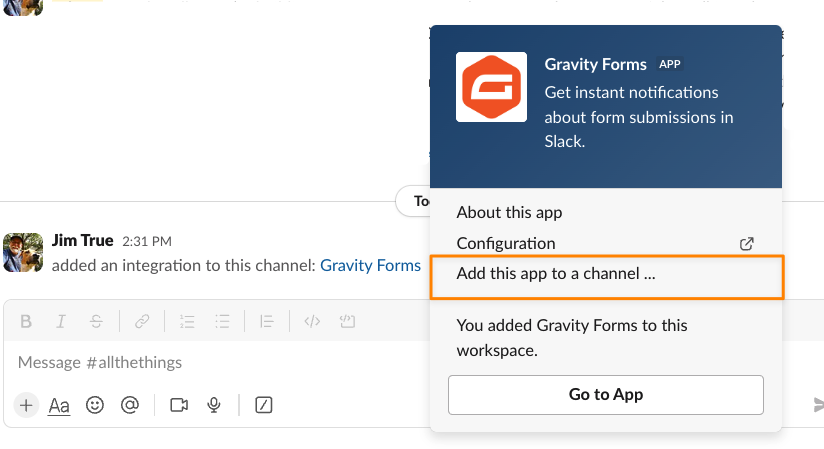
Follow these steps to invite the Gravity Forms App to Private Groups:
- Right-click the Gravity Forms app within Slack.
- From the menu that displays, select “Add this app to a channel …”
- You can select any private groups from this dialogue and the Gravity Forms Slack APP will be added to those private groups/channels.
Alternatively, from within a Private Channel or Group, you can type /invite @Gravity Forms to add them to the channel.
This step must be completed before you can send messages to private groups with the Slack Add-On.