Summary
A feed sends information between Gravity Forms and Zapier. How Zapier and Gravity Forms display and configure feeds has changed with Zapier v4 and the updated Gravity Forms apps from Zapier. Where previously the setup and logic of feeds were managed primarily within Gravity Forms, the newer versions now shift that creation, management and control to the Zapier system.
This article describes some of the nuances of Zapier feeds, and clarifies what you can manage from within Gravity Forms.
Definitions
- In this article, when we refer to “Zapier’s system” or “Zapier’s interface“, we mean those settings and features you access from within the Zapier service.
- “Gravity Forms Zapier settings” or “Zapier Add-On settings” means we are referring to settings available from within your official Gravity Forms Zapier Add-On.
- Zapier will create a feed to Gravity Forms whenever you create a Zap from within the Zapier system. Zapier call these automatically created feeds “modern feeds“.
- Feeds created from within the Gravity Forms Zapier Add-On prior to v4, are referred to as “legacy feeds“.
Feed Visibility
Feeds are hidden by default within the Gravity Forms Feed page, unless the form has existing legacy feeds.
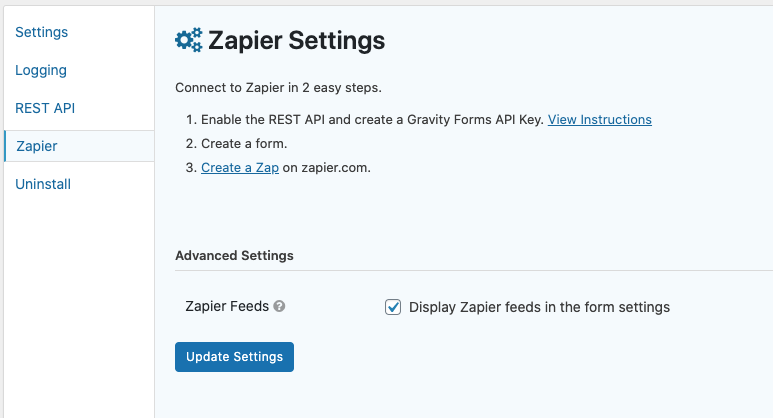
The display of Zapier feeds within the Form Settings can be toggled on or off from the Gravity Forms Zapier Plugin Settings page under Forms → Settings → Zapier.
Editing Feeds
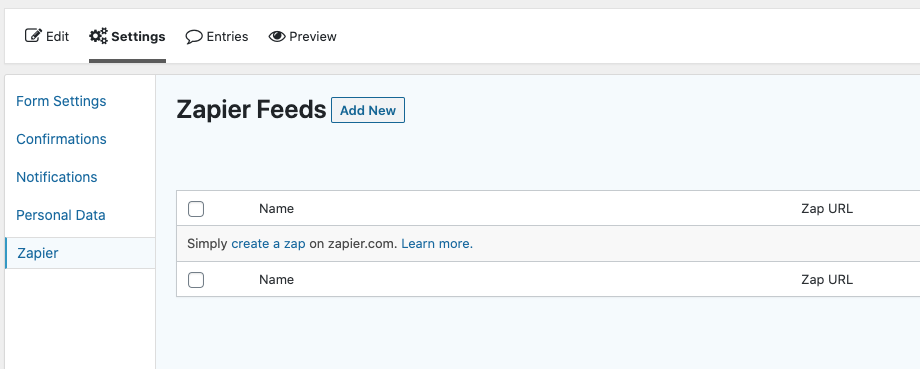
Once you have enabled display of Zapier feeds as directed above, you will have access to the Gravity Forms Zapier Add-On Feeds page.
What you can create or edit within your Feeds page is dependent upon the type of feeds you have.
Why Would I Need to Edit Feeds?
- You need Conditional Logic Enabled for the Zap. By Default if you have a Zap connected to your Form, it will always run a task against that Zap whenever the form is submitted. If you want to prevent this in specific situations, you can use conditional logic to prevent the Zapier task from running in specific situations.
- You have a legacy feed. Feeds created prior to Zapier Add-On 4.0 have direct webhook authentication from Zapier to your form.
Editing Modern Feeds
Modern feeds have most of the fields marked as read-only. You can only edit the ‘Admin Labels’ setting and ‘Conditional Logic’ fields from within Gravity Forms Zapier Add-On. All other settings are managed from within the Zapier system.
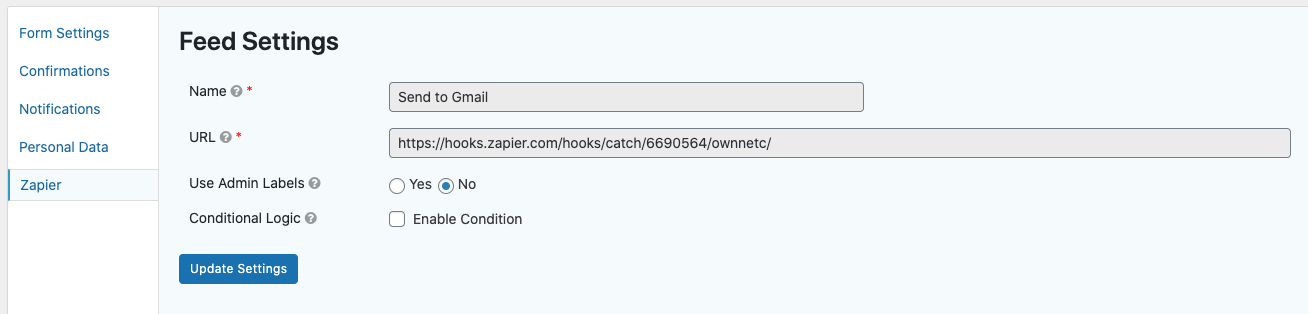
- Use Admin Labels? Select Yes for this option if you would like Admin Labels for your fields to be sent to Zapier instead of the Label for the field.
- Enable Conditional Logic. If unchecked, every successful form submission will be sent to Zapier. If you wish to set specific conditions for sending form data to Zapier, then check the “Enable” box and fill out your required criteria.
Creating a Feed for Legacy Zaps
To create a legacy feed to Zapier using the Zapier Add-On for Gravity Forms, do the following from your WordPress Admin Dashboard:
- Click on Forms in the left side menu.
- Select the form that you want to use with Zapier.
- Once within your desired form, hover over Settings and click on Zapier.
- Click Add New to create a new feed. You will be presented with the Zapier feed settings screen.
Feed Settings Screen
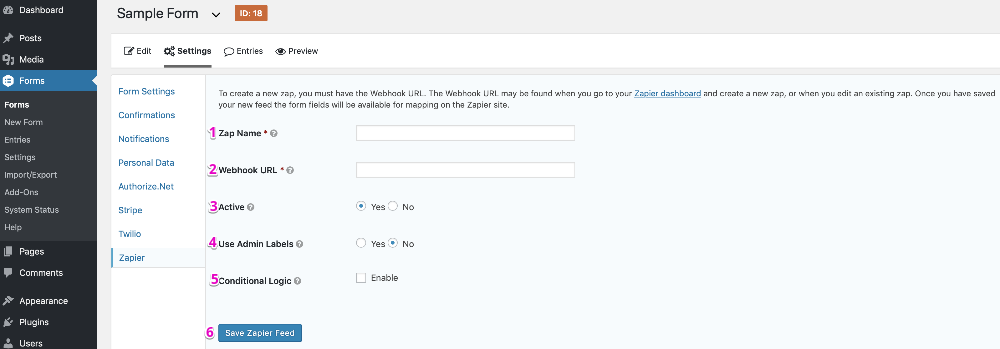
The following fields are available within the settings screen. Refer to the settings screenshot below.
- Create your Zap Name. This name is here to give you an idea of what Zap is being executed upon submission of the form.
- It is important that you copy your webhook URL from Zapier.com. If you have it, paste it in the Webhook URL field. If you do not have your URL, visit Setting up your Zapier Zap to learn how to obtain it.
- Under the Active option you can set the form submission status to be either active or inactive. By default this form is active. An inactive form will not trigger your action; however, an active form will.
- The Use Admin Labels option allows you to send the field admin labels to Zapier when available.
- Conditional Logic: If unchecked, every successful form submission will be sent to Zapier. If you wish to set specific conditions for sending form data to Zapier, then check the “Enable” box and fill out your required criteria.
- Click the Save Zapier Feed button to save your options.