Note: PayPal will deprecate Website Payments Standard (WPS) in January 2026, with full End Of Life in January 2027. PayPal Payments Standard Add-On will be affected, and merchants must migrate to PayPal Checkout to maintain payment functionality. Refer to the PayPal Payments Standard Add-On End Of Life article for more information.
Summary
Before the PayPal Payments Standard Add-On can be used with Gravity Forms, you will first need to create a feed. A feed simply allows form submission data to be sent to another source. In this instance, payment data being sent to PayPal.
Create a Feed
To create a feed to PayPal Payments Standard using the PayPal Payments Standard Add-On for Gravity Forms, do the following from your WordPress Admin Dashboard:
- Click on Forms in the left side menu.
- Select the form that you want to use with PayPal Payments Standard.
- Once within your desired form, hover over Settings and click on PayPal Payments Standard.
- Click Add New to create a new feed. You will be presented with the PayPal Payments Standard feed settings screen.
Note: You can create multiple PayPal Payments Standard feeds for your form; however, you must configure conditional logic on them. The PayPal Payments Standard Add-On will only process one feed during submission; if conditional logic is not configured, it will use the first feed it finds.
Feed Settings Screen
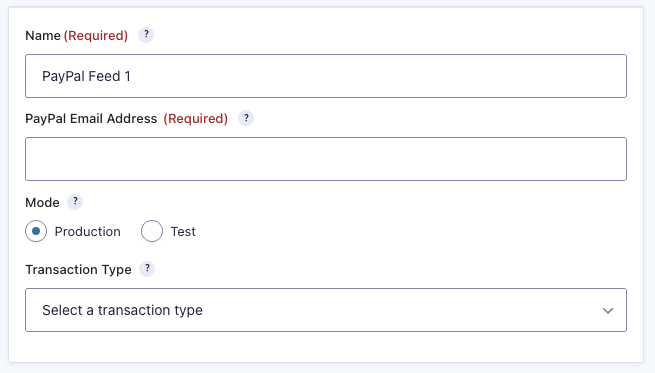
The following fields are available within the settings screen. Refer to the settings screenshots below.
- A feed Name is required. It is only used for identification and will not be shown anywhere other than your feed listing.
- In the PayPal Email Address field, enter the email address for the PayPal account that will be receiving payments.
- The Mode field determines if you want to receive live payments or are submitting them to PayPal in sandbox mode for testing. If you’re ready to take payments live, set this to Production. Otherwise, set it to Test.
- Select the Transaction Type. If you are selling a one-time physical or digital product, you will typically select the Product and Services option. If you are selling a recurring subscription or accepting donations, you will want to select the respective option.
After you have selected your desired option within the Transaction Type dropdown, you will see various other fields appear that are specific to the option you have selected, in addition to other options below it. For more information on the fields that are specific to your transaction type, you may review the following articles:
Other Settings
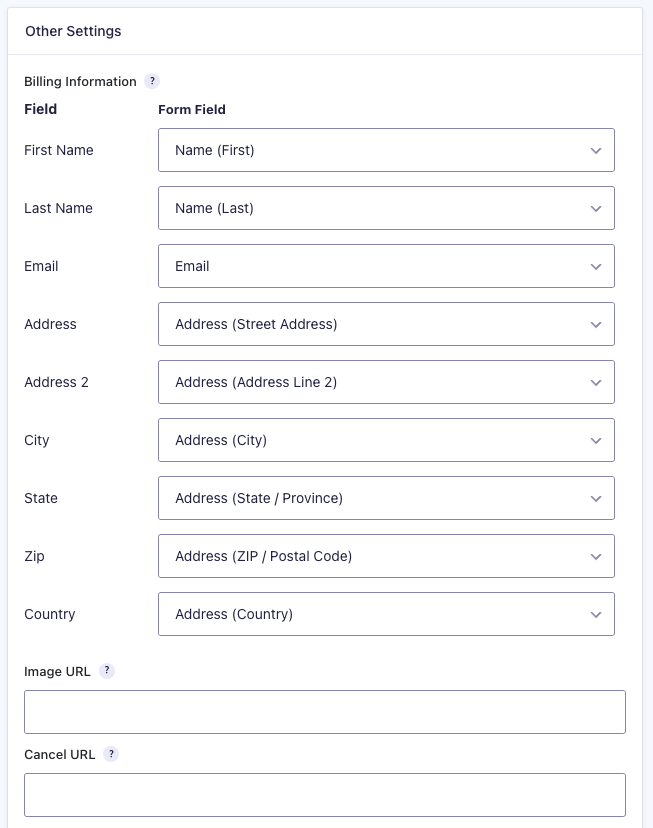
Under the Other Settings section, there are several other options that can be configured. These options are the same regardless of the transaction type you select.
- Billing Information configures what billing information is sent to PayPal when processing a transaction. Map each of the billing fields to the desired form field that will contain that information.
- The Image URL option allows you to enter the URL of the image displayed as your logo in the upper left order of the PayPal checkout pages.
- The Cancel URL option lets you customize the URL that users will be sent to if they cancel their order within PayPal before completion.
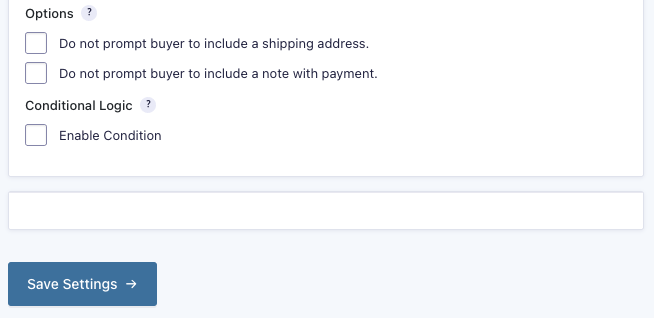
- Options: These checkboxes allow you to better control the information that is obtained from PayPal. If you do not need to pass the address on to PayPal, enable the checkbox labeled Do not prompt buyer to include a shipping address. The same applies for passing a note.
- Some users may see a deprecated section titled Notifications. This section is only visible if the feed were previously configured to control notifications this way. See the Notifications section below for details on how to control when notifications are sent based on Events.
- Conditional Logic: If unchecked, every successful form submission will be sent to PayPal. If you wish to set specific conditions for sending form data to PayPal, then check the “Enable Condition” box and fill out your required criteria.
- Click the Update Settings button to save your options.
Feed Notifications Setup
Controlling when notifications are sent used to be available in the Feed Setup. This has been removed and is now controlled from the Notification itself.
- Click on the Notifications menu in the left navigation.
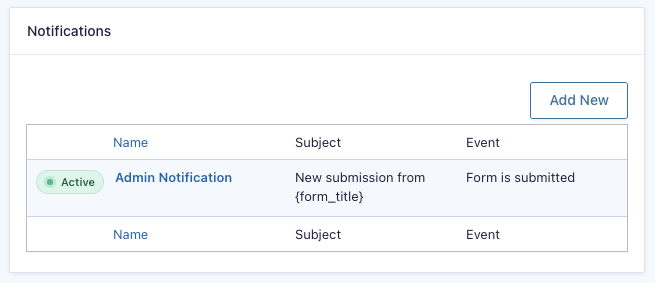
- Hover over the name of the notification you wish to modify and click Edit, or create a new notification. An Event section with the actions available for sending notifications will display.
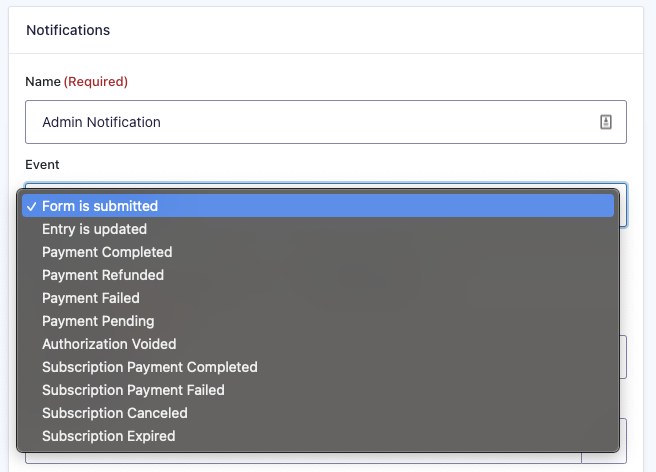
- Expand the drop down for the Event section and select the Event for which you want a notification sent. If you need to send notifications for more than one event, simply create another notification.
- Fill out the rest of the notification and click Update Notification or Save Notification, depending on whether this is an existing or new notification.