The Stripe feed settings were modified in Stripe Add-On version 3.0. For setting up older versions, refer to this article.
Pre-Requisites
Introduction
The last step of integrating Stripe with Gravity Forms is creating a feed. A feed communicates information to Stripe each time a visitor successfully submits your form. This is a critical step. If it is not completed, nothing is sent to Stripe for processing.
Create Your Feed
- Open the form you want to link to Stripe, or create one using this guide: Setting up a Stripe compatible form.
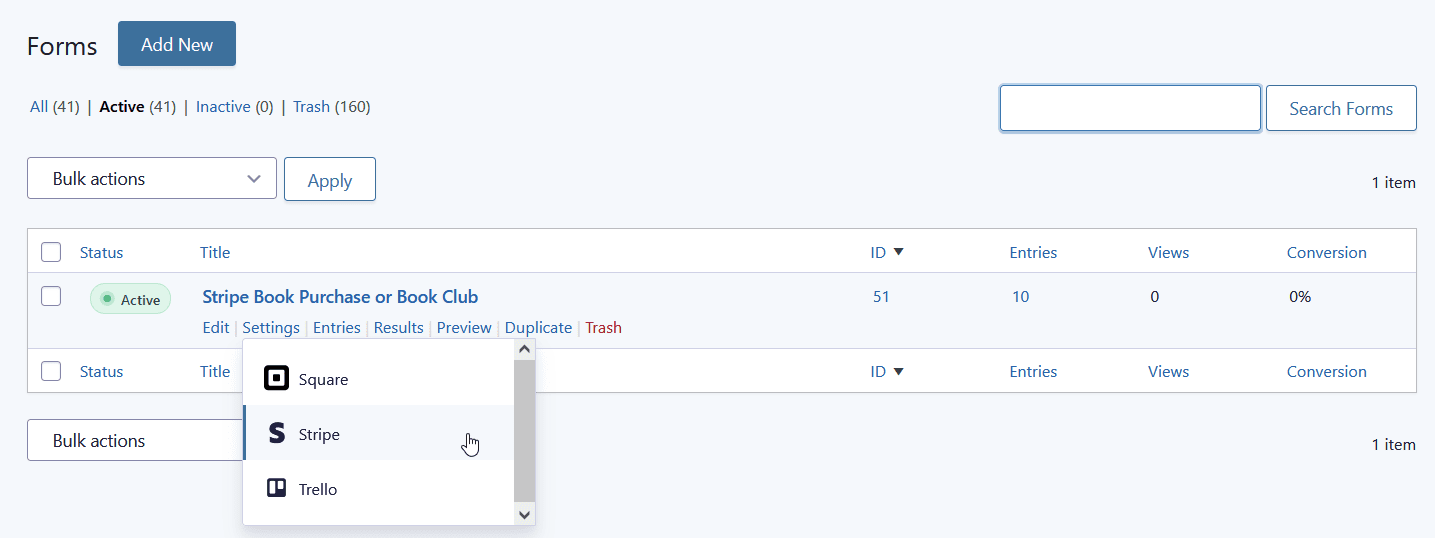
- Select Forms from your WordPress dashboard to view your forms. Hover hover over Settings of the form you would like to add Stripe to, and select Stripe from the dropdown.
- You will be directed to a Stripe Feeds page. Select Add New or Create One to begin creating your Stripe Feed.
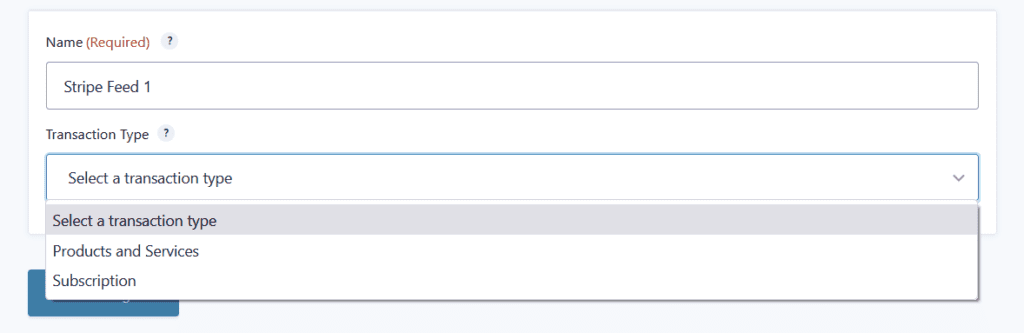
- Give your Feed a unique Name. This prevents any trouble with distinguishing the feed later on. It is not displayed to the user. See notes below.
- Select the Transaction Type. Products and Services are single one time payments while Subscription is a recurring payment.
- You will then need to complete the various panels of Feed Settings to define how you feed should work. Refer to our Feed Settings Reference document for a full description of all settings.
Testing
There is a large amount of settings required for payment gateways, and their proper functioning is probably key to your forms operation. Verify that your Stripe integration is functioning as expected. We recommend sandbox testing for all form changes and before installing add-on updates in your production environment.
See also this article on verifying your Stripe Integration.