Introduction
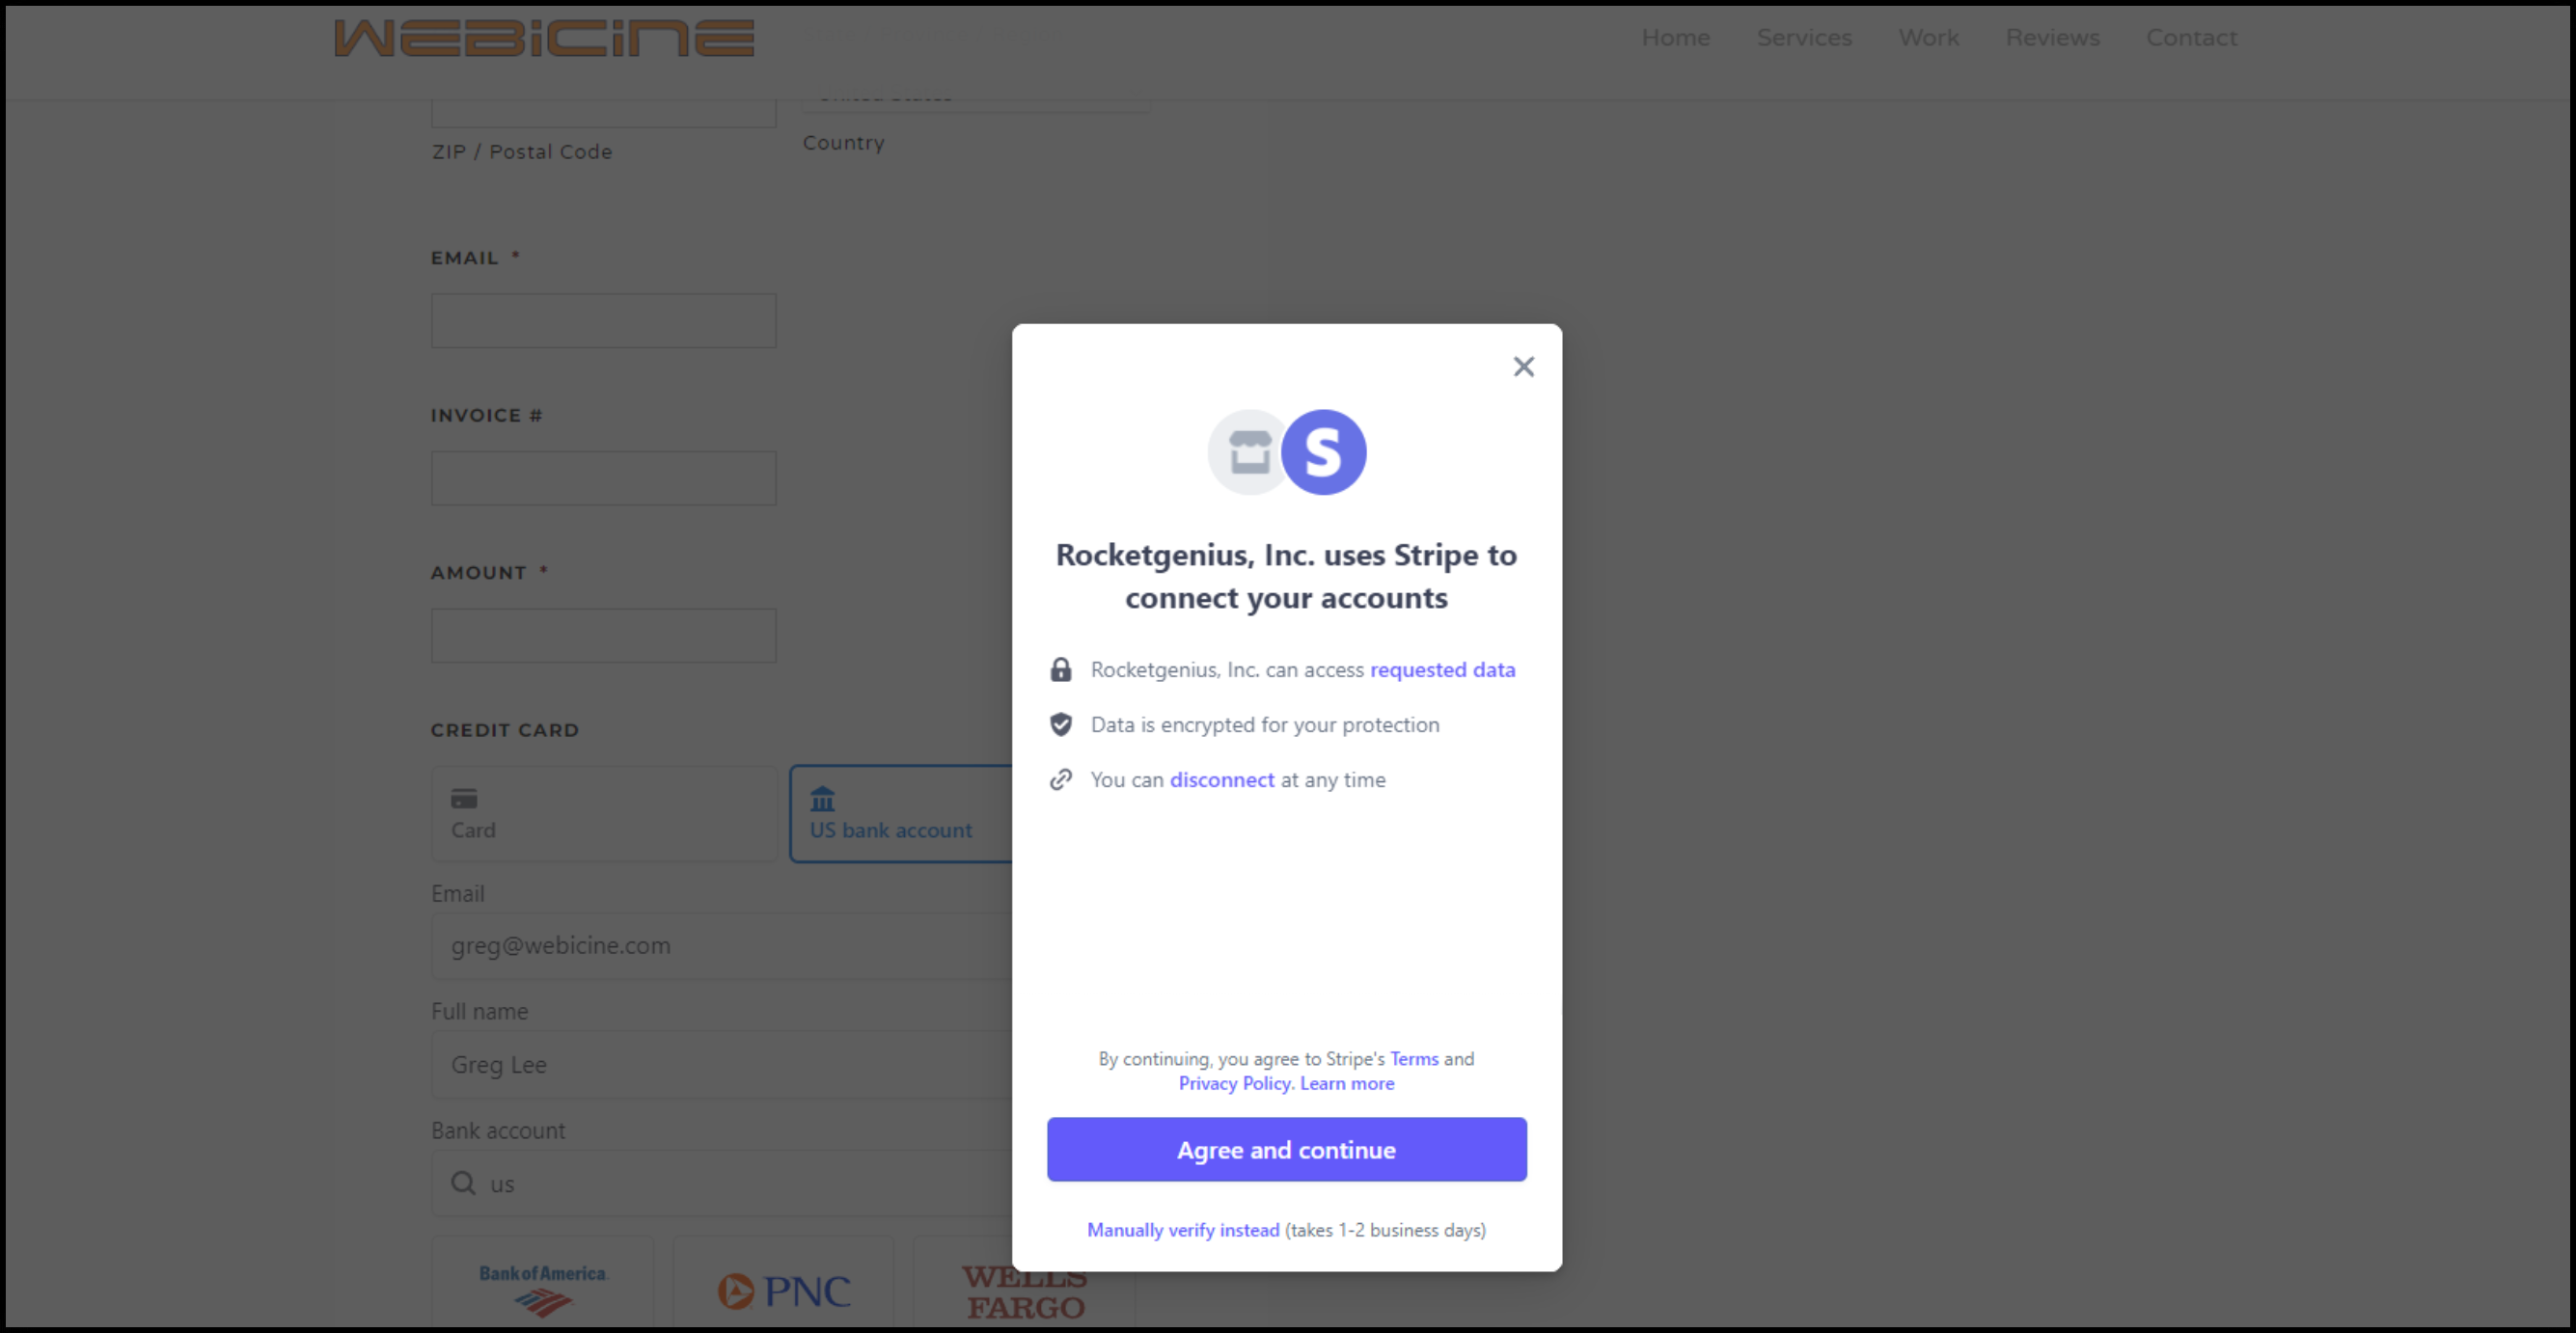
When customers pay using ACH through the Gravity Forms Stripe Add-On on your website, they may see a payment screen mentioning “Rocketgenius, Inc.” instead of your business name. This happens because your site uses Rocketgenius Stripe account to process payments.
This guide explains how to display your own business name on these payment screens when using ACH Payments in the Stripe Add-On.
Display Your Business Name on Payment Screens
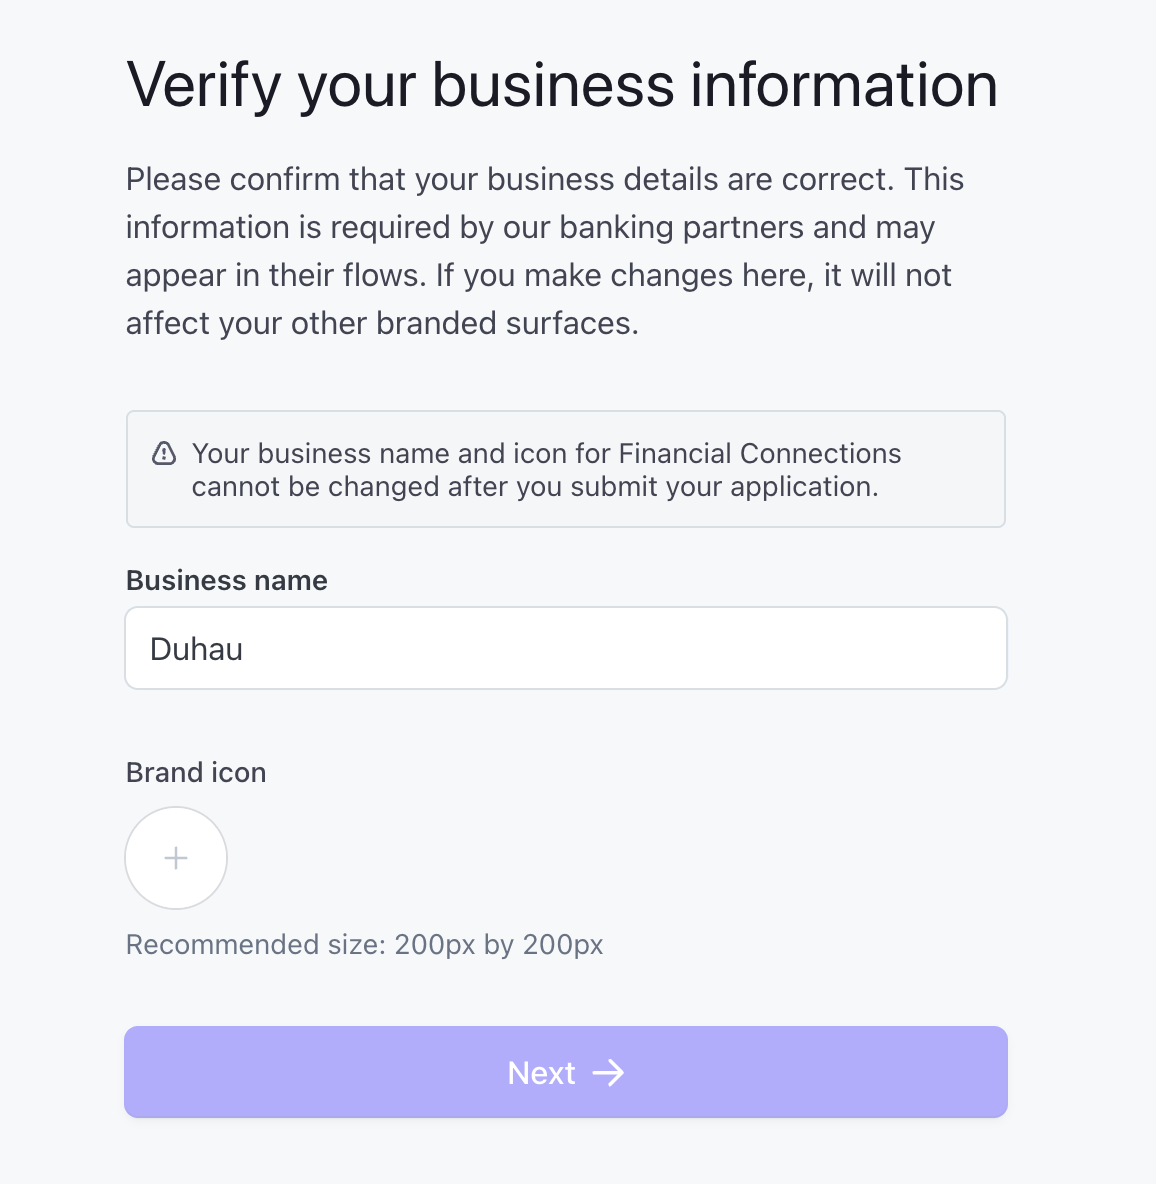
To show your business name (e.g., “Duhau Investments”) instead of Rocketgenius, Inc. during ACH payments, set up Stripe Financial Connections:
- Log into Your Stripe Dashboard
Visit dashboard.stripe.com and sign in. - Enable Financial Connections
Go to Settings > Payment Methods.
Find Financial Connections and follow the prompts to enable it.
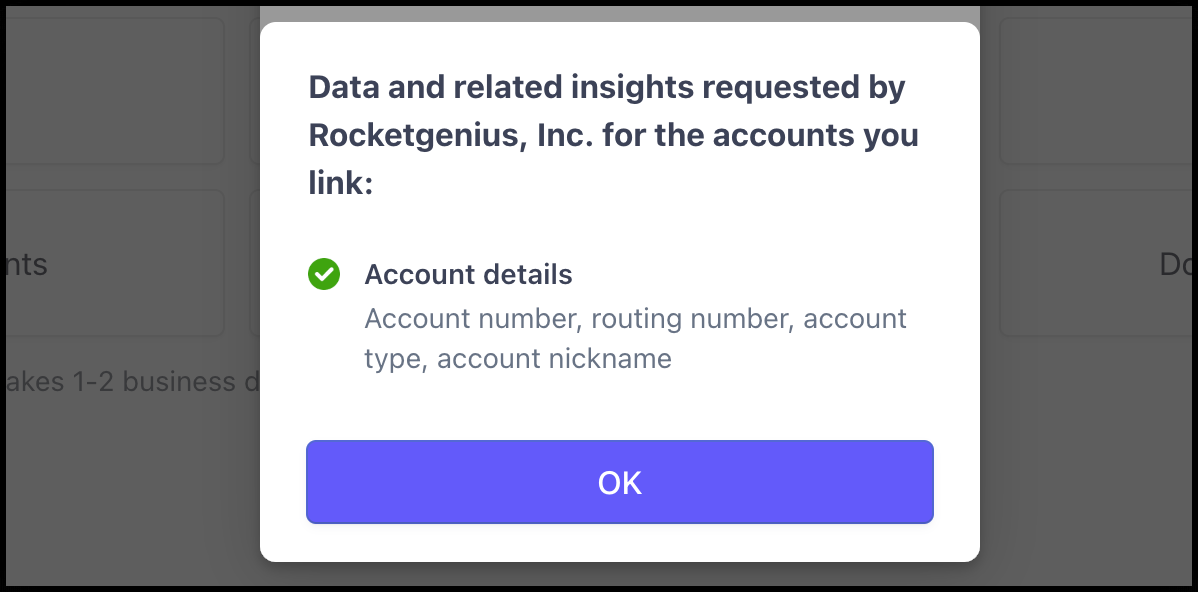
Provide your business and bank account details as requested. - Verify and Save
Complete the setup process. Once approved, your business name will automatically appear on the ACH payment screen when customers connect their bank accounts.
Note: If you don’t set up Financial Connections, the payment screen will continue to show Rocketgenius, Inc., as it’s the default account handling the transaction.
Resources
- After setup, process a test ACH payment on your site to confirm your business name appears correctly.
- Keep Customers Informed: If you’re not ready to use Financial Connections, consider adding a brief note on your checkout page explaining that payments are securely processed via a trusted partner (Rocketgenius) to avoid confusion.
For more details, visit the Stripe Financial Connections page.