Superceded: This technique applies to Gravity Forms Zapier Add-On version 3 and earlier.
Description
This step-by-step example shows you how to send a list of product information, as collected from a form, to a Google spreadsheet, using the Zapier Add-On.
Background
As of version 3 of the Zapier Add-On, product information is sent to Zapier as an array, use of which is what this example demonstrates. This change allows you to use the option in Zapier that creates new rows with line item support.
In addition, the list data is also still being sent as a serialized string, simply to maintain backwards compatibility.
Requirements for this Example
- A form that has product fields
- Gravity Forms Zapier Add-On v3 or higher, available from the Downloads page for appropriately licensed users
- A Zapier account
- Access to Google Docs
Step-By-Step
Below are the steps to follow so that product data will be sent to a Google spreadsheet as separate line items.
- While viewing the Form, mouse-over the Settings link towards the top and select Zapier.
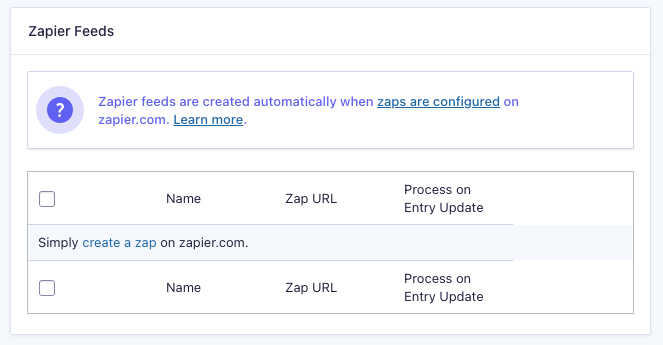
- Click the Add New button to add a new feed.
- Name your “Zap”.
- Open a new browser window and log into your Zapier account.
 Click the Make a Zap! button towards the top.
- The option to Choose a Trigger App appears. Select Gravity Forms as the application.
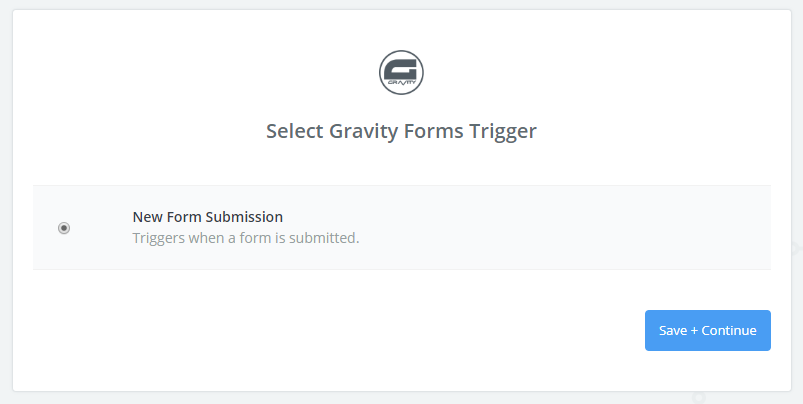 Choose New Form Submission as the trigger and click the Save + Continue button.
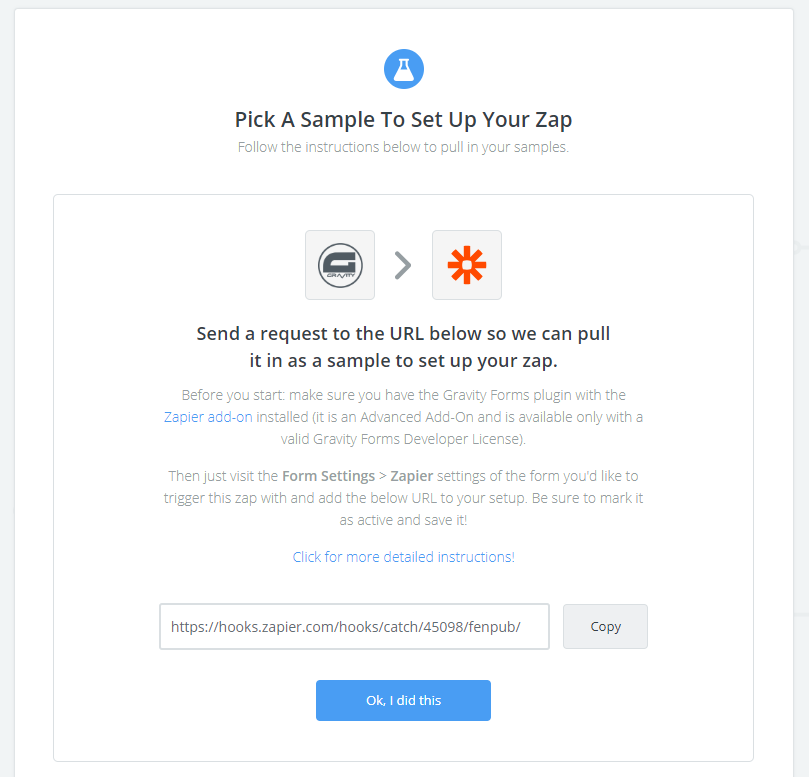 At this point, you are presented with a URL for the new Zap. Copy this URL and return to the window for your Form’s Feed Setup.
- Paste the URL into the Webhook URL field.
- Click the Save Zapier Feed button.

- Return to the browser window for setting up the Zap in Zapier.
- Click the Ok, I did this button.
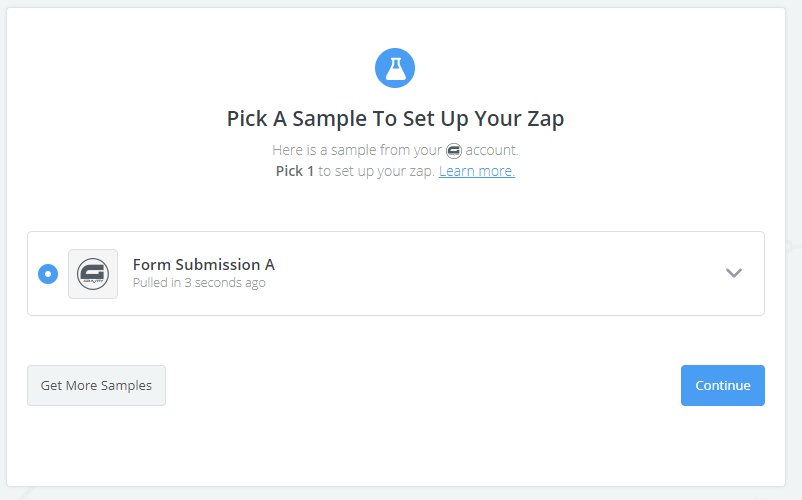 The next screen displays sample data of how a submission from your Form would appear. Click the Continue button.
- The option to Choose an Action App displays. Select Google Sheets as the application.
 Select the option Create one or more new rows in a specific spreadsheet (with line item support). If you do not see that option, you may have to reveal it by expanding your choices with the “show less common actions” link. Click the Save + Continue button.
- Connect to the Google Account where your spreadsheet exists and click Save + Continue. If you have not already created a spreadsheet for the product information, do so now because it is needed in the next step.
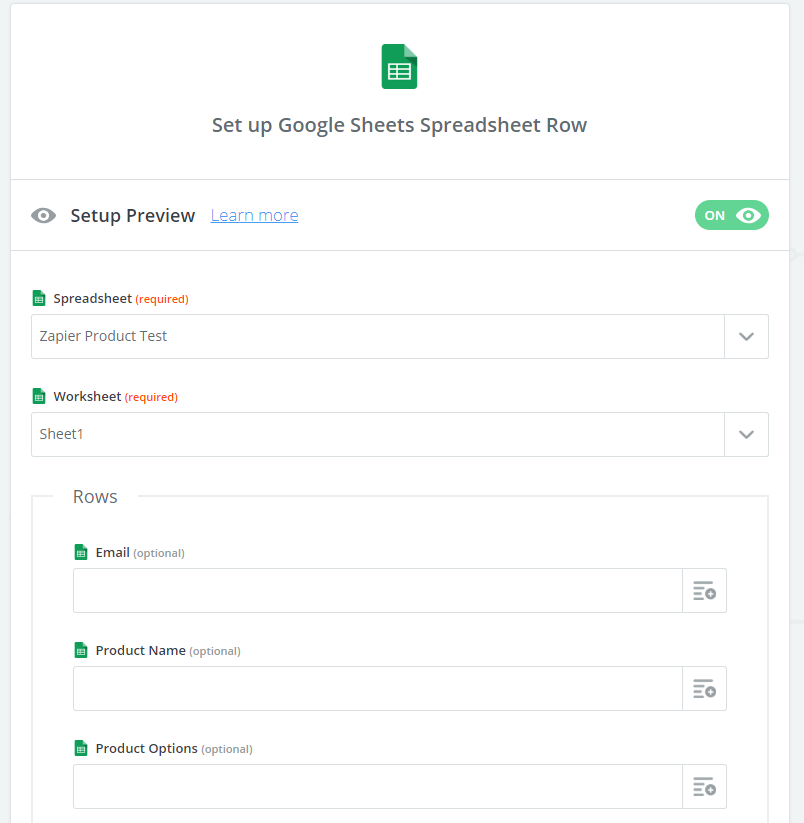 Select the spreadsheet and the worksheet.
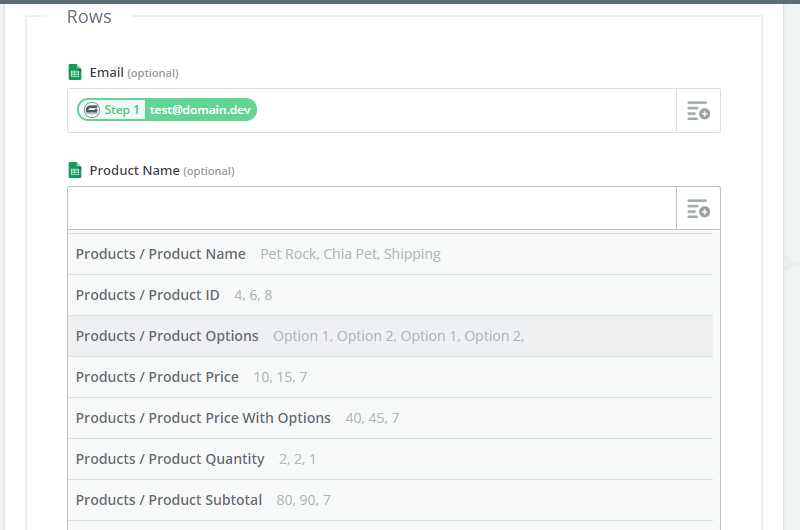 The row headers in the spreadsheet now display. The Product Data to use for list items displays in the field list with Products/ pre-pending the data. Because Zapier 3.0 is backwards compatible, you will still see individual fields for the product information. These do not work as line items and can be ignored. Map the product fields to your row header. If you notice data you didn’t include in your spreadsheet, you can simply add a new header to your spreadsheet and click the Refresh Fields button and the new row will be pulled in for you to map. Click the Continue button once your mapping is complete.
- At this point, a test row may be sent to your spreadsheet for your review. You may skip this step if you wish.
- Click Finish.
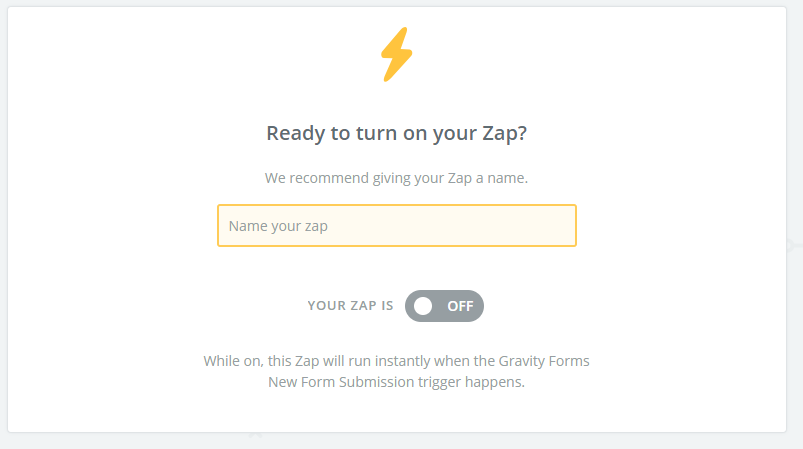 Name your zap and turn it ON.
- Your Zap is now ready to process form submissions to populate your spreadsheet.