In addition to creating or updating users, the User Registration Add-On for Gravity Forms also contains a widget which will allow users to log in and register from the front-end of your site.
Adding the Login Widget
This section will show you how to add the Login widget included with the User Registration Add-On. If you already know how to activate a widget, you can continue on to the next section which contains information on the settings contained within the Login widget.
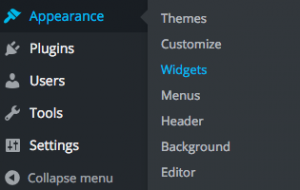
- From within your WordPress admin dashboard, hover over Appearance on the left side admin menu, and click on Widgets.
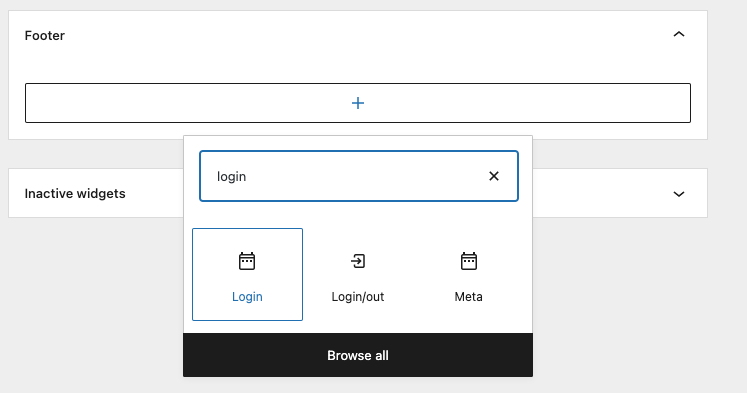
- Once you are on the Widget page, click on the the plus icon in the widget area of your choice. Type in login to the search bar that appears then select the Login widget.
- You should now see the widget within your widget area Simply click it to access the settings for it.
Configuring the Login Widget
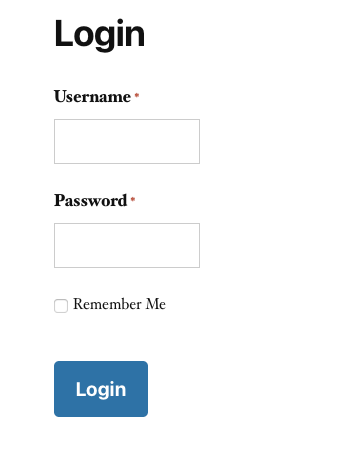
Immediately upon adding the Login widget, basic functionality such as logging in, logging out, and user registration will be available. Using the settings in this section, you can further customize the Login widget.
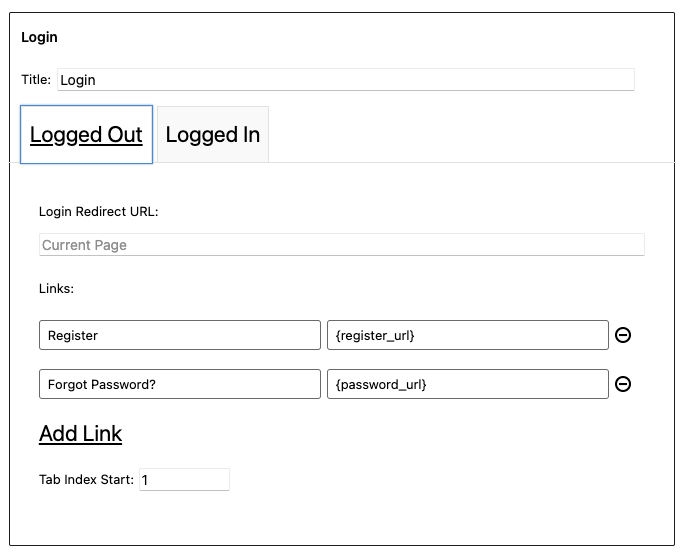
Login Form Options
| Setting | Description |
|---|---|
| Login Redirect URL | This setting will allow you to define a custom URL that the user will be sent to upon successfully logging in when using the widget. |
| Links | This is a listing of links and their locations that will be displayed within the widget. By default, Register and Forgot Password? are included here. If you would like to change the text or the URL that a user will be sent to when clicking them, they can be changed here. See note. |
| Tab Index Start | This is used to set a custom tab index. Setting a custom tab index may resolve accessibility issues if needed. As it is rather uncommon to change this, changing this value should only be done if you have a specific need for it. |
Note
Additional links may also be added here. To do so, click the Add Link button for an additional field set to customize.
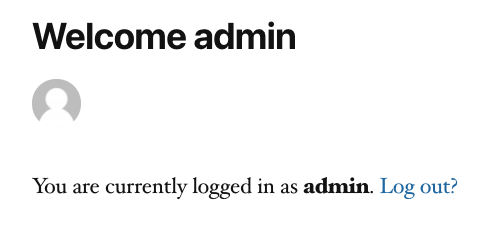
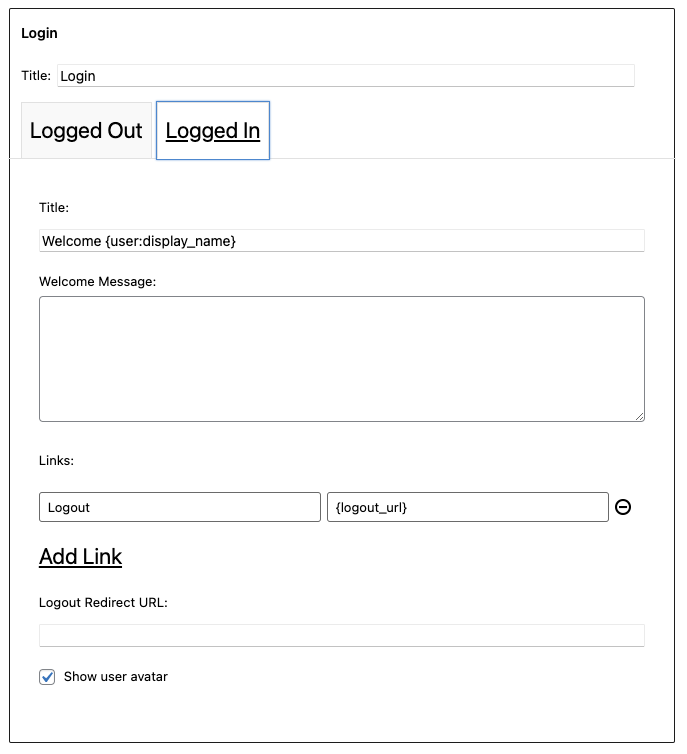
Logged In Options
| Setting | Description |
|---|---|
| Title | The Title setting is used to set a custom title to the welcome message. This, as well as the Welcome Message, are used to display custom information to the user within the widget when logged in. |
| Welcome Message | Just like the Title option above, this inserts a message within the widget for users that are logged in. This is displayed within the widget area, below the content of the Title setting. |
| Links | Similar to the links in the Login Form Options section, this is used to define custom links inside the widget. This differs only in that they are displayed when a user is already logged in. |
| Login Redirect URL | This is the URL that a user will be sent to upon successfully logging out through the Login widget. |
| Show user avatar | Enabled by default, this setting will determine if the logged in user’s avatar is displayed within the widget. |
Merge Tags
| Tag | Description |
|---|---|
| {register_url} | Outputs the URL to the registration page for the site. This utilizes the main User Registration Add-On setting. If no custom registration page has been defined here, it will default to the built in WordPress registration page URL. |
| {password_url} | Outputs the URL to the forgot password form that is built into WordPress. |
| {logout_url} | Outputs the URL to logout of WordPress. If a Logout Redirect URL has been configured in the widget in which it is used, it will also redirect to this URL when the user clicks on this logout link. |
| {admin_url} | Outputs the URL to the WordPress admin. When configuring links in the Login widget this can be handy for adding a link to the admin as part of the links you output via the widget. |
Summary
Once finished with configuring your settings, don’t forget to click the Save button, so that your Login widget settings are active.