Summary
A feed is the way you define how data is passed from your form submission to an external service. This article will step you through the process of setting up a simple feed. This article assumes that you have already setup the Mailchimp Add-on.
For details on all of the Mailchimp feed settings, refer to the Mailchimp feed settings reference guide.
Scenario
Our example here will focus capturing sign-ups for our team sports newsletter, and registering them automatically to an existing Mailchimp Audience.
Step 1: Create a Form
Firstly, let’s create the form we will be using as the basis for our Mailchimp Feed.
- From your WordPress Dashboard, hover over the Gravity Forms icon, and select New Form in the dropdown that appears.
- Let’s call this form “Mailchimp Form (Team Sports)”.
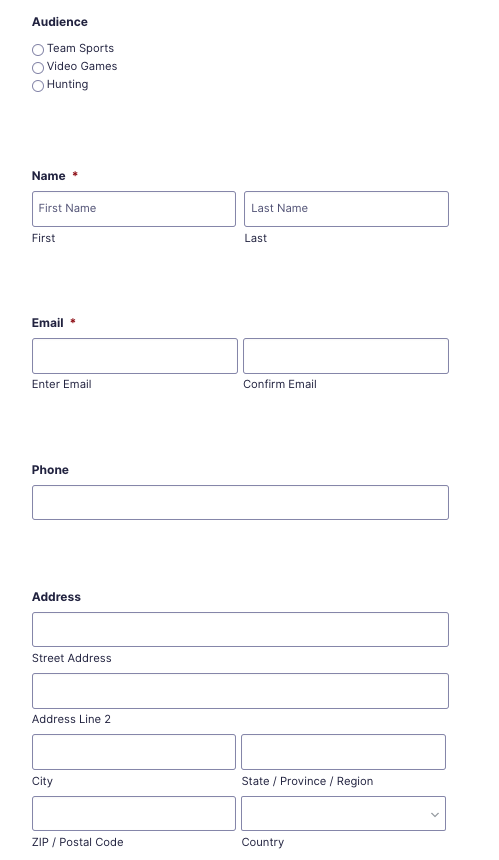
- Add the following fields to the form: Email, Address, Name, and Phone. Later, we will map these fields in our feed so they can be imported into Mailchimp.
- Click Update to save your form.
If you are following along, your form should look basically something like this.
Step 2: Create a Feed
To create a feed, hover over Settings at the top of the form and click Mailchimp in the drop-down menu. On the Mailchimp Feeds page that appears, click Add New to create a feed. The steps below show how to configure your feed.
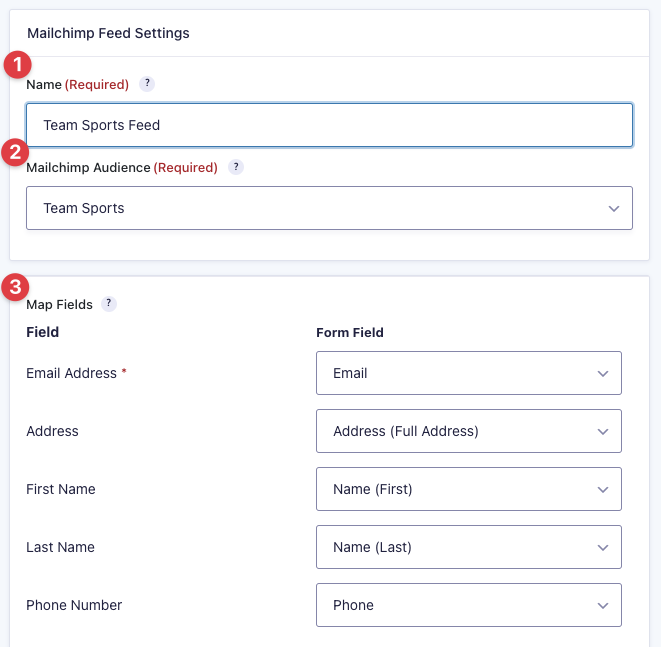
- Since we are creating a feed about team sports let’s Name our feed Team Sports Feed.
- In the Mailchimp Audience we’ll choose Team Sports. The Audience must be created in your Mailchimp account first for it to show up here. See this Mailchimp guide for more info on creating Audiences.
- Next, we’ll map each MailChimp field to the corresponding form field you want to use to populate that data. For example, we will match Email Address field to the Email field we created on our form earlier.

- You can then select a Group for the user to be added to. We’ll select Soccer and Football and Assign to group: Always. The Group must be created in your Mailchimp account first for it to show up here. See Adding Mailchimp Subscriptions to Groups for more information.
- We’ll leave the Marketing Permissions blank. You can learn more about them in our Mailchimp feed setting reference.
- We won’t enable Double Opt-In or Mark subscriber as VIP on this form but you can learn more about both in the Mailchimp feed setting reference.
- For Tags we will be adding Sports, Team Sports, and newsletter.
- For the Note, we will add “This user was added through our Team Sports feed.” Notes can only be seen by the Mailchimp account owner.
- We don’t need Conditional Logic on this form. Conditional Logic allows you to add more stringent conditions as to when the feed runs. See our guides for more info.
- Click the Save Settings button to save your options.
That’s it! Whenever a user submits this form a new contact will be created in the Audience you specified on the feed. Of course, test it first!