Prerequisites
See the Using the PayPal Checkout Add-On article.
Introduction
The next step in integrating the PayPal Checkout Add-On is to create the form that you will use. This can include existing forms. To be compatible with the PayPal Checkout Add-On, your Gravity Form must contain:
- One or more Product fields
- The PayPal Field
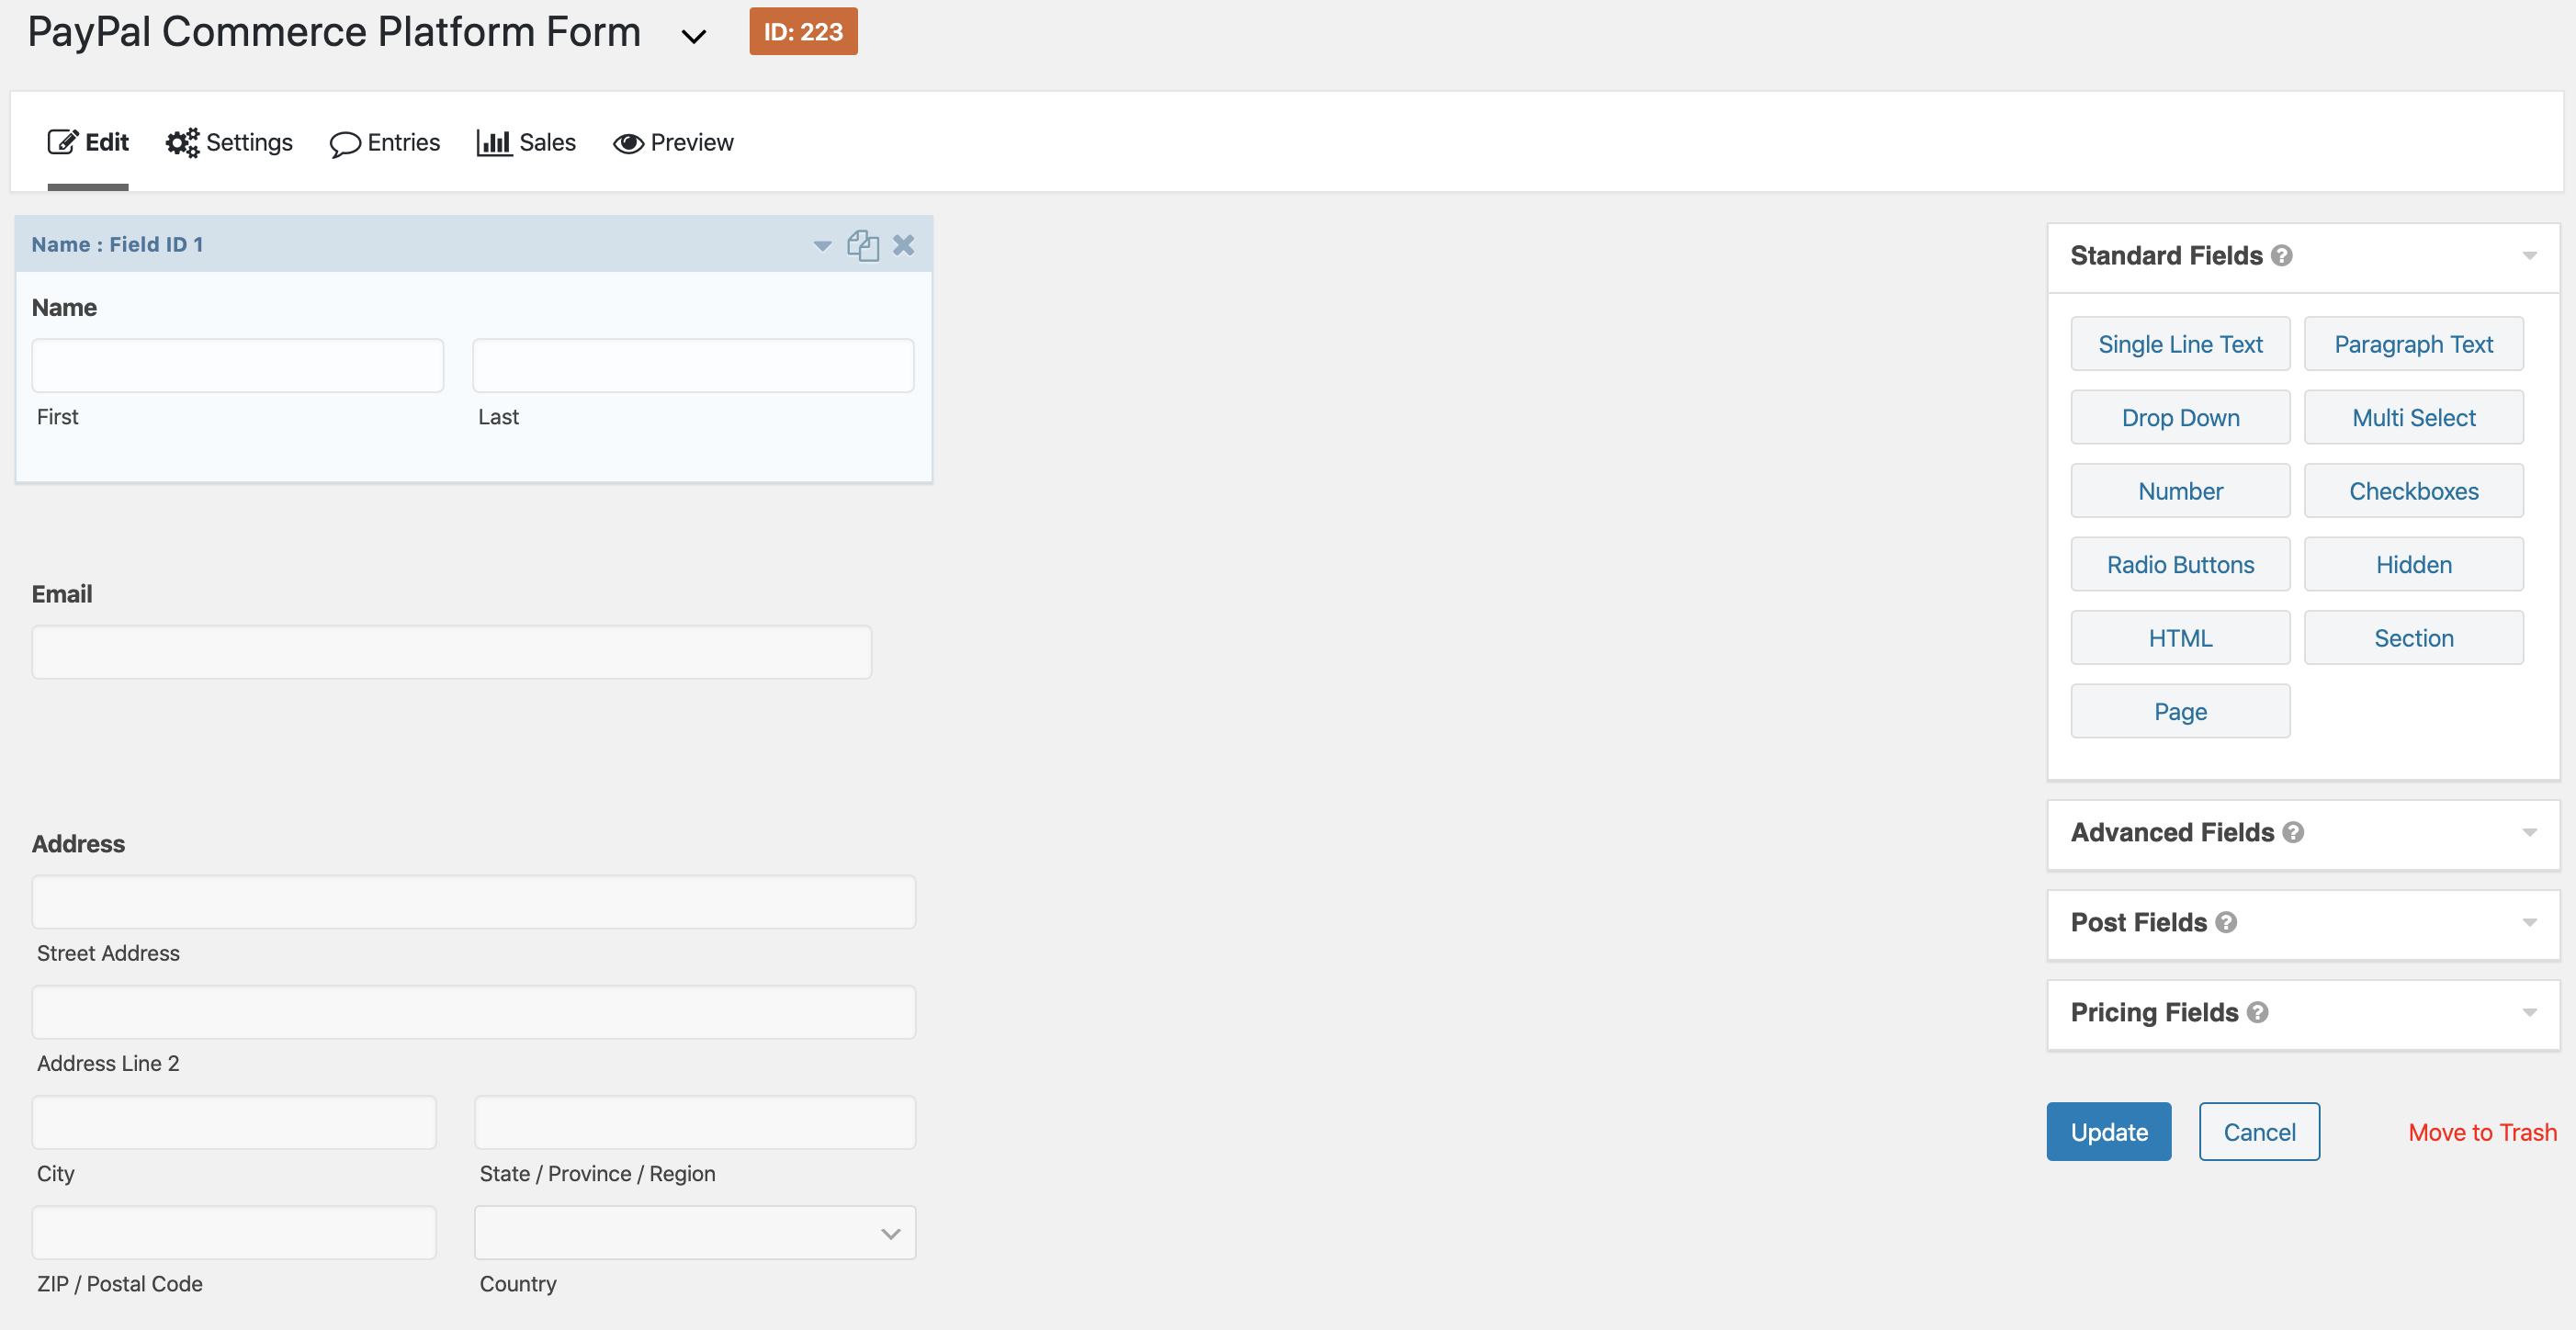
Create Your Form
- From the left-hand navigation menu of your WordPress admin dashboard, hover over Forms and click on New Form.
- Enter a Form Title and Form Description. Click Create Form. Alternatively you can hover over Forms and click on Forms to choose an existing form from the list.
- You can import the eCommerce PayPal Checkout template from the template library.
- When using multiple payment add-ons, utilize conditional logic to display or hide fields based on the selected payment method. See Setting Up Conditional Payments In Gravity Forms for guidance.

Summary
Now that you have created your form, visit the Configuring a Feed for the PayPal Checkout Add-On article for the next step in the integration process.
Note: Adding a feed is a critical step. If the form does not have an active PayPal Checkout feed the PayPal Checkout will NOT process the form submission.
If you need help with creating forms, visit Creating a Form for more information.
Notes
- When using Page fields to create a multi-page form, the PayPal Field should be located on the last page of the form.
- If you delete the PayPal Field from your form, the PayPal Checkout feeds will automatically deactivate to prevent them from running during form submission. This is because, without the field, a validation error would occur due to PayPal being unable to capture the payment details.
- The add-on doesn’t support having multiple forms in the same page using PayPal Checkout.