

Overview
The Stripe Settings allow you to connect and authenticate with your Stripe account, as well as make choices about how you collect payment information. Additionally, this screen lets you manage your webhook configuration that sends Stripe events back to your Gravity Forms environment.
Pre-Requisites
- Gravity Forms and Gravity Forms Stripe Add-On installed
- SSL Certificate Installed and Configured
- A Stripe account
- A Stripe account login with a user role of “owner” or “administrator.”
Stripe Settings
The Stripe Settings allow you to connect and authenticate with your Stripe account, as well as make choices about how you collect payment information.
Navigate to your Stripe Add-On Settings page:
- Log in to your WordPress admin dashboard.
- In the left-side navigation menu, hover over Forms, then click Settings.
- Click the Stripe tab.
Mode
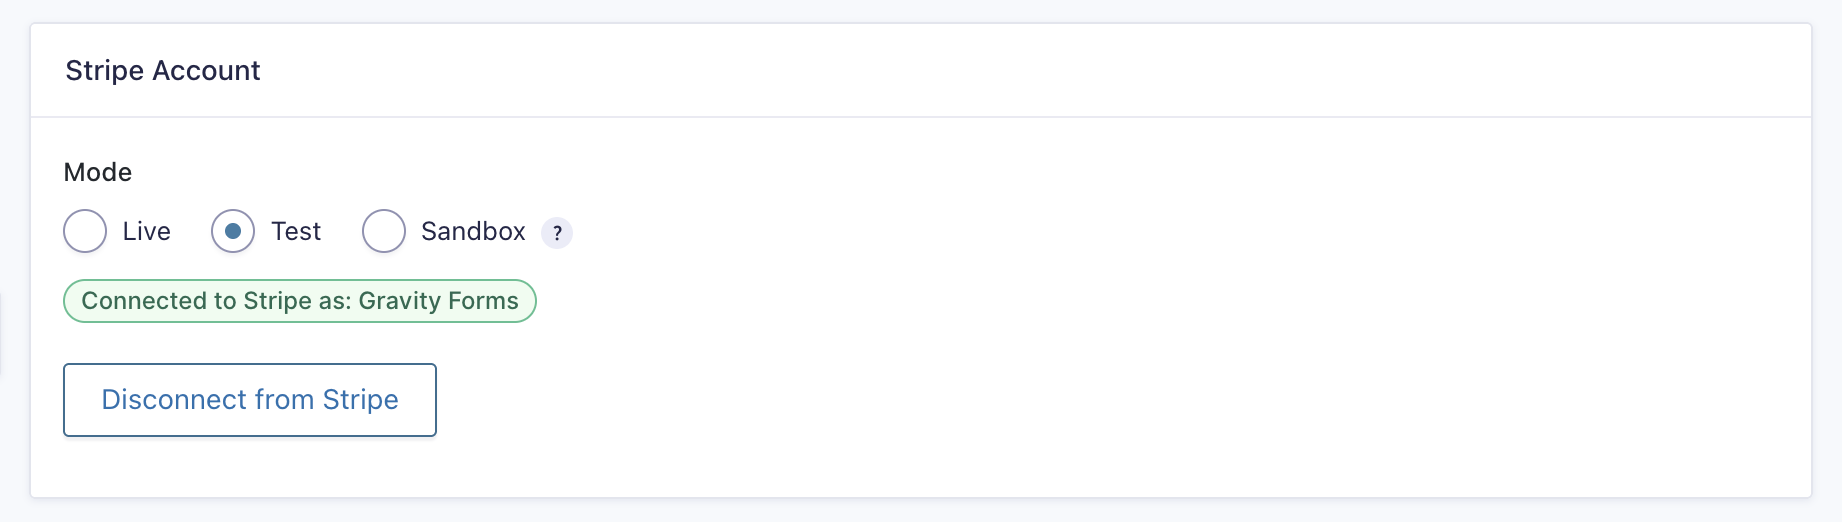
Mode specifies the environment to which you want to connect your form submissions. Choosing Live will connect to the environment that initiates real transactions against your Stripe account. Choosing Test will run the form entry into your Stripe test environment for review, but no actual charges will occur.
Review the process described in this help guide for full instructions on connecting to a live or test environment.
Webhooks
Webhooks allow Stripe to communicate events back to your Gravity Forms environment throughout the payment and subscription process. Webhooks are configured automatically when you connect your Stripe account. No manual setup in Stripe is required.
The Webhooks setting displays one of the following statuses:
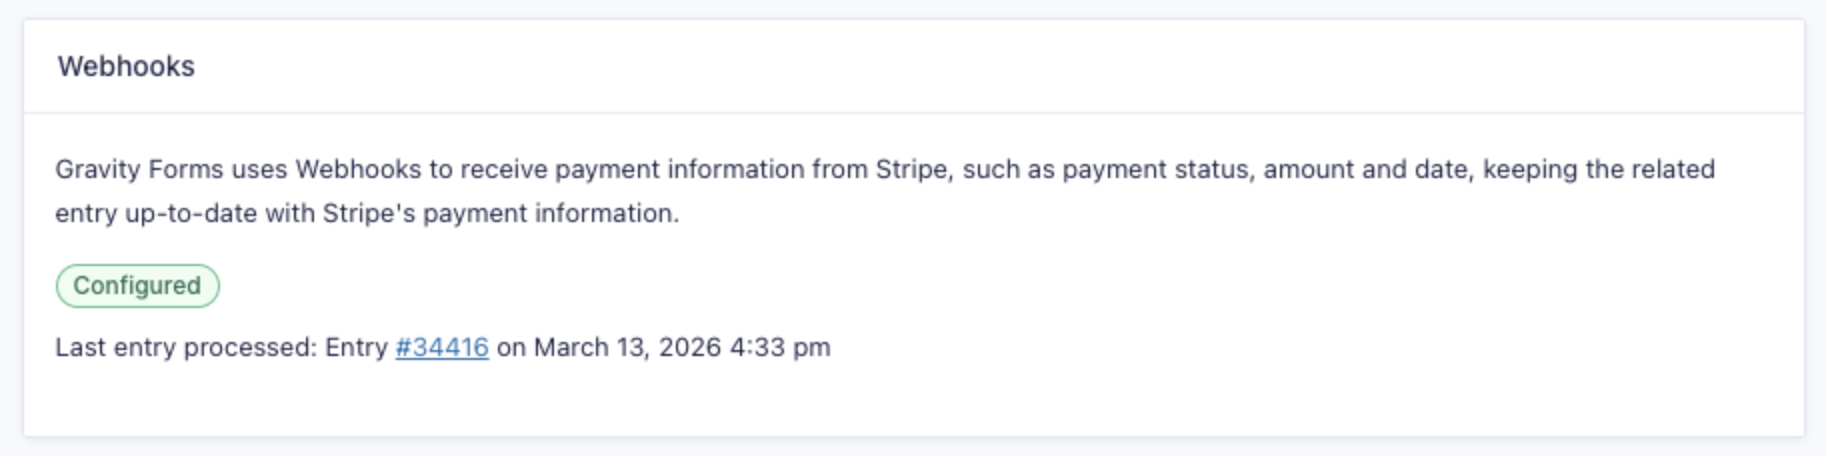
Configured
The webhook is active and properly set up in Stripe.
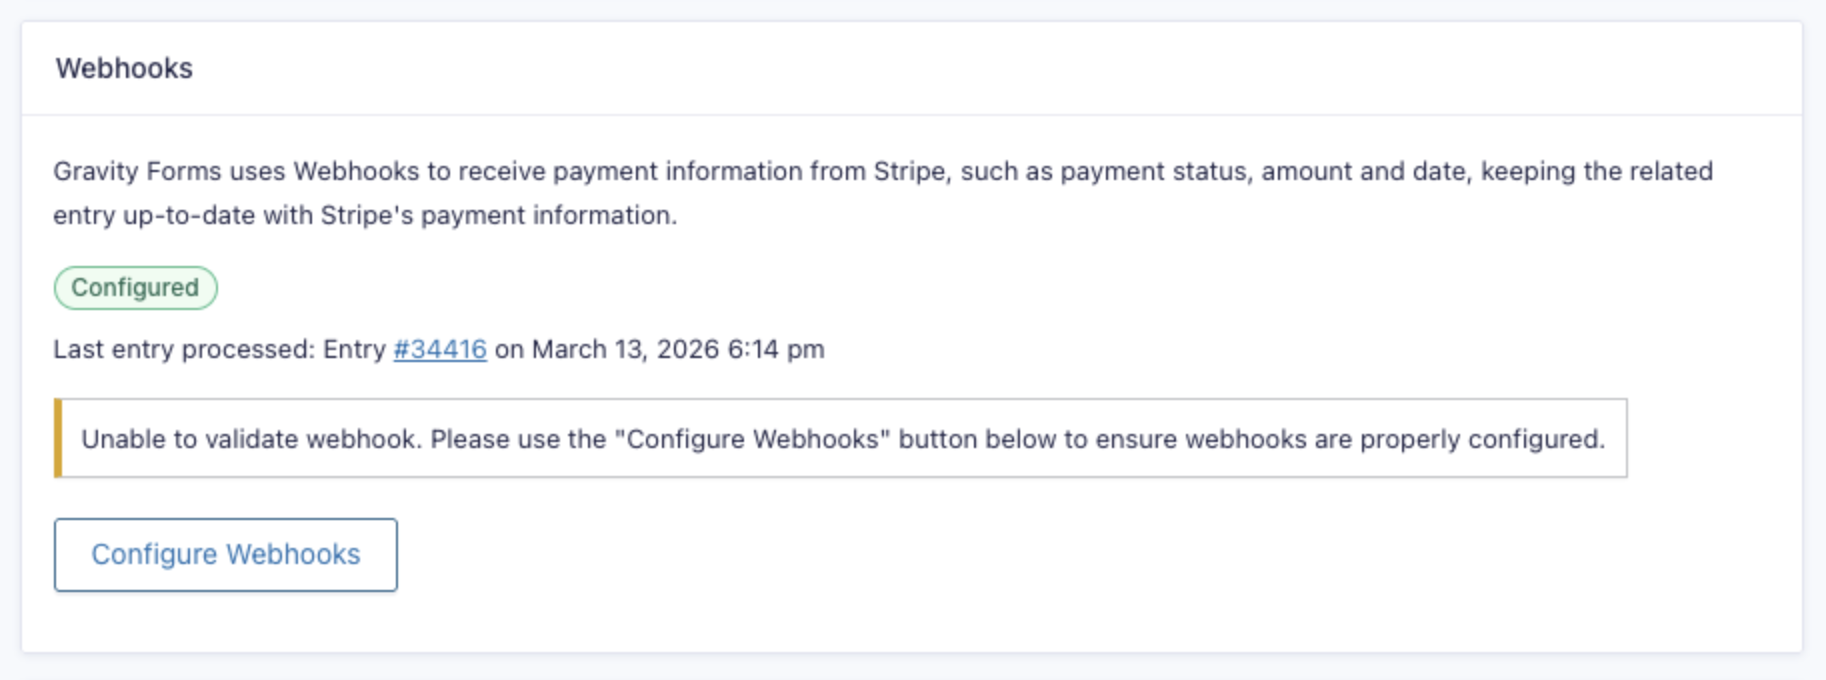
Configured, but not validated
A webhook is present but cannot be fully validated. Your site will likely process webhooks correctly, but clicking Configure Webhook is recommended to ensure everything is properly set up.
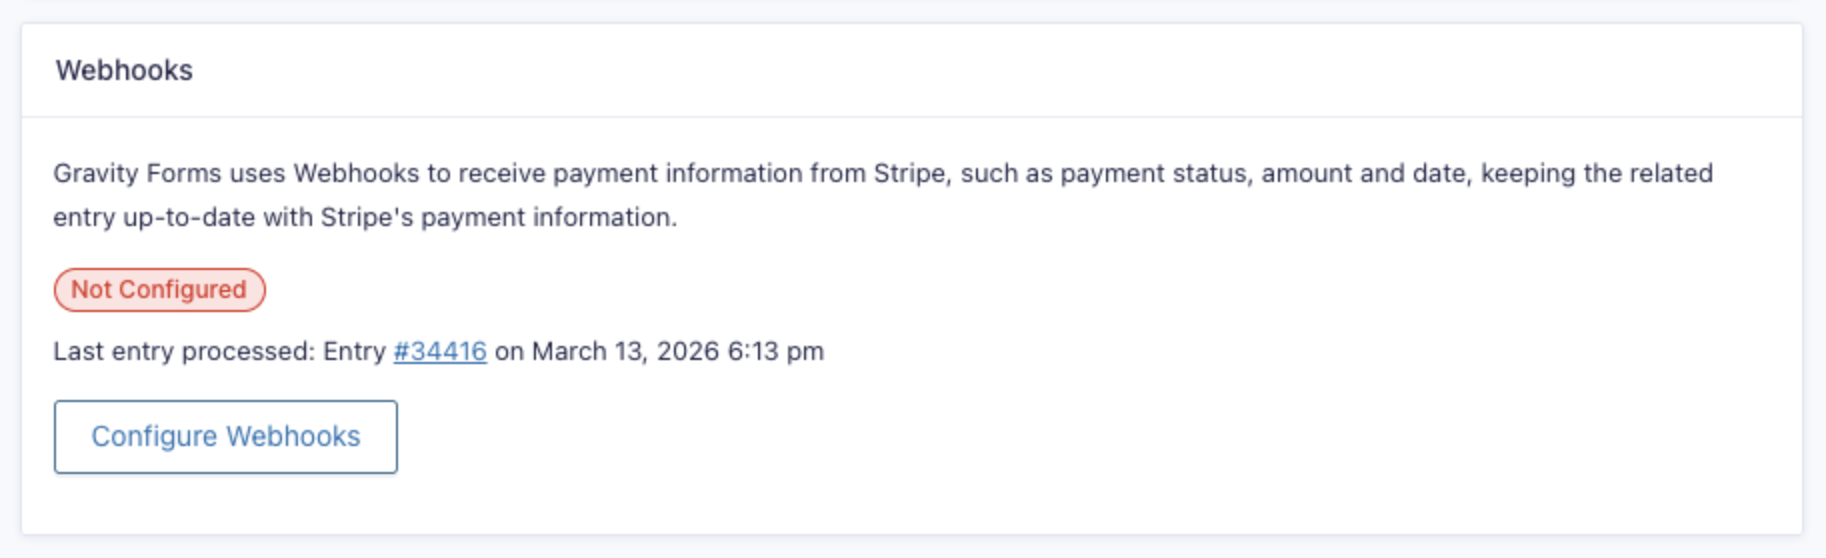
Not Configured
No webhook has been detected
No webhook has been detected, or the existing webhook has been disabled in Stripe.
Unable to create webhook
Stripe limits webhook endpoints to 3 unique API versions. Once that cap is hit, the “Configure Webhooks” flow fails with an error asking you to upgrade older endpoint versions. The old webhooks need to be manually deleted until 2 or fewer distinct versions remain, then reconnect via Configure Webhooks.
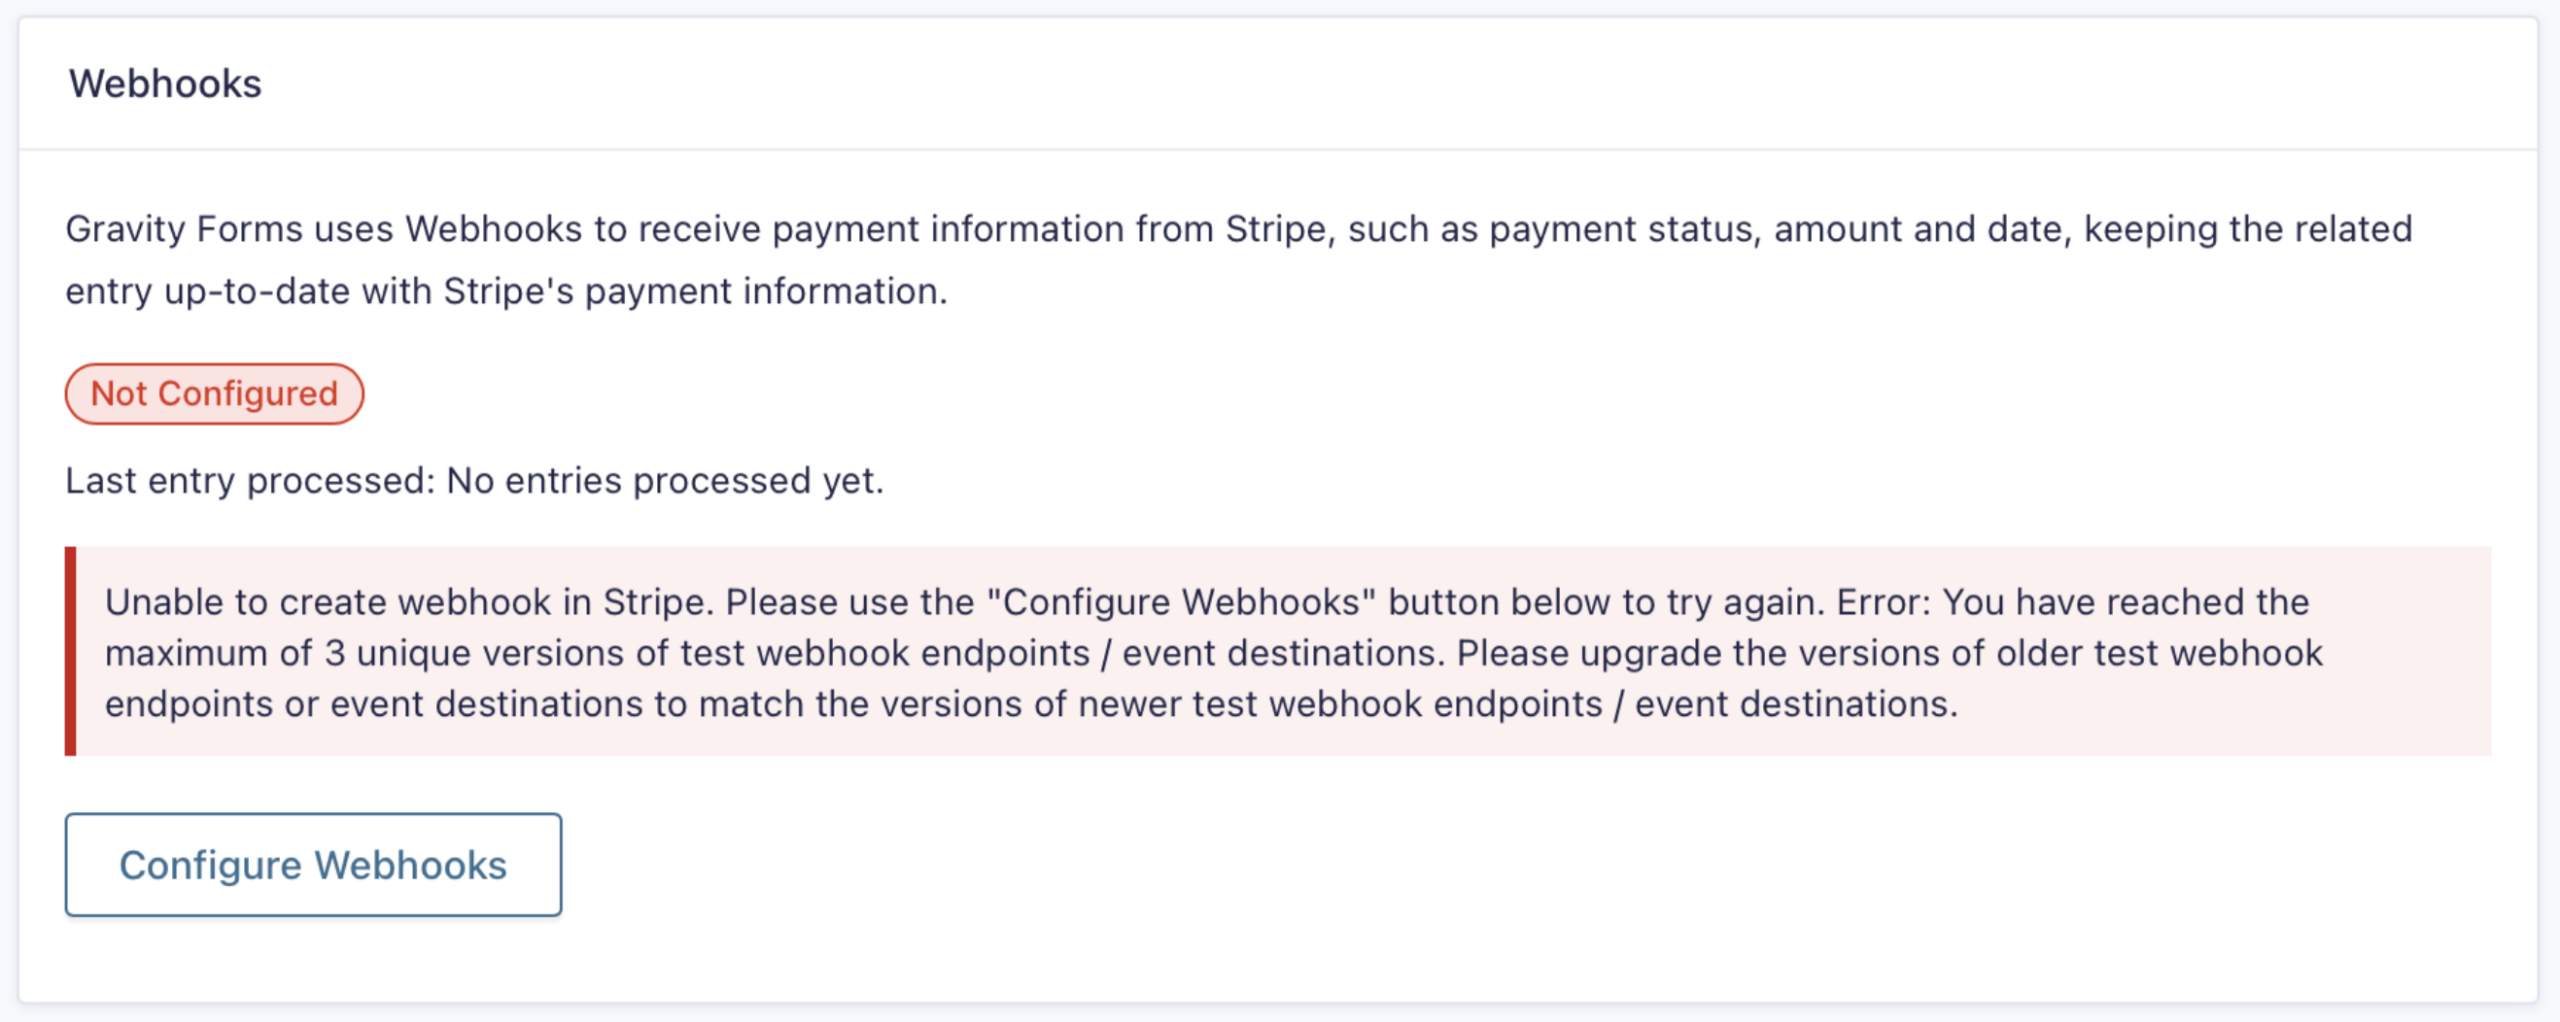
Refer to the Troubleshooting the Unable to create webhook in Stripe article for more information.
Misconfigured
A webhook exists in Stripe, but is missing one or more required events. Click Configure Webhook to resolve the issue.
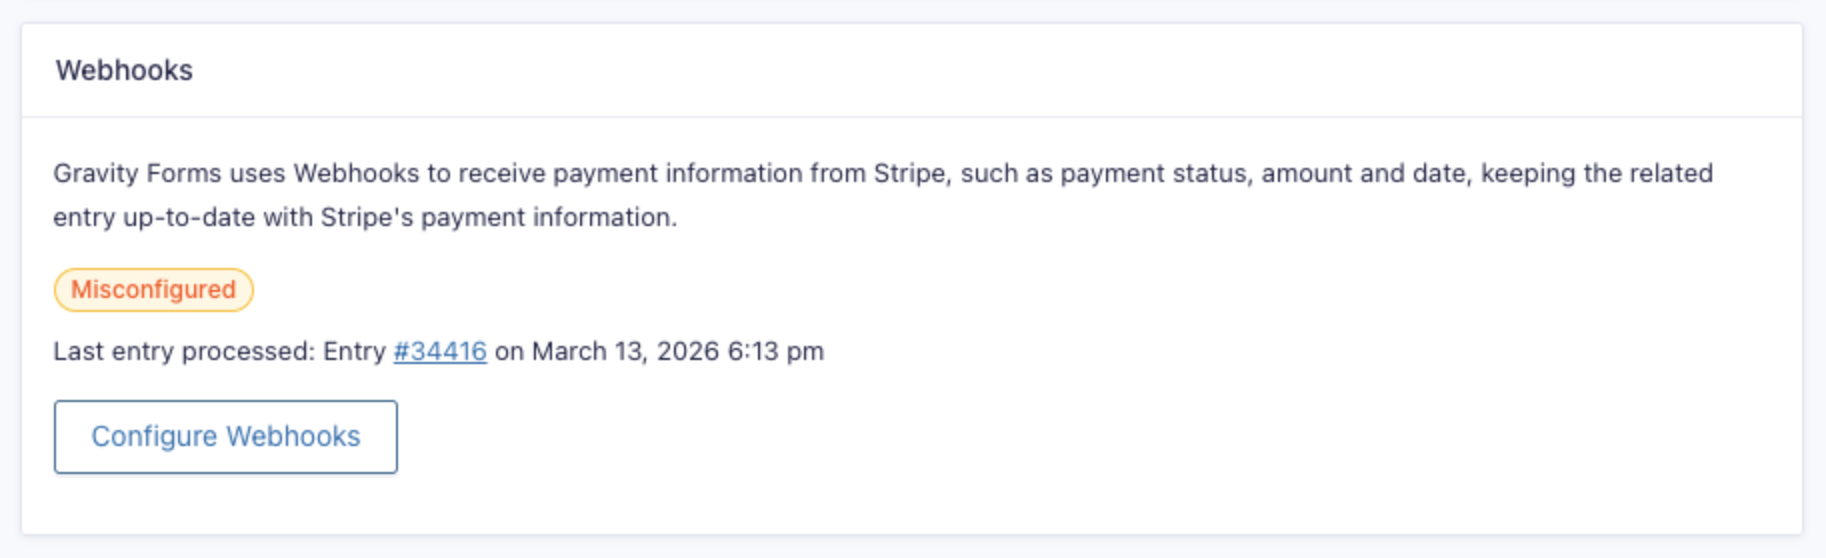
Note: If the status is Configured and unable to validate, Not Configured, or Misconfigured, click the Configure Webhook button to resolve the issue. An admin notice will also appear across your WordPress dashboard until the webhook is properly configured.
If you previously set up webhooks manually, your existing webhook will be automatically detected, and its status will reflect its current state.
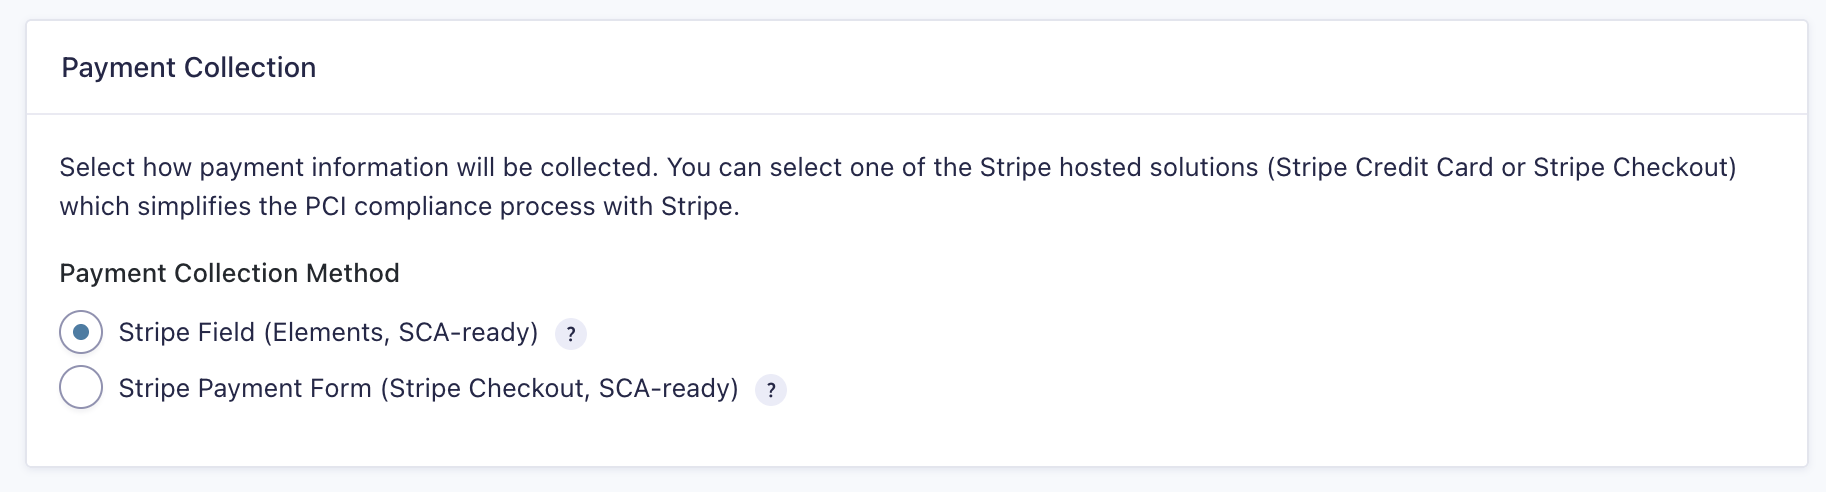
Payment Collection
This option was introduced in Stripe version 2.6. It is not shown on the Settings page for earlier versions.
- Scroll to the Payment Collection section.
- Select the Payment Collection Method to determine how your form will obtain payment information. See this article for more information on the payment collection methods offered.
Once you have entered your Stripe settings, you’re ready to begin Setting Up a Stripe Compatible Form.
Notes
- Stripe Checkout can only be tested/used on a public site. If your site is not public, you won’t be able to see the Stripe Checkout page.