Introduction
This article will show you how to enable and configure logging within Gravity Forms.
Note: If you have an active role management plugin, such as Members, you’ll need to ensure that your user has the correct permissions active to access logging.
Enabling Logging
To enable logging, simply enable it within the Gravity Forms settings page.
- Access the Settings page by hovering over Forms on the left side menu within your WordPress dashboard, then click on Settings
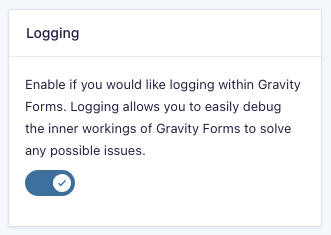
- Next, scroll down to Logging and set it to On.
Once complete, don’t forget to save your settings.
Warning Message
If you enabled logging per support service request, you need to keep logging enabled until you are done with the assistance to allow the support staff to check your logs. Then turn off logging and delete logs once your investigation is complete.
The following non-dismissible security notice will be displayed on every WordPress admin page when logging is enabled:

The message can be removed by turning off logging using Gravity Forms > Settings or by adding the GF_LOGGING_DISABLE_NOTICE constant to your wp-config.php file and setting it to true.
define( 'GF_LOGGING_DISABLE_NOTICE', true );
Logging Settings
Once logging is enabled within your Gravity Forms settings, an additional Settings item will appear labeled Logging. To configure any settings related to logging in Gravity Forms, simply access this tab.
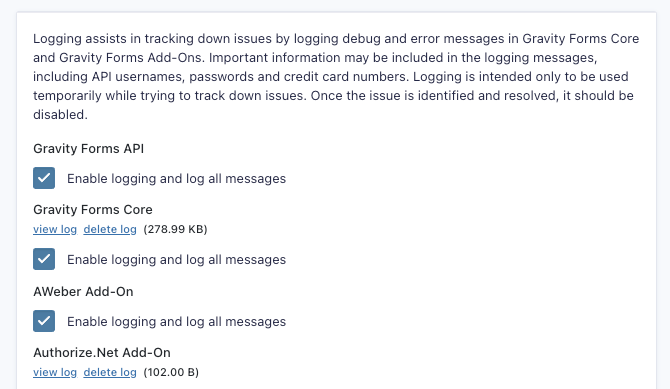
Within the Logging tab, you’ll see Gravity Forms as well as any Gravity Forms add-ons that you have installed. Each of these can be configured to enable/disable logging, as well as make changes to the information that is logged.
If you’ve narrowed down exactly where you’re having issues, you might want to enable any additional add-ons.
Viewing Logs
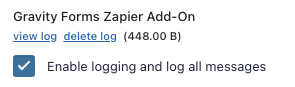
To access the generated logs, go to the Logging tab of the Settings page. Below each item, you will see links to view or delete the logs for that particular item.
If you don’t see these options, be sure that logging has been enabled. A link to display logs will not appear if logs are empty.
Also note log files have a maximum size of 5MB. Once a log file gets bigger, it is renamed and a brand new log file with the original name is created to store subsequent logging messages.
If using an FTP client, you can download rotated log files from /wp-content/uploads/gravity_forms/logs/.
Disable Logging
Log files can contain sensitive and personal information stored in plain text. Gravity Forms takes some passive security measures with log files, such as:
- Adding a new random secure hash to log file names each time logging is enabled (to make it hard for someone without access to your site to guess the file name).
- Preventing directory listing by adding an index.html file.
Despite these security enhancements, logging should not be left running. This is why we make the warning message so prominent. Nor should log files be left in an insecure network-accessible server once an investigation is completed. Disable logging using the toggle setting shown above.
Deleting Logs
Logs can be deleted almost the same as they are viewed. To delete your logs, simply click on the Delete Logs link instead of the View Logs link on the logging settings tab.
All log files are deleted when logging is disabled from the Forms > Settings page or when using the link in the admin notice.