The Schedule Form feature in Form Settings allows you to define a specific time period during which your form is active and accepting submissions.
Schedule Form Settings
To enable a scheduled form:
- Go to Form Settings.
- Navigate to the “Restrictions” section.
- Check “Schedule form” to activate scheduling options.
How Form Scheduling Works
When the “Schedule form” option is enabled, the form will only be active between the specified Start Date and Time and End Date and Time. Outside this period, the form will display custom messages to users.
Here’s how the scheduling affects form availability:
- Before Start Date/Time: Displays the “Pending Message”.
- During Scheduled Period: Form is active and accepts submissions.
- After End Date/Time: Displays the “Expired Message”.
Examples
Schedule a form for a limited event registration
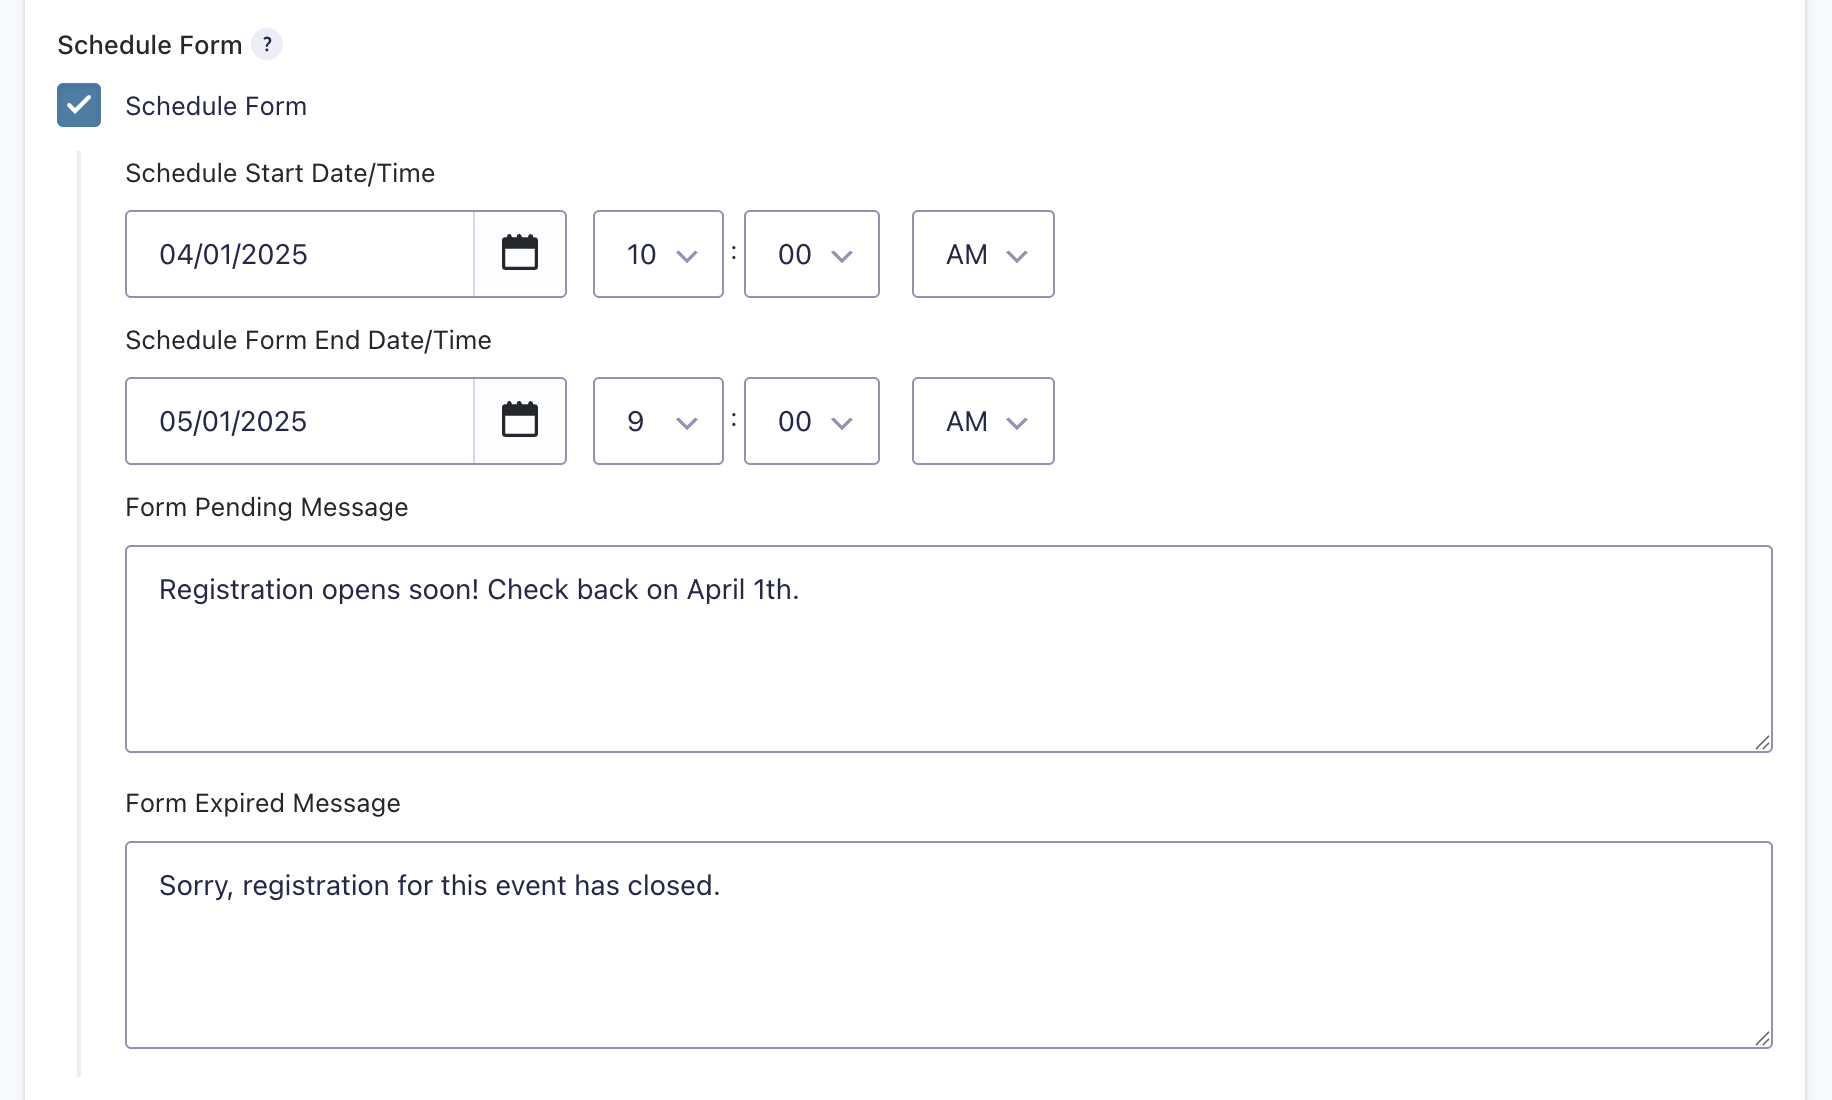
Set a form to be active from April 1, 2025, 10:00 AM to May 1, 2025, 9:00 AM with custom messages:
- Pending Message: “Registration opens soon! Check back on April 1st.”
- Expired Message: “Sorry, registration for this event has closed.”
Settings Reference
| Setting | Description |
|---|---|
| Start Date and Time | Sets the exact date and time when the form becomes active. |
| End Date and Time | Sets the exact date and time when the form expires and becomes inactive. |
| Pending Message | Custom message shown before the form’s start time. Supports HTML. |
| Expired Message | Custom message shown after the form’s end time. Supports HTML. |
The schedule uses your WordPress site’s timezone, configured under Settings > General > Timezone.