Note that in Gravity Forms 2.6, the Submit button has its own settings within the Form Editor, including a setting for placement. Refer to this article for more information.
Summary
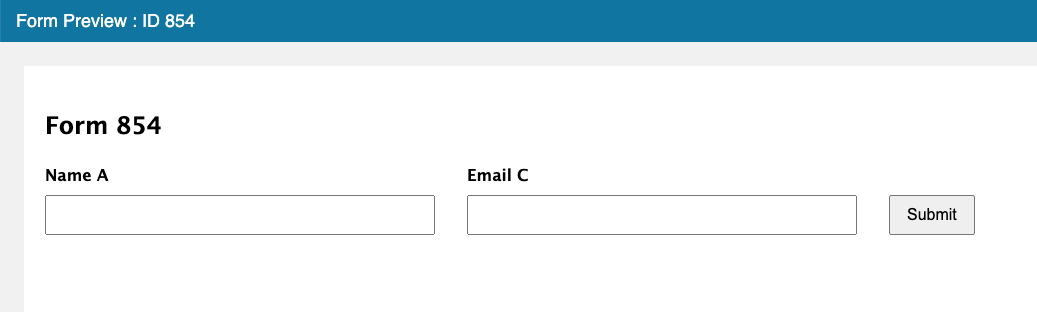
This tutorial provides a quick overview of how to add an inline submit button with the new columnar layout editor available in Gravity Forms 2.5. This will make a submit button lined up to the right of a row of form fields as shown here.
Steps
The key to this is to use the HTML field to create a new submit button with the proper alignment, hide your standard submit button, and then make the new button trigger the hidden submit button with an onclick Javascript action.
Follow these steps:
- Start a new form in the new Gravity Forms 2.5 Form Editor.
- Add a Single Line Text field to capture visitor’s name.
- Add an Email field to capture the visitor’s email.
- Add an HTML field.
- Open the HTML field settings and copy the following snippet into the “Content” area:
<div>
<button onclick="document.getElementById('gform_submit_button_854').click();" style="height: 2.5rem;padding:0 1rem;font-size:1rem;">
Submit
</button>
</div>

<style type="text/css">
#gform_wrapper_854 .gform_footer { visibility: hidden; position: absolute; left: -100vw; }
</style>
Description: This snippet will add a new HTML Submit button to your form that will trigger the original submit button when clicked. It also handles styling to make your new submit button line up well with the inputs of your other inline fields, and hides the original submit button.
- Make sure you Update the snippet above to work for your form by replacing both instances of “854” with your form ID.
- Drag the Email and HTML fields into columns, so they are all aligned on one row as shown in the screenshot below.
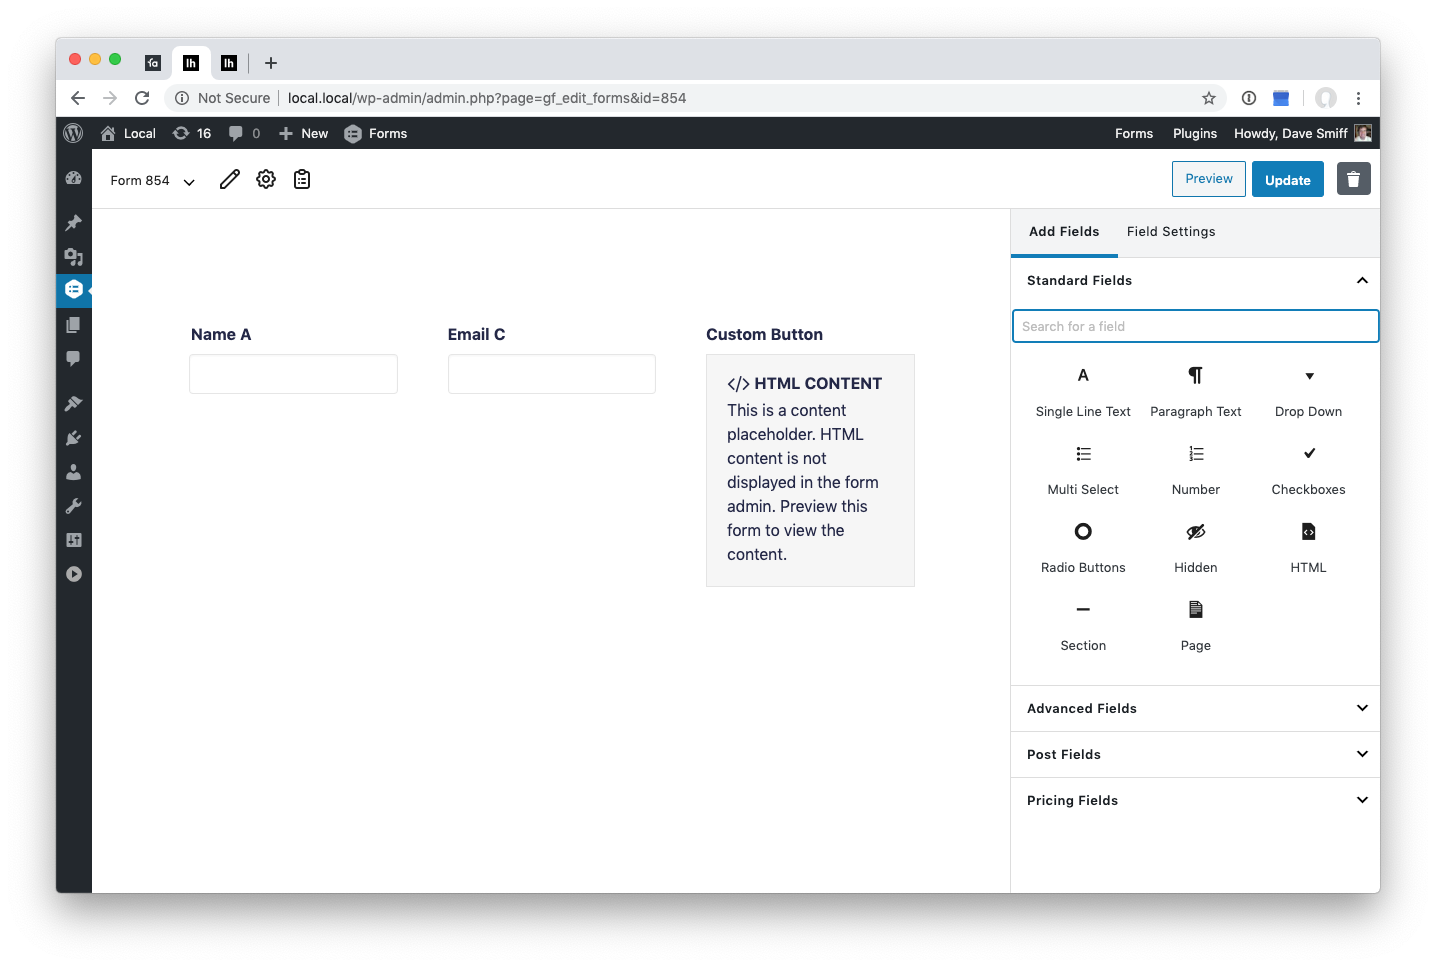
That should be it! Don’t forget to preview your form to make sure it all looks good.