Summary
In some situations you may need to replace the Gravity Forms license key in use on one of your websites with a different Gravity Forms license key.
For example, your license may have expired and you have purchased a new one, or you can no longer contact the developer who originally set-up your website and you want to replace their Gravity Forms license key with one you can control and manage yourself.
Changing your license key will not alter any of your form functionality and will not cause the loss of any existing form data. You can change a license key without disruption by following the steps described here.
Pre-Requisites
- Administrator access to a WordPress website that has an existing Gravity Forms license key installed and registered on it.
- A new Gravity Forms license key (with the same capabilities). You can purchase from the Gravity Forms pricing page. See this article for information on where to find your key within your Gravity Forms account.
Make sure the new license key has the same (or greater) capabilities as the installed license you are replacing. Otherwise you may lose access to updates etc for installed add-on, have an insufficient site allowance, or lose your Priority Support status. See this article for a summary of license types and their benefits.
Updating the Key
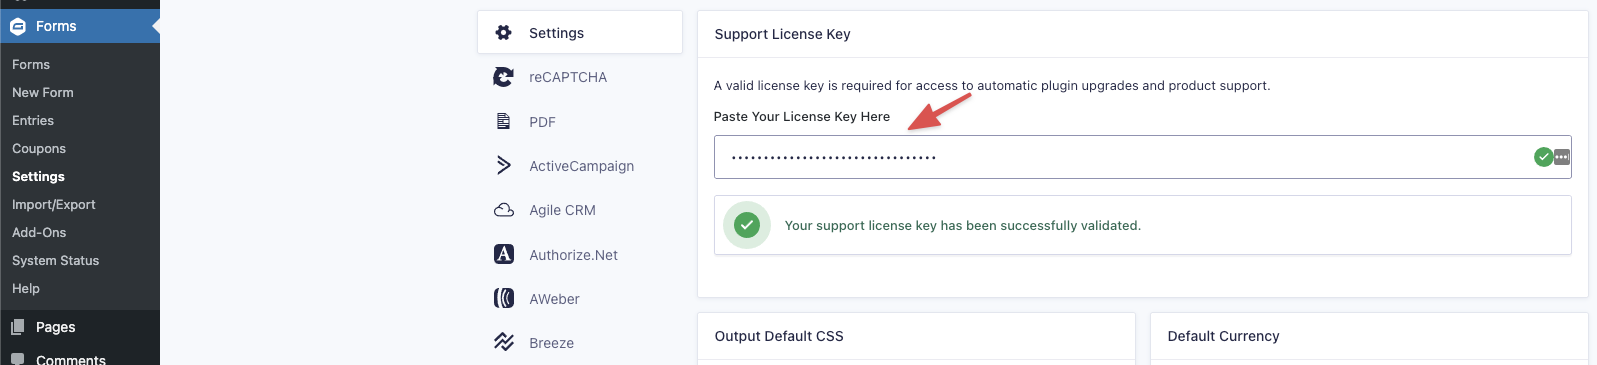
It really is as easy as going to Forms → Settings and pasting the new key over the old one (the old one is a hidden field represented only by asterisks).
This guide provides step-by-step instructions for where to find your key and how to enter it if you need more information. It also includes a link to all validation error codes if you encounter an issue.