The Entry Limit feature in Form Settings allows you to restrict the number of submissions a form can receive.
Entry Limit Settings
To enable entry limits:
- Go to Form Settings.
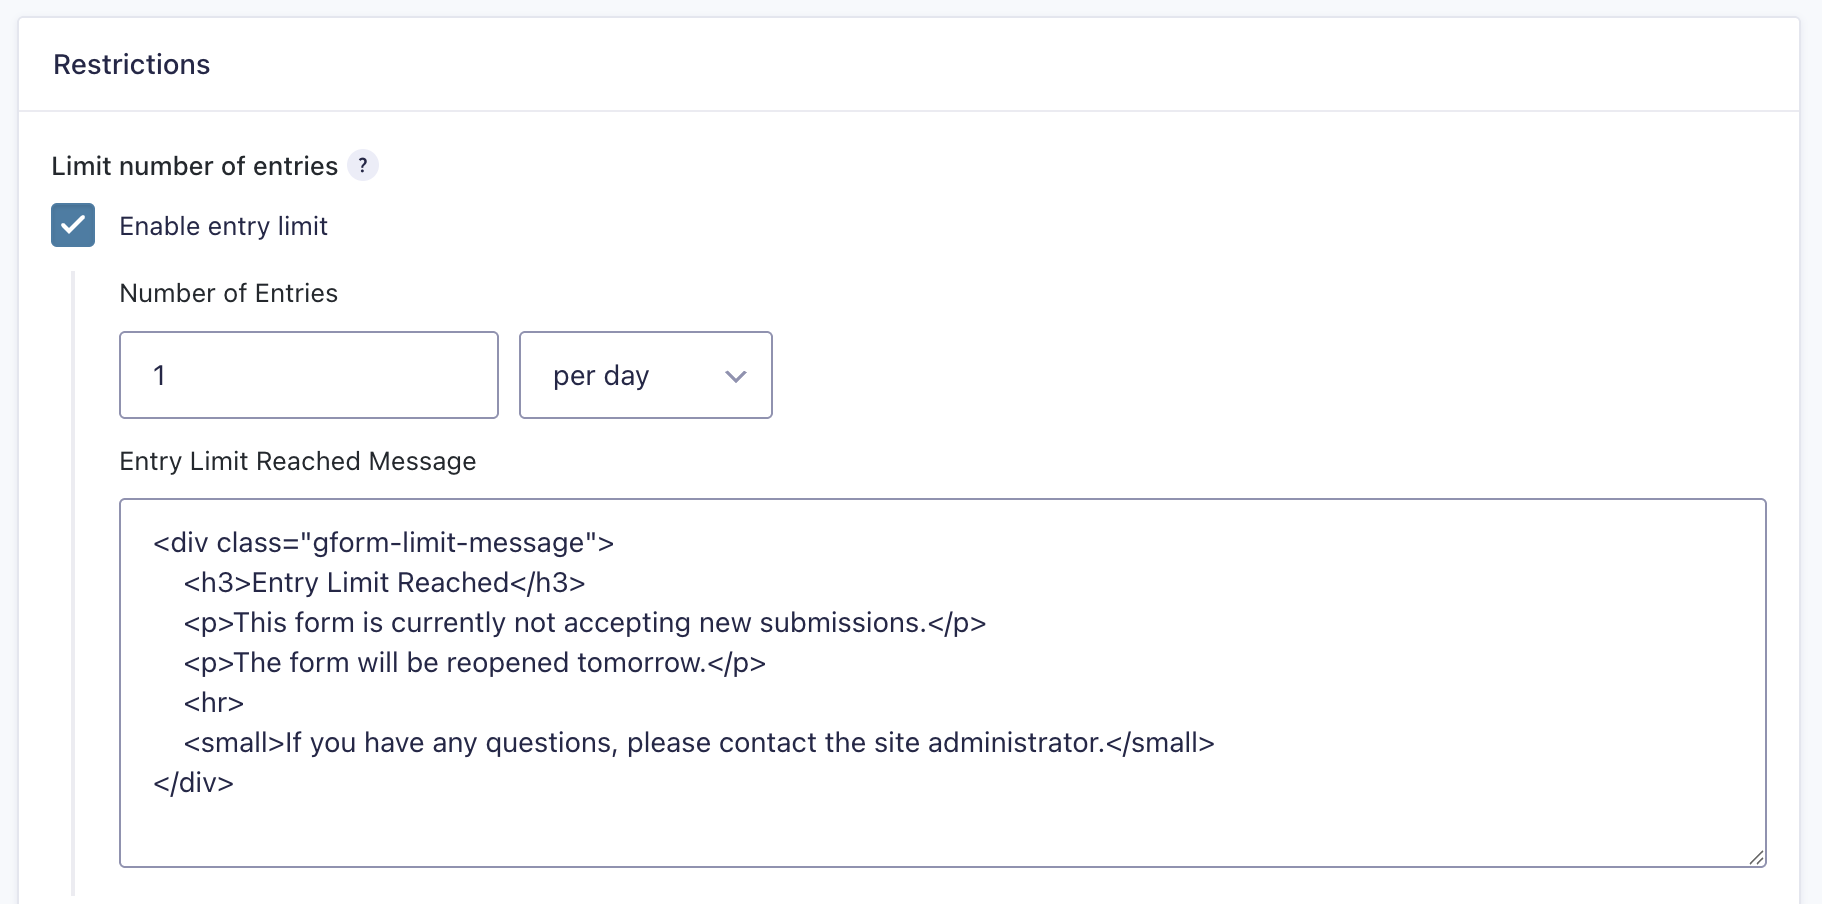
- Navigate to the “Restrictions” section.
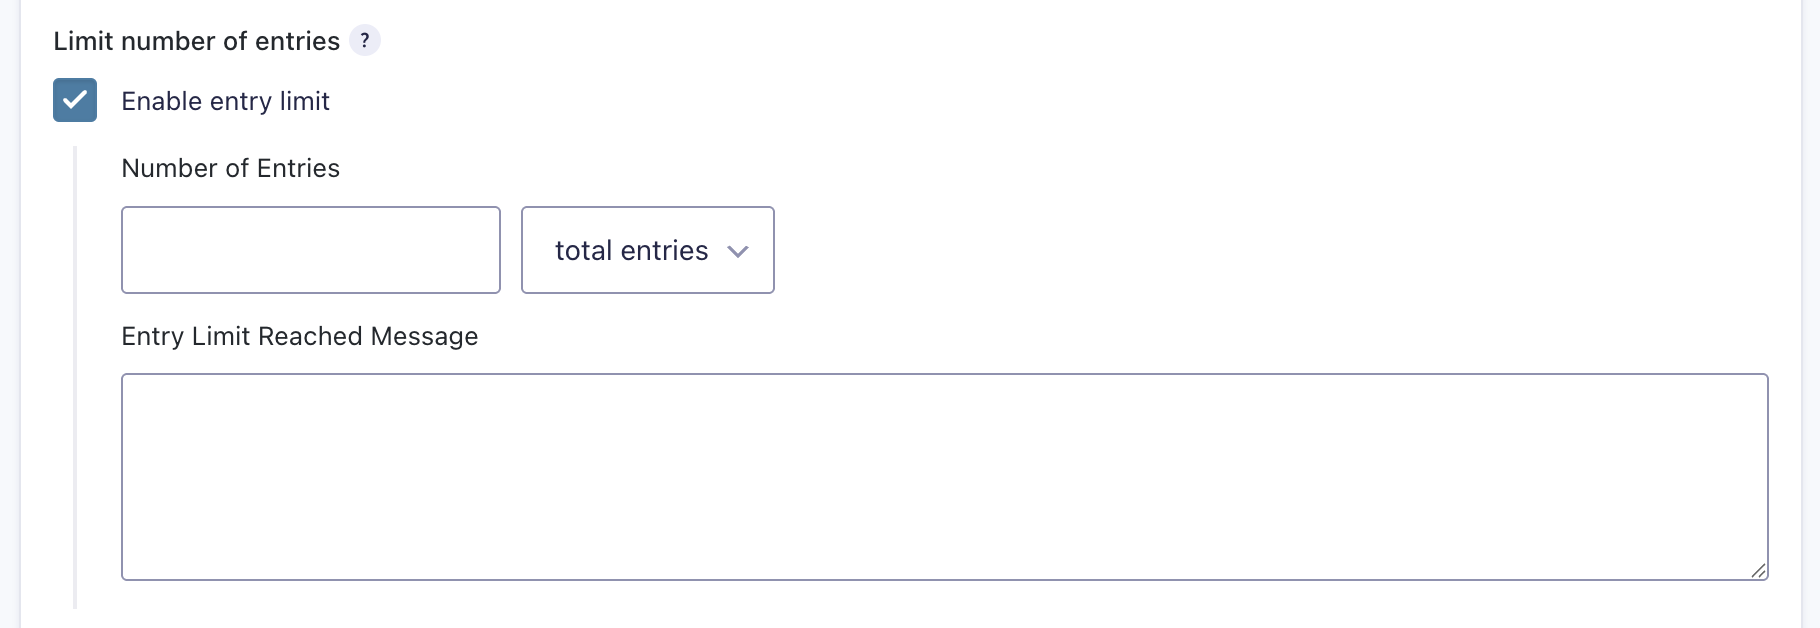
- Check “Enable entry limit”.
How Entry Counting Works
Note: Any fully submitted entry counts toward the limit unless specifically excluded. The form will become inactive when the limit is reached.
Here’s how different entry status types affect the limit counter:
| Entry Status | Counts Toward Limit |
|---|---|
| “Processing” payment status | Yes |
| “Failed” payment status | Yes |
| “Pending” payment status | Yes |
| “Refunded” payment status | Yes |
| “Pending” user registration status | Yes |
| “Approved” user registration status | Yes |
| Spam entries | No |
| Trash entries | No |
| Partial Entries | No |
Examples
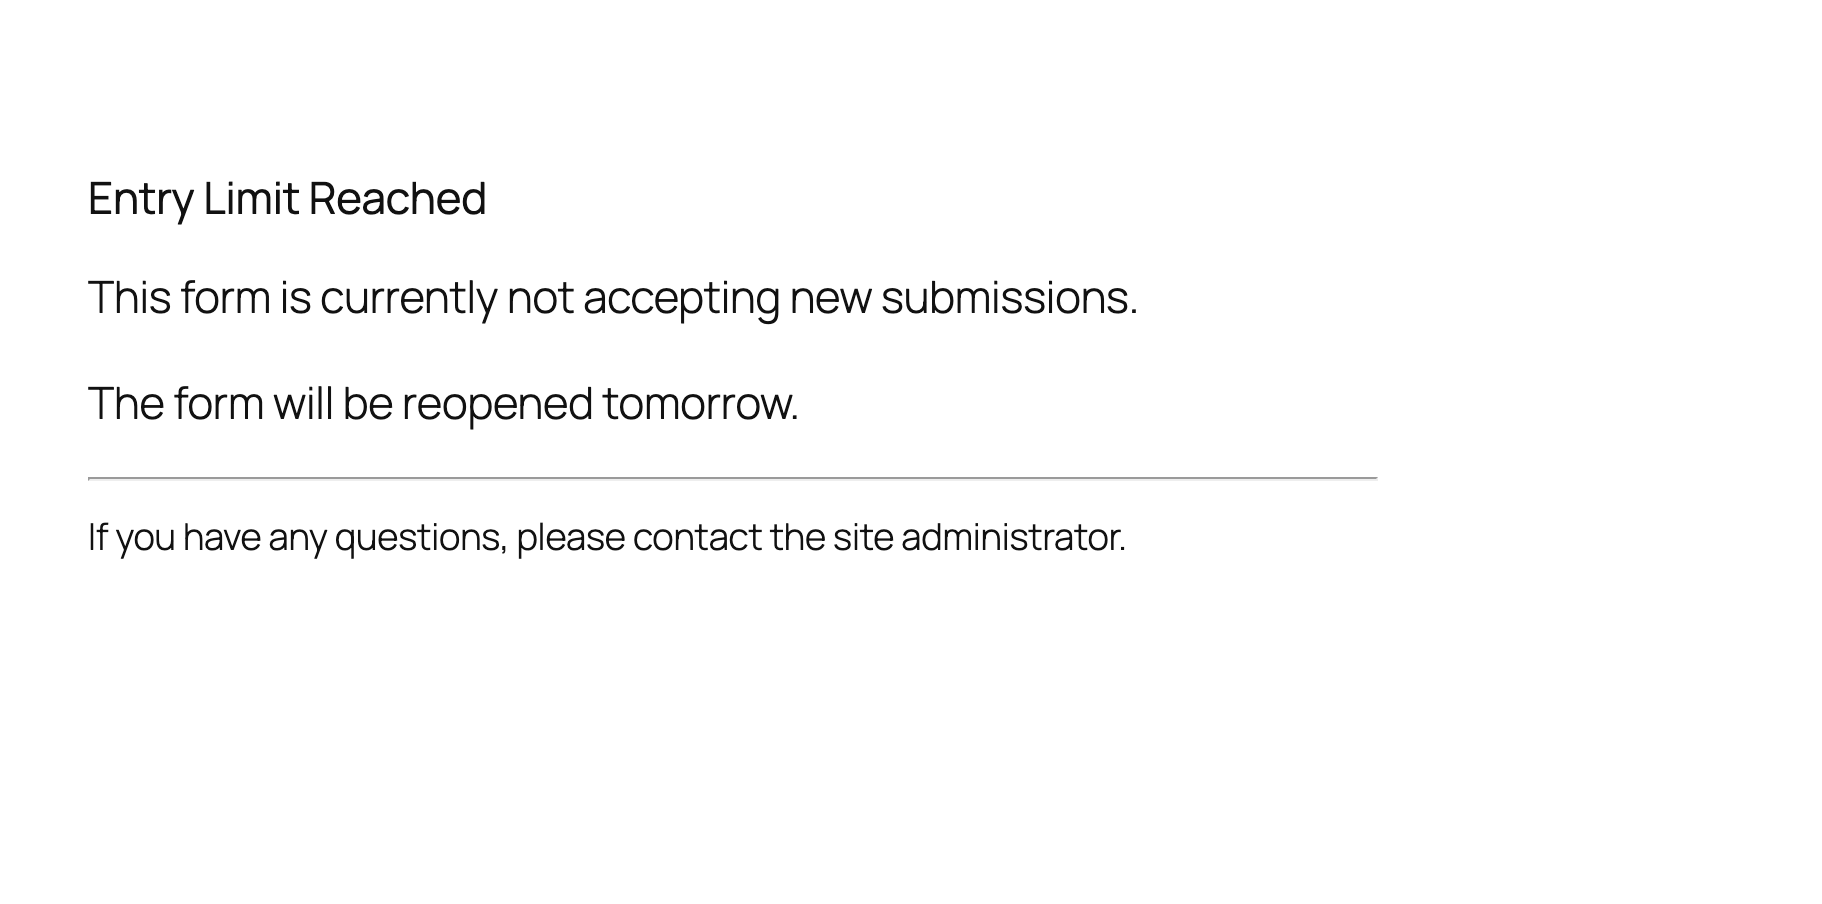
Limit entries per day with a custom HTML entry limit message.
Settings Reference
| Setting | Description |
|---|---|
| Number of Entries | Set the maximum number of entries allowed. This can be a total limit or per time period. |
| Time Period | Choose when to reset the entry counter: – Total entries (never resets) – Daily (resets every day) – Weekly (resets every week) – Monthly (resets every month) – Yearly (resets every year) The reset time will be based on your WordPress site’s timezone setting at Settings > General > Timezone. |
| Entry Limit Message | Custom message displayed to users when the form has reached its entry limit. Supports HTML. |